If you have ever spent 30 minutes writing a step-by-step email explaining a process that would take two minutes to show on screen, you already understand why screen recording matters. ScreenPal strikes the right balance between capability and simplicity that most alternatives miss. This ScreenPal screen recording guide walks through everything from your first capture to publishing polished, annotated videos that look professionally produced.
ScreenPal (formerly Screencast-O-Matic) serves over 10 million users and is used by 98 of the top 100 US universities. It currently holds across review platforms. Whether you are an educator building course content or a team lead documenting processes, this guide covers the full workflow from recording to sharing.
Why ScreenPal for Screen Recording
Before diving into the how-to, it is worth understanding what makes ScreenPal stand out in a crowded field. The screen recording space ranges from free tools with limited editing to professional suites that cost $250+ for a license. ScreenPal occupies the middle ground that most people actually need.
Three reasons ScreenPal works for most users:
- Price-to-feature ratio - At $4/month for the Solo Deluxe plan, you get unlimited recording, a full video editor, and no watermarks. That is a fraction of what Camtasia charges for similar functionality
- Recording plus editing in one platform - Unlike Loom, which focuses on quick captures without built-in editing, ScreenPal includes trimming, annotations, overlays, and transitions
- Education-first design - Features like interactive video quizzes, LMS integration, and student-friendly sharing make it purpose-built for instructional content
ScreenPal Screen Recording: Getting Started
Account Setup and Installation
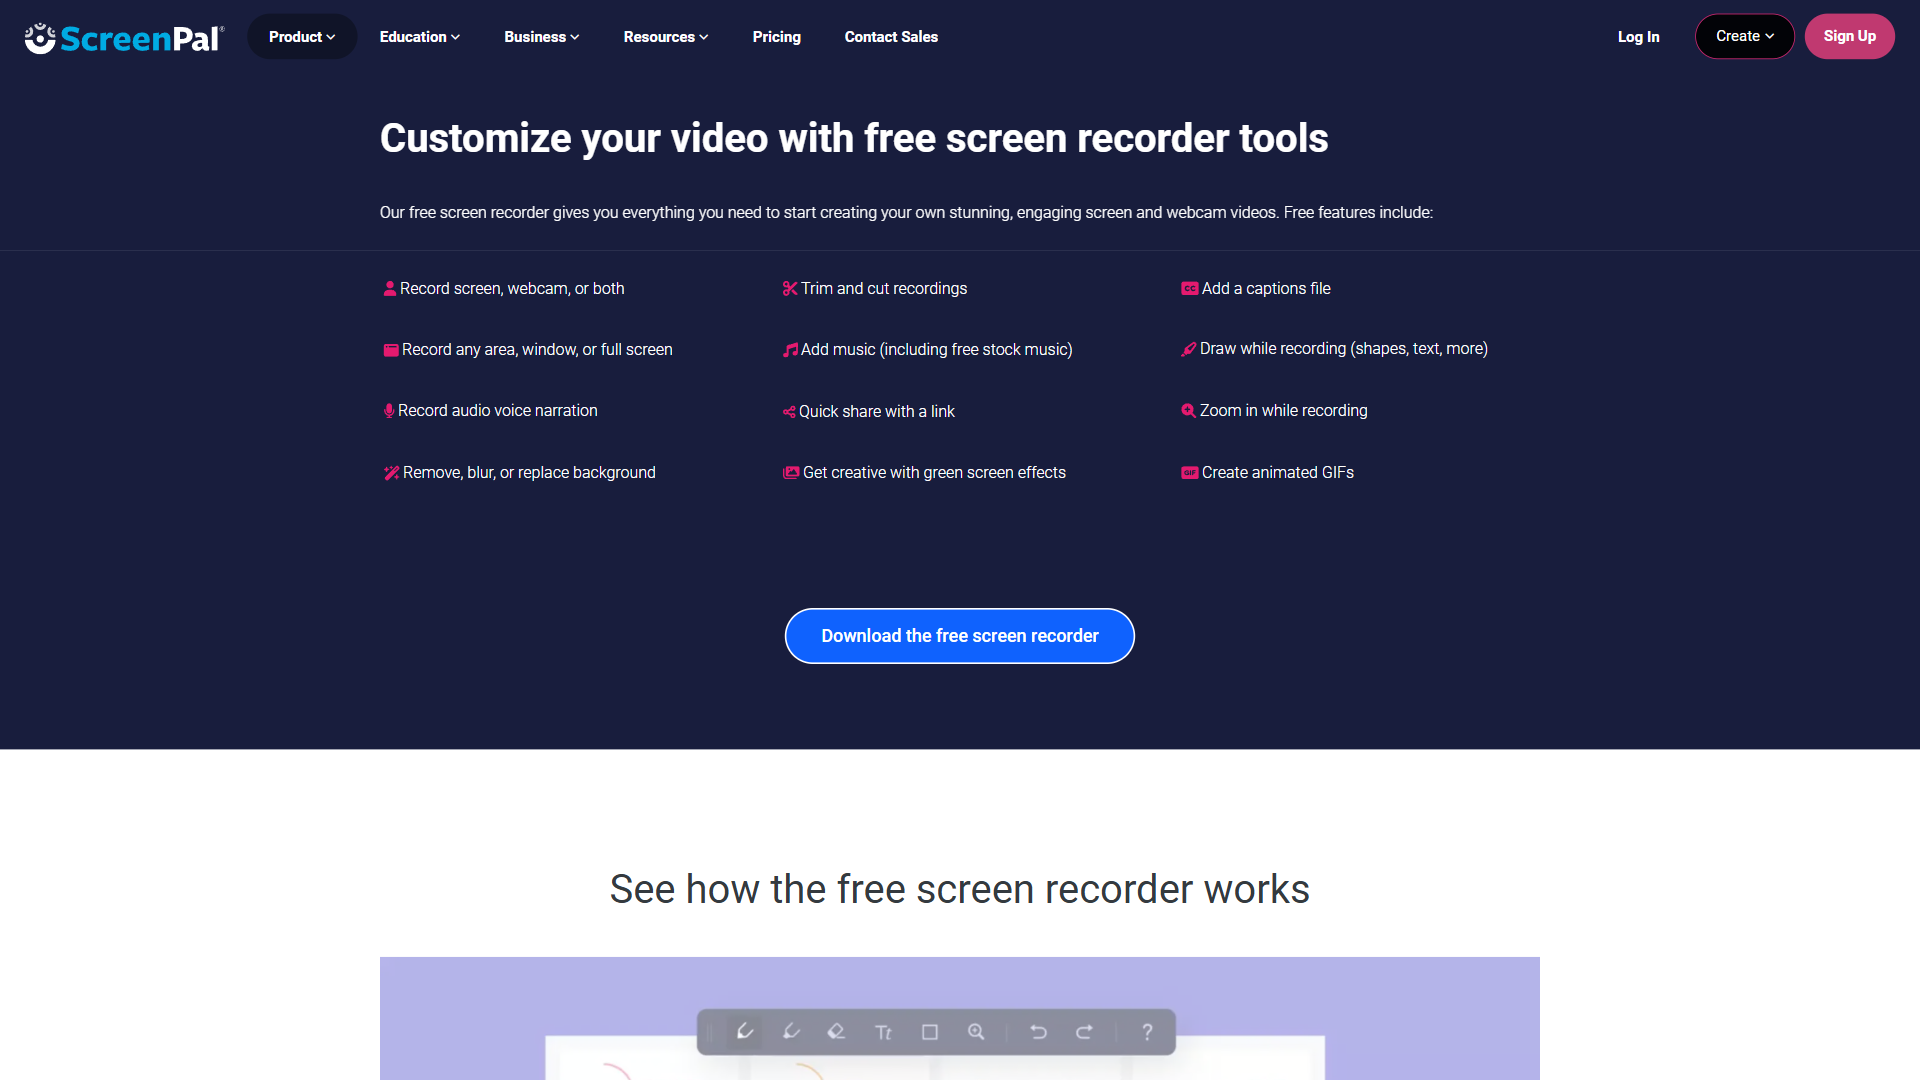
ScreenPal offers both a web-based recorder and a desktop application, an approach we cover in our best screen recording tools roundup. The desktop version provides more control over recording settings and performs better with longer sessions. Here is how to get started:
- Visit screenpal.com and create a free account
- Download the desktop recorder for your operating system (Windows, Mac, or Chromebook)
- Launch the application and sign in with your account credentials
- Grant microphone and screen access permissions when prompted
Pro tip: Start with the free tier to get comfortable with the interface. The 15-minute recording limit is enough for learning the workflow before committing to a paid plan.
Choosing Your Recording Mode
ScreenPal offers three recording modes, and picking the right one before you hit record saves editing time later:
- Screen only - Captures your entire screen or a selected region. Best for software tutorials, documentation, and bug reports
- Webcam only - Records your camera feed without screen capture. Useful for introduction videos, announcements, and personal messages
- Screen + webcam - Picture-in-picture mode that shows both your screen and a webcam overlay. This is the most engaging format for instructional videos because viewers can see your facial expressions while following along
Recording Your First Video
With your mode selected, recording is straightforward:
- Click the Record button or use the keyboard shortcut
- Select the capture area - full screen, a specific window, or a custom region
- Use the 3-second countdown to prepare
- Record your content, using the pause button if you need to collect your thoughts
- Click Stop when finished
Common first-recording mistakes to avoid:
- Not testing audio first - Always do a 10-second test recording to verify your microphone is working and levels are correct
- Recording at low resolution - Set your capture to at least 1080p. Lower resolutions look fine during recording but become blurry when viewers watch on larger screens
- Forgetting to close notifications - Enable Do Not Disturb mode before recording. Nothing ruins a professional tutorial like a Slack notification popping up mid-sentence
Editing Your Screen Recordings
The built-in editor is where ScreenPal separates itself from basic screen capture tools. While it will not replace dedicated video editing software like Adobe Premiere, it handles the 80% of editing tasks that instructional videos actually need.
Essential Editing Tools
After finishing a recording, ScreenPal opens the editor automatically. Here are the tools you will use most:
- Trimming and cutting - Remove mistakes, long pauses, and unnecessary sections. Click and drag on the timeline to select segments, then cut or delete them
- Split and rearrange - Break your recording into segments and reorder them without re-recording
- Speed adjustment - Speed up slow sections (like waiting for a page to load) and slow down complex demonstrations
- Transitions - Add fade-ins, fade-outs, and cross-dissolves between segments for a polished feel
Adding Annotations and Overlays
Annotations transform a passive screen recording into an active learning experience. ScreenPal provides several annotation types:
- Arrows and shapes - Draw attention to specific UI elements, buttons, or menu items. Use contrasting colors so annotations stand out against the screen content
- Text overlays - Add labels, step numbers, or brief explanations directly on the video. Keep text large enough to read on mobile devices
- Blur and highlight - Blur sensitive information like email addresses or account numbers. Highlight important areas to guide the viewer’s eye
- Drawing tools - Freehand drawing lets you circle items, underline text, or sketch diagrams directly on your recording
Annotation best practice: Less is more. Annotate two to three key moments per minute of video. Over-annotating creates visual clutter that distracts rather than guides.
Working with the Green Screen
ScreenPal’s green screen feature (available on Deluxe and above) lets you remove your webcam background and replace it with a custom image, your slides, or a transparent overlay. This is particularly useful for:
- Educators presenting slides - Show yourself overlaid on your presentation instead of a small webcam box in the corner
- Product demos - Remove a messy home office background and replace it with a clean, branded backdrop
- Training materials - Create a consistent visual style across all your organization’s training videos
The green screen works best with a physical green backdrop and good lighting, but ScreenPal’s AI background removal also works reasonably well without one if your background is relatively plain.
AI-Powered Captions and Transcriptions
Captions are no longer optional for professional video content. They improve accessibility, boost engagement (most social media videos are watched without sound), and improve SEO when you host videos on your own platform. The W3C Web Accessibility Initiative recommends captions for all pre-recorded multimedia, and many organizations now require them.
Automatic Caption Generation
On the Solo Max plan ($13/month) and above, ScreenPal provides AI-powered automatic captions:
- Open your finished recording in the editor
- Navigate to the Captions panel
- Click “Generate Captions” to start the AI transcription
- Review and edit the generated text for accuracy
- Adjust timing if any captions appear too early or late
The AI caption accuracy is solid for clear English speech - it correctly transcribes about 90-95% of words on first pass. Technical terms, proper nouns, and accented speech may need manual corrections.
Caption Editing Tips
- Review the full transcript before publishing - AI captions occasionally merge or split sentences awkwardly. A quick read-through catches these issues
- Add speaker labels - If your video features multiple people, add speaker identification to make the transcript easier to follow
- Export as SRT - Download captions as an SRT file to use the same transcript on YouTube, Vimeo, or your LMS
Sharing and Hosting Your Videos
ScreenPal includes built-in video hosting, which is a significant advantage over tools that only record. You do not need a separate YouTube channel or Vimeo account to share your content.
Hosting Options
- ScreenPal hosting - Upload directly from the editor. You get a shareable link, embed code for websites, and basic analytics on who watched your video
- Direct download - Export as MP4, AVI, or FLV for local storage or upload to your own platform
- YouTube integration - Publish directly to YouTube from within ScreenPal without downloading first
- Google Drive - Save recordings to your Drive for organizational sharing and storage
Sharing Best Practices
For educators: Generate a direct link and embed it in your LMS (Canvas, Blackboard, Moodle). ScreenPal’s education platform includes LMS integrations and responsive embed code, so videos display correctly on any device.
For teams: Use ScreenPal’s hosting with password protection for internal training materials. This keeps sensitive content private without requiring viewers to create accounts.
For public content: Export at the highest quality setting and upload to YouTube for maximum reach. Use the auto-generated captions as your YouTube subtitle file to save time.
Team Management Features
For organizations with multiple creators, ScreenPal’s Team plan adds administrative controls that prevent the chaos of everyone recording independently.
What the Team Plan Adds
- Centralized billing - One invoice for all team members instead of individual subscriptions
- Admin controls - Manage who can publish, set brand guidelines, and control sharing permissions
- Shared content library - Store approved recordings in a central location where team members can access and reuse them
- Priority support - Faster response times for technical issues, which matters when recording is part of your team’s daily workflow
When to Upgrade to Team
The Team plan makes sense when you have three or more people creating video content regularly. For broader async-video workflow context, our async video communication guide covers how teams structure these handoffs. At $8/month annual per seat (annual billing), it is more cost-effective than having each person manage separate Solo Max subscriptions, and the admin controls prevent branding inconsistencies.
ScreenPal Pricing Breakdown
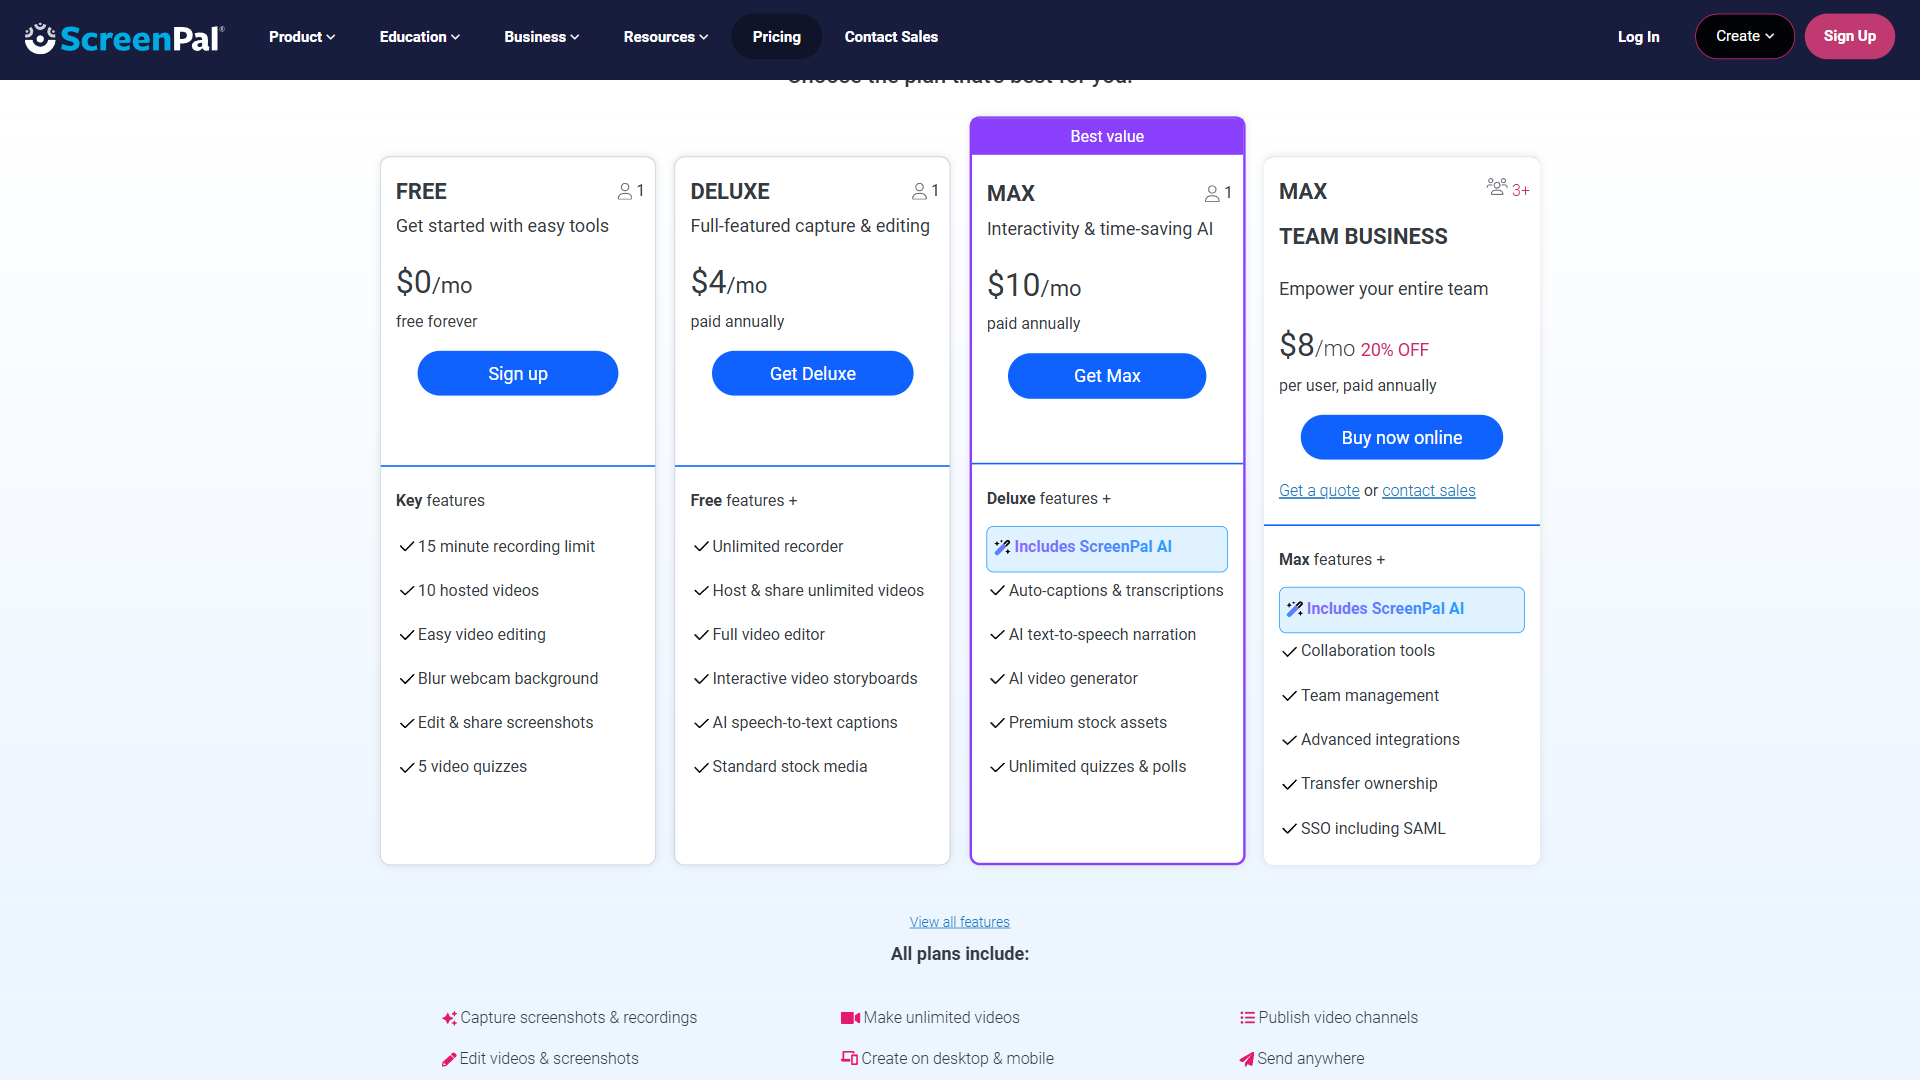
Understanding which plan matches your needs prevents overpaying for features you will not use:
| Plan | Monthly Price | Annual Price | Key Features |
|---|---|---|---|
| Free | $0 | $0 | 15-min recordings, watermark, basic editing |
| Solo Deluxe | $4/month | $3/month annual | Unlimited recording, no watermark, full editor |
| Solo Max | $13/month | $10/month annual | AI captions, interactive video, advanced tools |
| Team Business | Custom | $8/month annual per seat | Admin controls, centralized billing, priority support |
Recommendation: Most individual users - including most content creators - should start with the Solo Deluxe plan at $4/month. It removes the two biggest free-tier limitations (recording length and watermarks) at a price that is hard to argue with. Only upgrade to Solo Max if you specifically need AI captions or interactive video features.
Save up to 25% by choosing annual billing. Check the ScreenPal pricing page for current annual rates.
ScreenPal vs the Competition
To put ScreenPal in context, here is how it compares to the most common alternatives:
| Feature | ScreenPal | Loom | Camtasia | OBS Studio |
|---|---|---|---|---|
| Starting Price | $4/month | See pricing page | $312 one-time | Free |
| Built-in Editor | Yes | Basic trim only | Advanced | No |
| AI Captions | Max plan | All paid plans | Yes | No |
| Video Hosting | Included | Included | No | No |
| Rating | 4.3/5 | 4.7/5 | 4.6/5 | 4.4/5 |
| Best For | Education, budget users | Async team messaging | Professional production | Live streaming |
ScreenPal wins on value for users who need recording plus editing without the price tag of professional tools. Loom is better for quick async communication within business teams. Camtasia offers more editing power but at a significantly higher cost. OBS Studio is free and powerful for streaming but lacks any editing capability.
Tips for Professional-Quality Screen Recordings
Regardless of which plan you choose, these screenpal screen recording techniques elevate your output from amateur to professional:
Before recording:
- Script key moments - You do not need a word-for-word script, but outline the three to five main points you want to cover. This prevents rambling and keeps recordings focused
- Clean your desktop - Close unnecessary tabs, hide bookmarks bars, and clear desktop clutter. Viewers notice messy screens
- Set your resolution - Record at 1920x1080 minimum. If your screen is 4K, consider recording at a windowed resolution to keep file sizes manageable
During recording:
- Speak at a natural pace - Slightly slower than conversation is ideal. Rushing through steps forces viewers to pause and rewind
- Pause between sections - A 2-second pause between major steps gives viewers processing time and creates natural edit points
- Move your cursor deliberately - Slow, intentional mouse movements are easier to follow than rapid clicking
After recording:
- Trim the first and last 5 seconds - Recordings always start with clicking the record button and end with reaching for the stop button. Cut these
- Add chapter markers - For videos longer than 5 minutes, add markers so viewers can jump to specific sections
- Review at 1.5x speed - Watching your recording at higher speed reveals pacing issues and unnecessary pauses quickly
The Bottom Line
ScreenPal delivers reliable screenpal screen recording, decent editing, and built-in hosting at a price point that makes video creation accessible to everyone. It is not the most powerful option available, and teachers or content creators with advanced editing needs may eventually outgrow it. But for the vast majority of use cases - tutorials, process documentation, feedback videos, and instructional content - it handles the job without complexity or cost getting in the way.
At $4/month for the Solo Deluxe plan, the barrier to creating professional screen recordings has effectively disappeared. If you have been relying on the free tier or writing out instructions that would be faster to show, the Solo Deluxe plan pays for itself after a single recording session. Check out the full ScreenPal tool page for a deeper look at ratings, feature scores, and how it compares in our rankings.
Want to learn more about ScreenPal?
Frequently Asked Questions
Is ScreenPal good for screen recording?
ScreenPal is a strong mid-tier choice. It serves more than 10 million users (including 98 of the top 100 US universities) and combines reliable screen recording with a built-in editor, AI captions on the Max plan, and integrated hosting. At $4/month for the Solo Deluxe plan, it sits between free-tier capture tools and professional suites like Camtasia, which is the right balance for most educators, content marketers, and team leads.
How much does ScreenPal cost?
ScreenPal pricing starts at free with a 15-minute limit and watermark. The Solo Deluxe plan is $4/month for unlimited recording with no watermark and the full editor. The Solo Max plan adds AI captions, interactive video, and advanced tools. The Team Business plan is billed per seat annually with admin controls, centralized billing, and priority support.
Does ScreenPal include video editing?
Yes. Every paid tier includes the built-in editor with trimming, splitting, transitions, annotations, blur, highlight, drawing tools, and a green screen feature. While it will not replace dedicated video editing software like Adobe Premiere, it handles roughly 80% of editing tasks instructional and tutorial videos actually need.
Does ScreenPal generate AI captions?
Yes, on the Solo Max plan and above. ScreenPal uses AI to transcribe audio into captions with about 90-95% accuracy on clear English speech. Captions can be edited, exported as SRT files for YouTube or LMS platforms, and used to support accessibility requirements.
How does ScreenPal compare to Loom and Camtasia?
ScreenPal sits between Loom and Camtasia. Loom is built for quick async messaging at its own subscription price with limited editing. Camtasia is a professional editing suite with a $312 one-time license. ScreenPal delivers recording plus full editing starting at $4/month, which is the right fit for educators and budget-conscious teams that need more than capture but do not need professional production tooling.
Related Guides
This is the only ScreenPal guide currently published on AI Productivity. For broader screen-recording context, see the Related Reading section below.
Related Reading
- ScreenPal Review - Full review with pricing, features, and ratings
- Camtasia Review - Full review with pricing, features, and ratings
- Loom Review - Full review with pricing, features, and ratings
- Best Screen Recording Tools - How ScreenPal ranks against all the top screen recording options
- Loom Alternatives - More options if you are comparing async video communication tools
- Async Video Communication - Why video messaging is replacing long email threads for remote teams
External Resources
- ScreenPal Screen Recorder - Download the desktop and web recorder
- ScreenPal Pricing Plans - Compare all plans and current pricing
- ScreenPal Help Center - Official tutorials and troubleshooting guides