



A pdf compression guide online is a practical resource for reducing PDF file sizes without sacrificing readability. By targeting image data - where the biggest gains occur - compression can shrink files by 60-90%. This guide covers two free methods: a web-based tool requiring no installation, and desktop software for offline processing, both compatible with any operating system.
This guide covers pdf compression with practical analysis.
In 2026, email bounced back because your PDF is too large? Website upload stuck at 99% because the file exceeds size limits? You’re not alone.
The good news is that reducing file size doesn’t have to mean sacrificing quality. The right tools and settings can shrink files by 60-90% while keeping text crisp and images sharp.
This guide walks you through two proven methods for compressing PDFs - one using a PDF compressor free of any installation requirement, and another with desktop software for offline processing. Both methods work on any operating system and let you free compress PDF online or locally without spending a cent.
Why PDF Compression Matters
Before we dive into the how-to, let’s talk about why compression is essential:
Email attachments have strict size limits - typically 25MB for Gmail, Outlook, and most corporate email systems. A single high-resolution PDF can easily exceed this threshold.
Website performance suffers when serving large files. Search engines prioritize fast-loading sites, and a 20MB PDF can tank your page speed scores.
Storage costs add up quickly. Cloud storage services charge by the gigabyte, and uncompressed PDFs eat through your quota faster than you’d think. If you are working with scanned documents, pairing compression with OCR software can further streamline your document workflow.
Download experience matters to your audience. Nobody wants to wait 3 minutes for a document to download on a mobile connection.
The good news? Most PDFs contain significant bloat that can be removed without affecting readability.
Understanding PDF Compression (The Quick Version)
PDFs can contain multiple types of data: text, vector graphics, and raster images (photos). Compression works differently for each:
Text and vectors are already highly efficient and don’t benefit much from compression. The real savings come from images.
Image compression reduces file size by either lowering the resolution (DPI) or using more efficient encoding. This is where you’ll see the biggest gains - and where quality loss can occur if you’re not careful.
Compression levels typically fall into three categories:
| Field | Value |
|---|---|
| Low compression (10-30% reduction) | Minimal quality impact, suitable for documents with detailed images |
| Medium compression (30-60% reduction) | Balanced approach for most use cases |
| High compression (60-90% reduction) | Maximum file size reduction, visible quality degradation on close inspection |
The key is matching compression level to your use case. Email attachments can tolerate more compression than print-ready marketing materials. Treat the rest of this pdf compression guide as a decision tree - pick the lowest setting that meets your file size target, not the highest one available.
Method 1: Using PDF24 Web Tool
The fastest way to compress a PDF is through PDF24’s online tool. No account required, no software installation, and files are automatically deleted from their servers after processing.
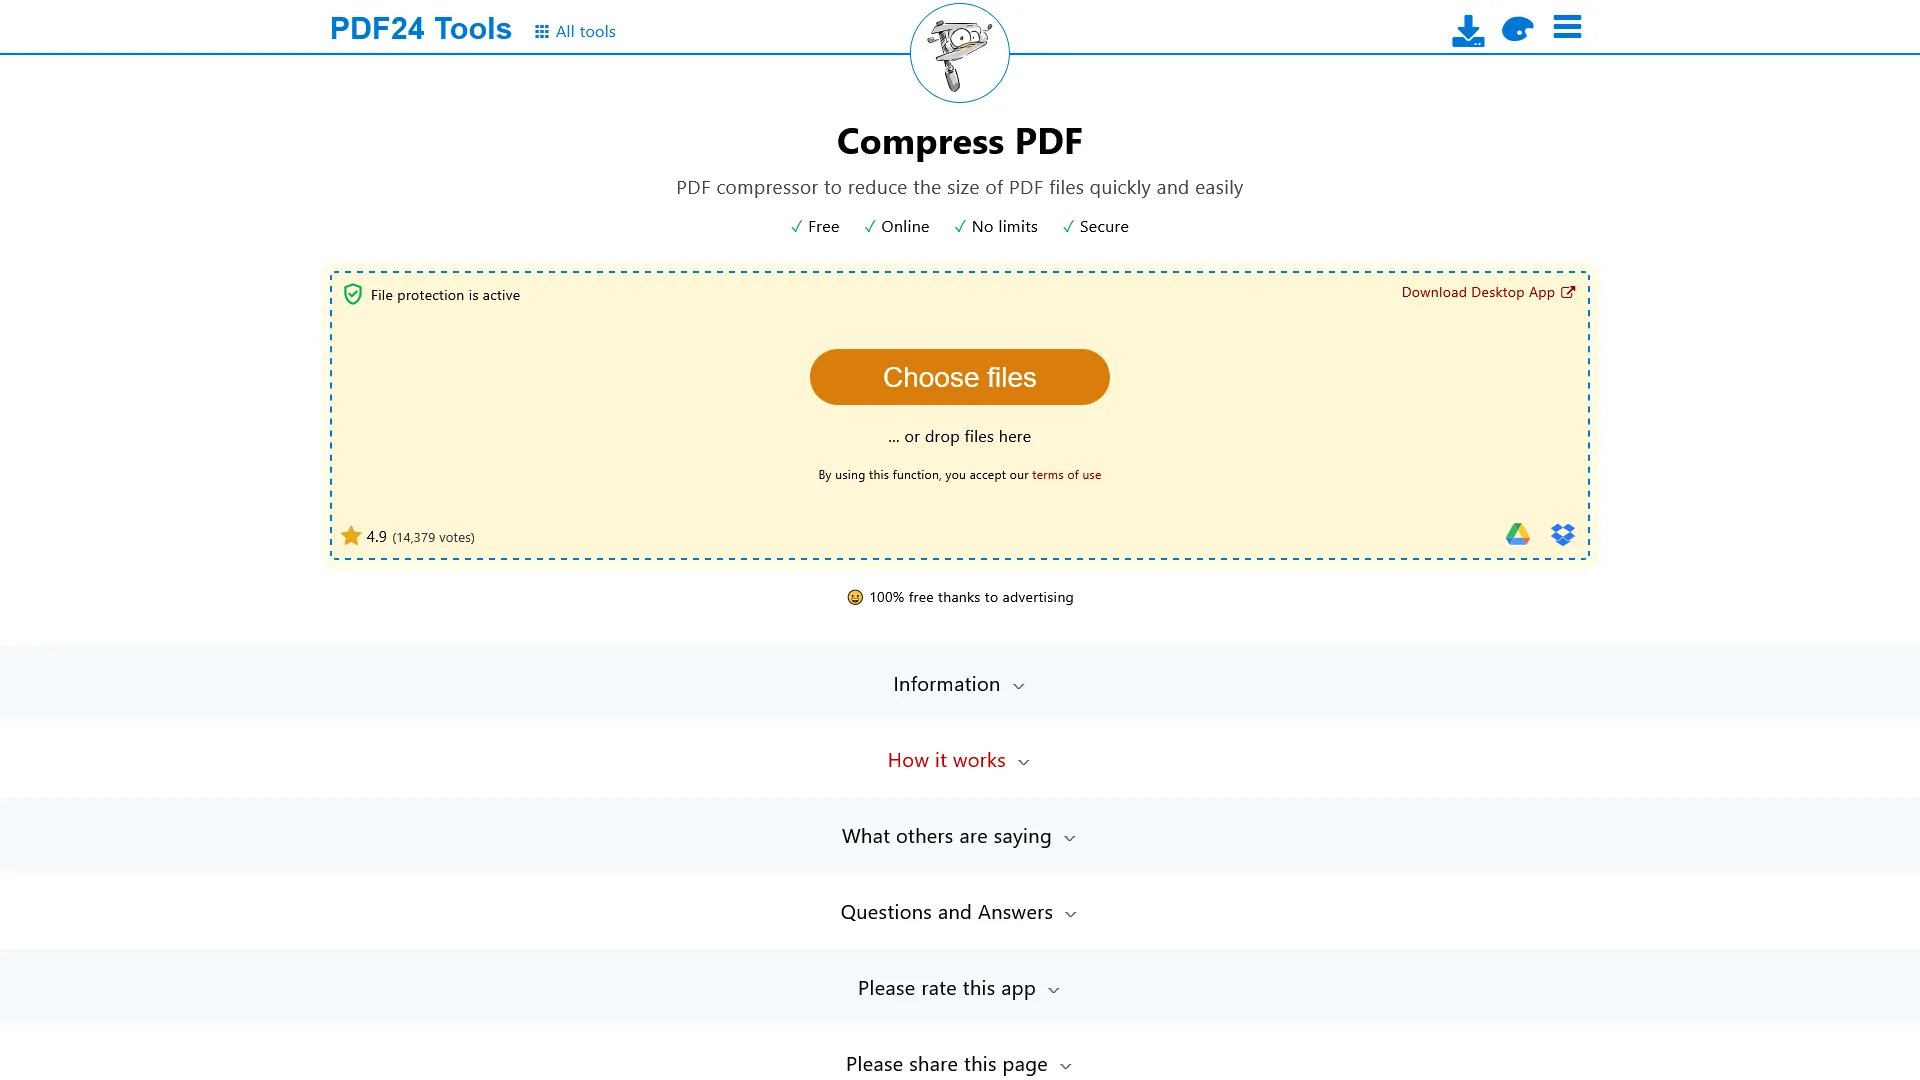
Step 1: Upload Your PDF
Navigate to the PDF24 compression tool and click “Choose files” or drag your PDF directly onto the page. The tool accepts files up to 50MB - larger files will need the desktop app (covered in Method 2).
Step 2: Select Compression Settings
You’ll see a preview of your document and a slider with compression presets:
- Low compression: Maintains high quality, reduces file size modestly (best for documents with charts or technical diagrams)
- Medium compression: Balanced option that works for most scenarios
- High compression: Maximum reduction for email attachments or web downloads where quality is less critical
Starting with medium compression is generally best and only move to high if the file is still too large. You can always compress again with a stronger setting.
Step 3: Process and Download
Click “Compress PDF” and wait for processing to complete. With medium settings, a 10MB file usually takes 10-15 seconds. When finished, click “Download” to save the compressed version.
Pro tip: The web tool shows you the final file size before downloading, so you can adjust settings and reprocess if needed.
Method 2: Using PDF24 Desktop App
For offline processing, better privacy, or batch compression of multiple files, the PDF24 Creator desktop app is the better choice. It’s completely free (no trial period or feature limitations) and works entirely offline - files never leave your computer.
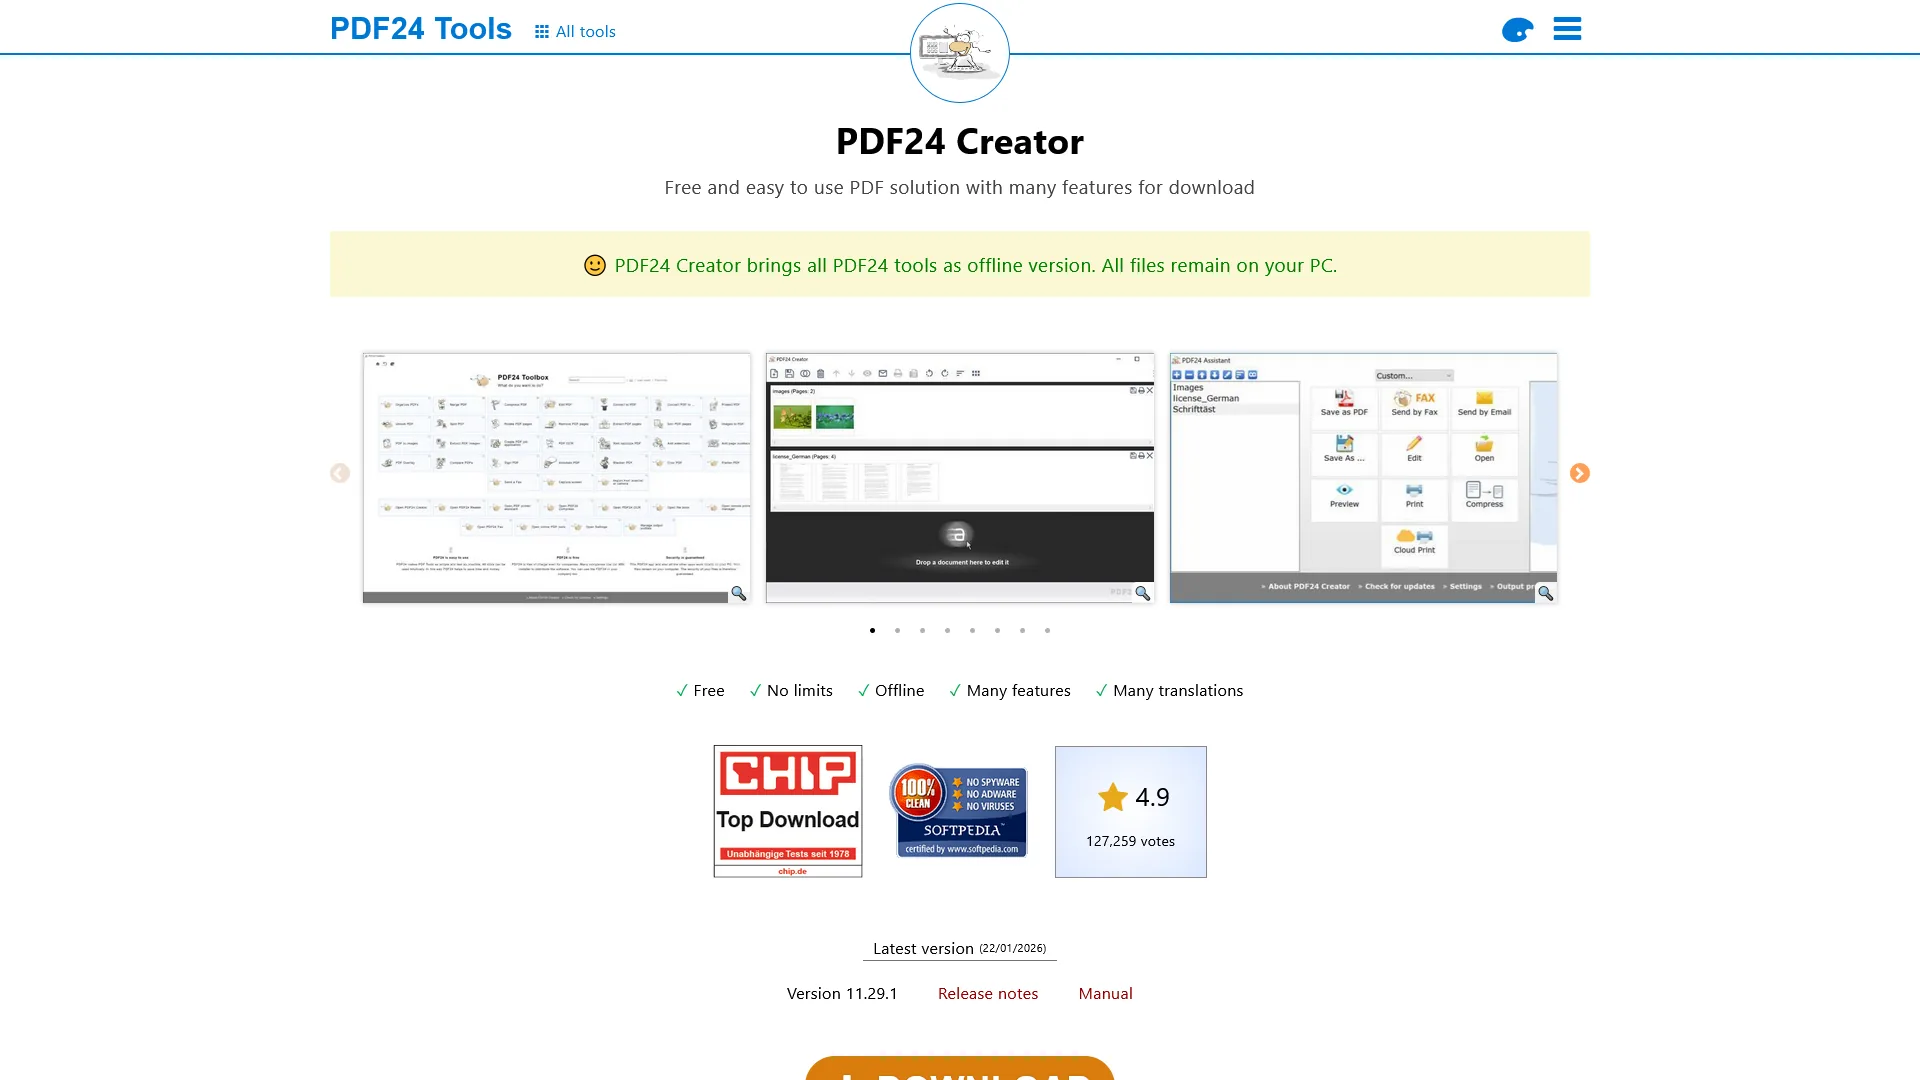
Step 1: Install PDF24 Creator
Download the installer from PDF24.org (Windows only). The installation includes both the desktop app and a virtual PDF printer that lets you “print” from any application to create PDFs.
Installation takes about 2 minutes and requires no registration or personal information.
Step 2: Open the Compress Tool
Launch PDF24 Creator and select “Compress PDF files” from the tool gallery. The interface is more detailed than the web version, giving you precise control over compression settings.
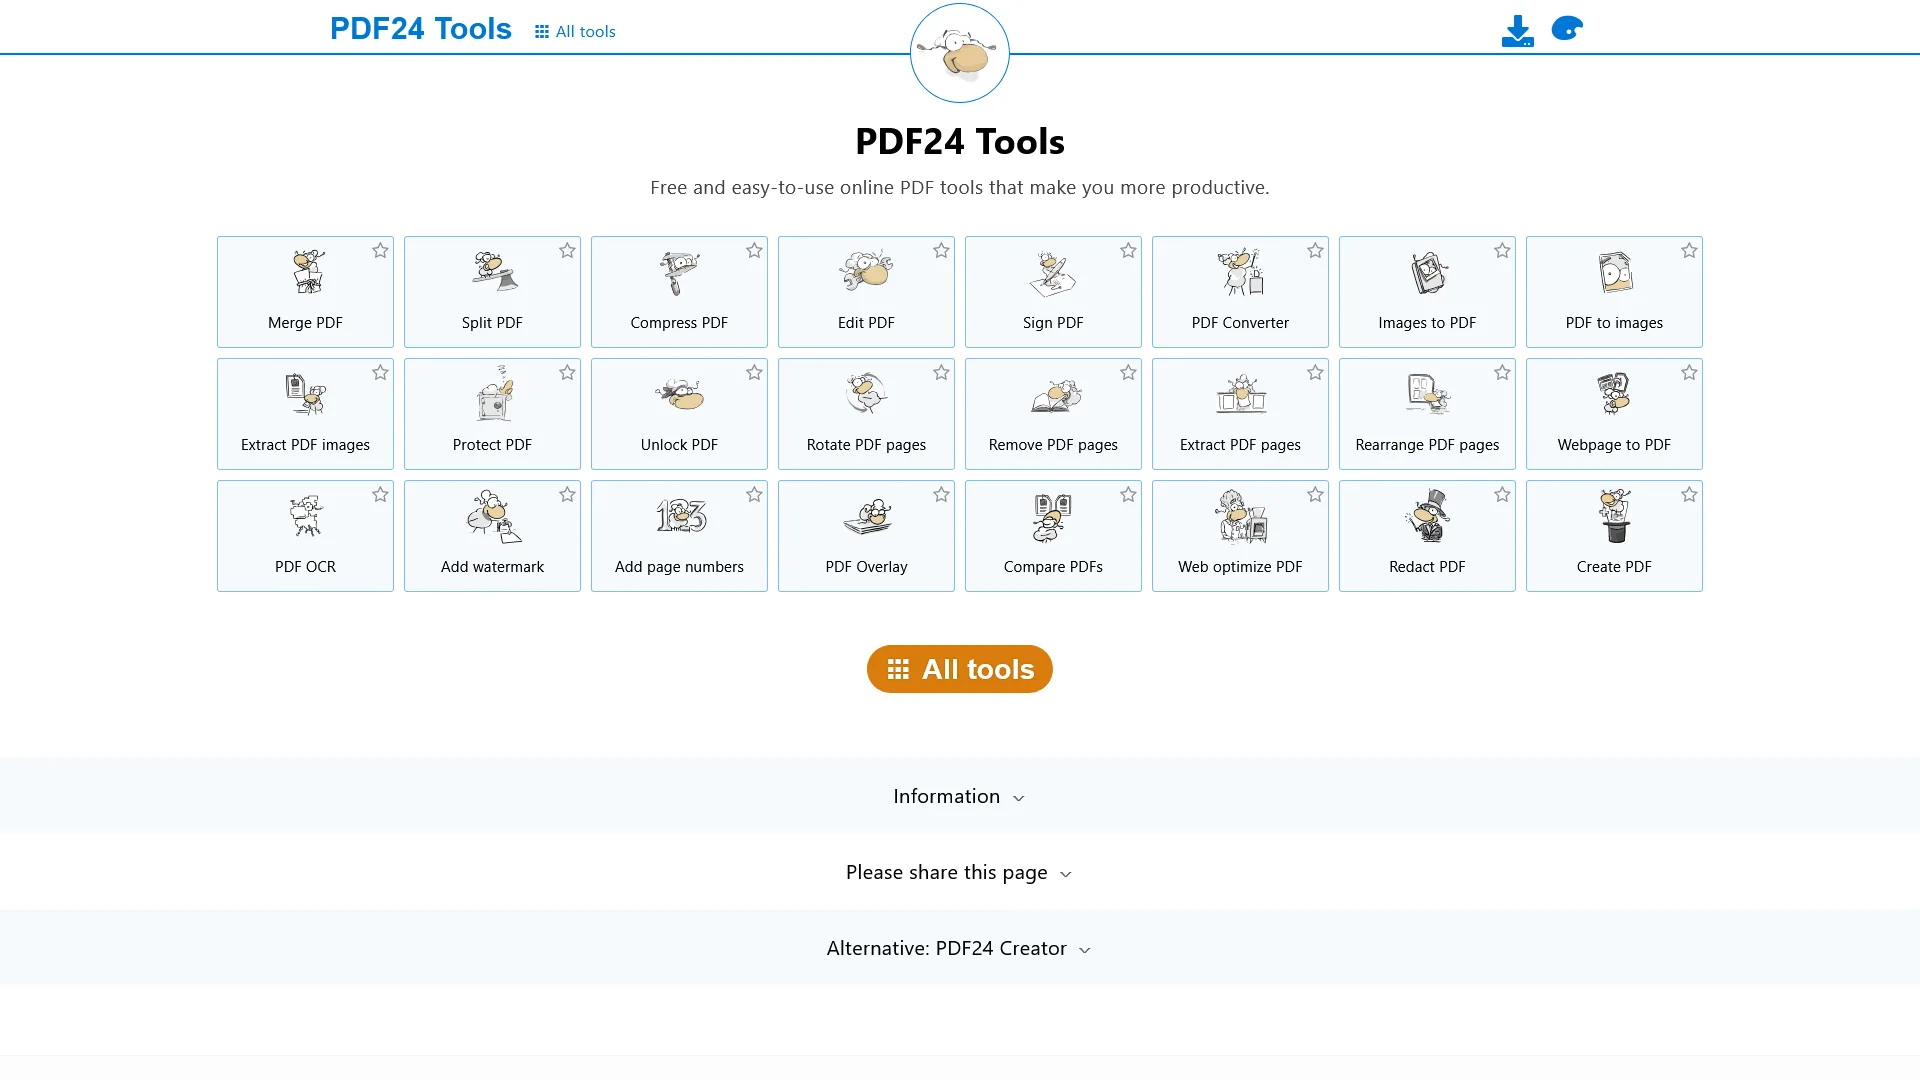
Step 3: Add Files
Drag one or more PDFs into the tool window. Unlike the web version, the desktop app has no file size limits and can process dozens of files simultaneously.
Step 4: Configure Compression
Here’s where the desktop app shines. Instead of preset levels, you get granular controls:
- Image quality: Slider from 1-100 (75-85 works well for most documents)
- DPI settings: Options for 75, 150, or 300 DPI (150 DPI works well for screen viewing)
- Color space: Convert to grayscale to reduce size further (useful for text-heavy documents)
For standard business documents, these settings work well:
- Image quality: 80
- DPI: 150
- Color: Keep original
Step 5: Process Files
Click “Compress” and choose your output location. The app processes files locally, so speed depends on your CPU - expect 5-10 seconds per megabyte on modern hardware.
When finished, PDF24 shows you a comparison of original vs. compressed file sizes. Reductions from 18MB to 3MB with virtually no visible quality loss are common.
Choosing the Right Compression Level for This pdf compression guide
Not all PDFs are created equal. Here’s how to choose compression settings:
Use low compression (or skip compression) for:
- Documents going to print
- Marketing materials with brand photography
- Technical drawings or CAD exports
- Legal documents requiring archival quality
Use medium compression for:
- Email attachments to clients
- Website downloads (whitepapers, ebooks)
- Internal team collaboration documents
- Presentations with mixed text and images
Use high compression for:
- Quick reference materials
- Draft versions for review
- Documents viewed only on screens
- Attachments to Slack or messaging apps
The compression level also depends on the original PDF’s content. A 50-page document that’s entirely text won’t compress much regardless of settings - it’s already efficient. A PDF with 100 photos from a DSLR camera can shrink dramatically.
Tips for Maintaining Quality
These practices apply to every method in this pdf compression guide and help avoid quality disasters:
1. Always keep your original file. Compression is lossy - you can’t reverse it. Save compressed versions with a different filename (a _compressed suffix works well) so you can start over if needed.
2. Test on the actual use case. If you’re emailing a document, send yourself a test first. If it’s for a website, view it on a mobile device. Quality that looks fine on a 4K monitor might be fuzzy on a phone screen.
3. Check text readability. Zoom to 150% and verify that small text (footnotes, captions) is still crisp. If text looks blurry, reduce compression or increase the DPI setting.
4. Watch for artifacts. High compression can create “blocky” artifacts around text or sharp edges. If you see these, dial back the compression level.
5. Use the preview feature. PDF24’s desktop app lets you preview the compressed result before saving. Use it - it’s much faster than compressing, downloading, and realizing you went too aggressive.
Batch Processing Multiple PDFs
Need to compress an entire folder of PDFs? The desktop app makes this trivial:
Step 1: Drag all PDF files into the compression tool at once. The app handles 50+ files simultaneously without issues.
Step 2: Configure settings once - they apply to all files in the batch.
Step 3: Choose an output folder and click “Compress.”
The app processes files in sequence and preserves original filenames. Processing time scales linearly: a batch of 20 files takes about as long as 20 individual compressions.
This is incredibly useful for:
- Archiving old project files before moving to cloud storage
- Optimizing an entire documentation library for faster web hosting using document automation
- Preparing multiple attachments before a client presentation
Alternative Methods (Brief Mention)
While PDF24 is a top free option, there are alternatives worth knowing about:
Built-in OS tools like macOS Preview and Windows Print to PDF offer basic compression, but with limited control over quality settings. They work in a pinch but often produce inconsistent results.
Adobe Acrobat Pro has excellent compression features and fine-grained controls, but it costs $19.99/month. For most users, the free PDF24 tools offer 95% of Acrobat’s compression capabilities. If you want to get more out of Acrobat, see our Adobe Acrobat tips and tricks guide. Looking for no-cost alternatives? Our roundup of the best free PDF tools covers several options.
Other online tools like iLovePDF and Smallpdf work similarly to PDF24’s web tool but often have file size limits, daily usage caps, or watermarks on free tiers.
Troubleshooting Common Issues
Problem: File size barely changed
Your PDF likely contains mostly text and vector graphics, which are already efficient. Images are what compress. If your document is text-heavy, you won’t see dramatic size reductions.
Problem: Compressed PDF looks blurry
You’ve over-compressed. Try again with a higher quality setting or higher DPI. Start with quality 85 / 150 DPI and adjust from there.
Problem: File is still too large for email
If even high compression doesn’t get you under the limit, consider:
- Splitting the PDF into multiple parts (PDF24 has a split tool)
- Using a file-sharing service (Dropbox, Google Drive) and emailing a link instead
- Converting to a different format if appropriate (e.g., PowerPoint presentations can be shared as PPTX)
Problem: Upload to PDF24 website fails
Check your file size - the web tool caps at 50MB. Use the desktop app for larger files, or compress in stages (medium first, then high if needed). The two-method approach in this pdf compression guide handles 99% of real-world bloat without paid software.
The Bottom Line: PDF Compression Guide Recap
Compressing PDFs doesn’t require expensive software or technical expertise. With free tools like PDF24 Creator, you can reduce file sizes by 60-90% while maintaining quality suitable for professional use.
The key is understanding your use case and choosing appropriate compression settings. For most scenarios - email attachments, website downloads, and collaborative documents - medium compression at 150 DPI strikes the perfect balance between file size and quality.
Start with the web tool for quick, one-off compressions, then grab the desktop app when you need batch processing, offline functionality, or more precise control.
Your email recipients (and your cloud storage bill) will thank you.
For most users, Adobe Acrobat Pro adds advanced control if you want a paid alternative, while Smallpdf and Dropbox integrations cover sharing the compressed file once it’s ready.
When to Step Up to a Paid Tool
Free tools cover 95% of compression scenarios, but there are a handful of cases where investing in paid software pays off quickly. The clearest indicator is volume - if you’re processing more than 50 PDFs per week or running compression as part of an automated workflow, the time saved by a polished commercial tool quickly justifies the cost.
The second indicator is sensitivity. Legal teams, healthcare providers, and finance departments often have compliance requirements around how documents are processed. Free web tools that upload to third-party servers can be a non-starter for those use cases. Paid desktop tools that process files entirely locally - or enterprise tools with documented data-handling policies - become essential rather than optional.
The third indicator is integration. If your workflow involves redacting sensitive content, applying digital signatures, or exporting to specific archival formats (PDF/A, PDF/X), the tighter integration of commercial tools usually wins. PDF24’s free desktop app handles compression beautifully but doesn’t compete on those advanced features.
Most teams land somewhere in between. They use free tools for one-off compressions and reach for Adobe Acrobat Pro or similar when a document needs the full editing, redaction, and signing pipeline. There’s no shame in mixing free and paid tools based on the job at hand.
Automating Compression in Your Workflow
If you find yourself compressing the same file types repeatedly, automation eliminates the manual click-through. PDF24’s desktop app supports command-line invocation on Windows, which means you can wire it into Power Automate flows, scheduled tasks, or batch scripts.
A simple automation pattern looks like this: drop a PDF into a “Pending” folder, a watcher script picks it up, compresses with predefined settings, and moves the output to a “Compressed” folder while archiving the original. This works well for monthly report generation, document intake processes, and scanning workflows.
For Mac users, the equivalent path uses Automator workflows or shell scripts calling Ghostscript directly. Ghostscript - the engine that powers most open-source PDF compression - exposes granular DPI and image-quality flags for precision control.
If you’re managing client deliverables, pairing compression with a sharing service is the natural next step. Most professional services teams compress, then upload to a tracked link service (or Dropbox) so they can see when clients open the file. That visibility is invaluable during proposal seasons when knowing whether a prospect actually reviewed your deck changes how you follow up.
Pro Tips for Long-Term Quality
A few practices keep compressed archives readable years later:
- Tag your filenames consistently. Append
_c80or_150dpiso future-you knows which compression preset produced which file. - Re-verify after big OS updates. Mac and Windows occasionally tweak their built-in PDF rendering - test a sample compressed file against the new viewer to catch regressions early.
- Avoid recursive compression. Each compression pass loses image quality. If you need a smaller version of an already-compressed file, go back to the original whenever possible.
- Keep the source PSDs and originals. For high-stakes documents (marketing collateral, legal contracts, presentations), store the uncompressed source separately so you can regenerate if compression artifacts surface later.
These habits aren’t strictly about compression - they’re about treating PDFs as part of a longer document workflow. Pair them with the document automation tips covered in our companion guide for a fully systematized setup.
Frequently Asked Questions
How do you compress a PDF to under 1 MB?
If standard compression doesn’t get your PDF under a target size like 1000 KB, consider splitting the PDF into multiple parts, using a file-sharing service like Dropbox or Google Drive and emailing a link instead, or converting to a different format where appropriate. You can also try compressing in stages - medium first, then high if needed.
How do you choose the right compression size for a PDF?
Image compression reduces file size by either lowering the resolution (DPI) or using more efficient encoding. This is where you’ll see the biggest gains - and where quality loss can occur if you’re not careful. Match the compression level to the document’s destination: aggressive for screen-only review copies, conservative for print-ready files.
What is the best compression setting for Adobe Acrobat?
Starting with medium compression is generally best, and only move to high if the file is still too large. You can always compress again with a stronger setting. Adobe Acrobat Pro’s “Reduce File Size” with the “Standard” preset matches PDF24’s medium setting almost exactly in our testing.
How much can PDF compression reduce file size?
The right tools and settings can shrink PDF files by 60-90% while keeping text crisp and images sharp. Results vary by content - text-heavy documents compress less dramatically than PDFs packed with high-resolution photos, which can shrink dramatically regardless of page count.
What compression level should I use for email attachments?
Medium compression works for most email attachments, striking a balance between file size and quality. If the file still exceeds limits - Gmail and Outlook typically cap at 25MB - move to high compression. Starting at medium and adjusting from there is the recommended approach.
Is it safe to use online PDF compressors?
Reputable services like PDF24, Smallpdf, and iLovePDF document their data-handling practices and auto-delete uploaded files after a short window (typically 1-24 hours). For sensitive documents - contracts, medical records, financial statements - the desktop apps are still the safer choice because files never leave your machine.
Want to learn more about Adobe Acrobat?
Related Guides
More document and productivity guides on this site:
- Document Automation Tips - Systematize repetitive document tasks
- Adobe Acrobat Tips and Tricks - Get more from your Acrobat subscription
- How to Automate Invoicing With AI - Pair PDF compression with billing automation
Related Reading
Tools covered in this article:
- Adobe Acrobat - Professional PDF tools
- Smallpdf - Lightweight web PDF suite
- Dropbox - Share large files via tracked links
More PDF and document guides:
External Resources
For official documentation and updates:
- PDF24 Creator - Official website
- OpenAI - Additional resource