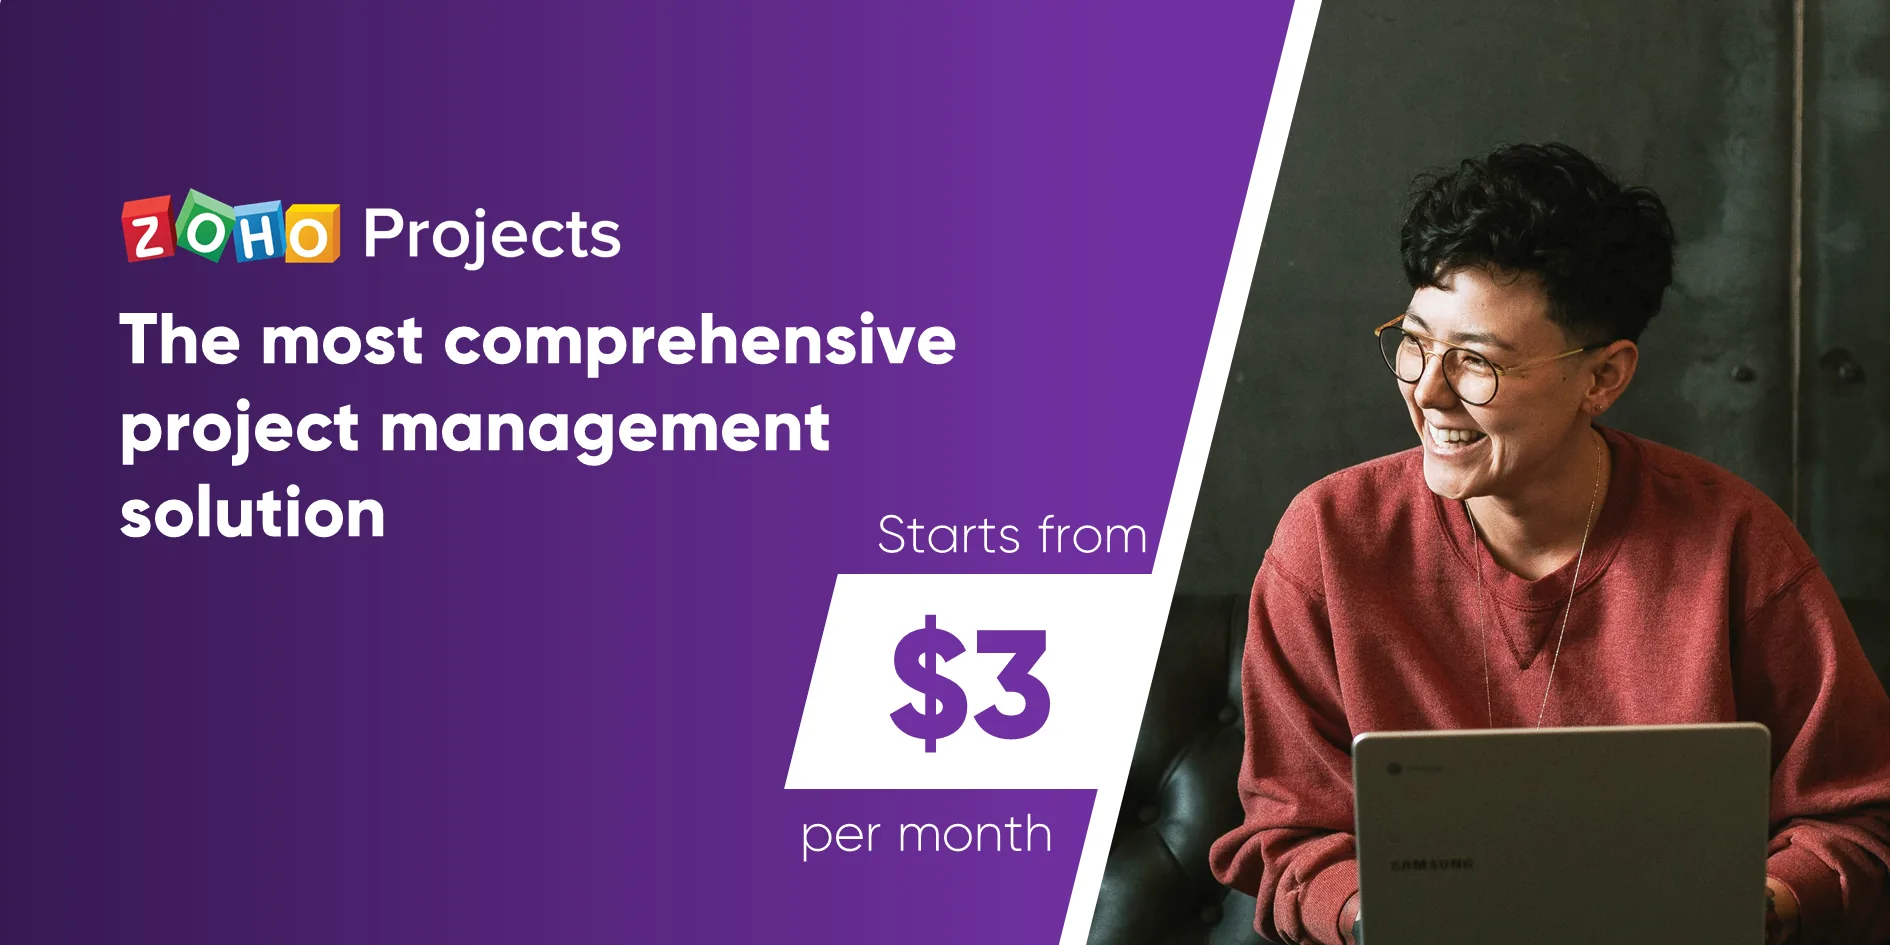
This Zoho projects setup guide takes about 25 minutes to walk through, from signup to a working first project with tasks, milestones, and at least one teammate invited. The free plan covers up to 5 users, 3 active projects, and 5GB storage, which is enough for trial work. Premium starts from their paid plans for unlimited projects, time tracking, and Zia AI. The full plan breakdown lives on the Zoho Projects pricing page.
This Zoho projects setup guide is written for beginners with no prior project management software experience. If you have used Asana, Trello, or Monday.com before, the structure here will feel familiar - tasks live inside projects, milestones group deliverables by date, and Gantt views give you a timeline. The goal of this walkthrough is not to cover every feature. It is to get you to a clean, working setup that you can grow into. For broader context, see our best AI project management tools 2026 roundup.
By the end of this Zoho projects setup guide you will have an account, a first project with three real tasks and one milestone, two teammates invited, and a clear understanding of which features require a paid plan. You will also know what to do next if you decide Zoho Projects is the right fit for your team.
Prerequisites
Before you start the setup, gather the following items so you do not have to stop midway through.
- A working email address (a business email is preferred for team accounts, but a personal Gmail also works for testing)
- A list of two to four teammates you plan to invite, with their email addresses and role names ready
- A rough scope for your first project - the project name, a target end date, and three to five concrete tasks you can list out
- Roughly 25 minutes of focused time
- A modern browser (Chrome, Edge, Firefox, or Safari) with cookies enabled
You do not need a credit card to sign up. The free tier does not require billing details, and the 10-day Premium trial that Zoho sometimes offers can be activated later if you want to test paid features. If you are migrating from another tool, export your existing task list to CSV first - Zoho Projects supports CSV imports for tasks, which saves you from retyping.
If your team already uses Zoho CRM (start free trial) or other Zoho apps, sign in with that same account during signup. Zoho One credentials work across the entire suite, and using them now means your projects automatically share permissions with your CRM contacts and deals later.
How to Sign Up for Zoho Projects
Head to the Zoho Projects homepage and click the “Sign Up Now” button in the top right. You can sign up with email and password, or use single sign-on through Google, Microsoft, LinkedIn, or Apple. For a team account, email and password is usually the cleanest path because it is decoupled from any individual employee’s personal SSO.
Fill in your name, email, and a strong password. Zoho will send a verification email - click the link in that email before continuing. Once verified, Zoho asks for a portal name. The portal name is the URL slug for your account (for example, acmeco.zohoprojects.com), so pick something short, professional, and unlikely to change. You cannot easily rename a portal once it is created without contacting support.
After portal creation, Zoho asks a few onboarding questions: company size, primary use case (software development, marketing, operations, etc.), and whether you want a guided tour. Pick the use case closest to your work. Zoho uses this answer to suggest project templates later. If you are unsure, choose “General” - you can always create custom templates on Premium plans.
The signup flow ends on your empty portal dashboard. You will see a sidebar with Dashboard, Projects, Feed, Calendar, and a few other modules. The dashboard is empty because you have not created a project yet. That is your next step.
A common confusion at the projects login screen is mixing up your portal URL with the generic zoho.com/projects marketing page. Bookmark your actual portal so you do not have to search for it later. The rest of this Zoho projects setup guide assumes you have completed verification and landed on your portal.
Initial Configuration: A Zoho Projects Setup Guide for Plans and Settings
Before creating your first project, take five minutes to configure portal settings. This saves you cleanup work later.

Click the gear icon in the top right and open Portal Configuration. Here you can set the time zone, business hours, and the default work week (most teams want Monday to Friday, but Zoho supports any combination). Set the time zone to your team’s primary location - if your team spans regions, pick the location of the project manager so deadline times are unambiguous.
Next, decide on your plan. The free tier is genuinely useful for testing or for very small teams running one or two projects, but it has hard limits you should know about up front:
- Free plan limits: maximum 5 users, maximum 3 active projects, 5GB storage cap, no time tracking, no custom fields, no automations, no Zia AI features
- Premium: unlimited projects, 100GB storage, 20 project templates, 500 automations per month, time tracking, advanced project views, custom fields, Zia AI for content generation and insights
- Enterprise: adds advanced workflow rules, custom roles, and resource utilization reports
- Ultimate: adds Zoho Analytics integration and the highest automation limits
If you are running more than three active projects or you need to bill clients by the hour, Premium pays for itself almost immediately. The annual billing rate is competitive with Asana Starter and significantly less than Monday.com at the comparable feature tier. Stay on the free plan only if you are genuinely doing fewer than three projects and do not need time tracking. Our project management for small teams post walks through that pricing math for teams of 2 to 15.
Configure your notification preferences from Settings before you create anything. Zoho’s defaults are noisy - it will email you on every comment, status change, and assignment by default. Turn off email notifications for low-value events (like task creation) and keep them on for direct mentions and overdue tasks. You can always tune these later.
Following This Zoho Projects Setup Guide for Your First Project
With your portal configured, click “Projects” in the left sidebar and then “Add Project” in the top right. The new project dialog asks for a project name, group, owner, and optional template.
Pick a clear, action-oriented project name (for example, “Q2 Website Redesign” or “May Product Launch”). Avoid generic names like “Project 1” - once your portal grows past five projects, generic names become impossible to scan in the project list.
The “Group” field is optional but helpful. Groups let you cluster related projects (for example, all client work in one group, all internal initiatives in another). For your first project, leave Group blank and add it later if needed.
The “Owner” field defaults to you. Leave it as you for the setup walkthrough - you can transfer ownership later if a different teammate will run the project day-to-day.
Set start and end dates that are realistic. Zoho uses these dates to calculate the Gantt chart, so picking arbitrary dates means your timeline visualizations will be misleading from day one. If you genuinely do not know the end date yet, set it to four weeks out and adjust later.
If you are on Premium, you can pick a project template here. Templates pre-populate the project with task lists, milestones, and roles - useful for repeatable work like client onboarding or product launches. On the free plan, you start from a blank project. That is fine for your first one.
Click “Add” and Zoho creates the project. You land on the empty project dashboard, which has tabs for Tasks, Milestones, Gantt, Documents, Forum, Chat, Time (Premium), and a few others. The tabs you actually use day-to-day are Tasks, Milestones, and Gantt.
How Do You Add Tasks and Milestones in Zoho Projects?
Tasks are the core unit of work in Zoho Projects. Click the “Tasks” tab and then “Add Task” to create your first task. The task dialog asks for the task name, description, owner, start date, due date, priority, and the task list it belongs to.

Task lists are an organizational layer above tasks - think of them like sections within the project. Common task list patterns include grouping by phase (“Planning”, “Design”, “Development”, “Launch”), by week (“Week 1”, “Week 2”), or by team (“Marketing”, “Engineering”). For your first project, create three to five task lists that match how the work actually breaks down.
Inside each task list, add concrete tasks. Good first tasks have all four of these properties:
- A clear, verb-led name (“Draft homepage copy” not “Homepage”)
- A specific owner (one person, not a group - assign to one person even if multiple people will help)
- A due date that is realistic given the dependencies
- A priority (None, Low, Medium, or High - High should be rare)
Add at least three tasks to your first project before moving on. Subtasks work the same way - select a task, click the subtask icon, and break it into smaller pieces. Subtasks are available on the free plan, which is unusual generosity for a freemium project tool.
Milestones group tasks by major deliverable date. Click the “Milestones” tab and click “Add Milestone”. Give it a name (for example, “Design Review Complete” or “Beta Launch”), a date, and an owner. Then go back to your tasks and link them to the relevant milestone using the milestone field on each task.
Milestones are visual markers on the Gantt chart, which is the timeline view of your entire project. Click “Gantt” in the project tabs to see your tasks and milestones laid out on a calendar. Free-tier users get a Gantt viewer (read-only); editing the Gantt by dragging task bars requires the Premium plan. The viewer is still useful for sharing timeline screenshots with stakeholders.
If you find yourself entering the same task structure repeatedly across projects, that is a strong signal you should upgrade to Premium for the project templates feature. Twenty templates is plenty for most teams. The Zoho Marketing Automation Guide has a related pattern for marketing-specific workflows that integrate with Projects via the Zoho One suite, and the official help center documents the template builder in depth.
How Do You Onboard Your Team in Zoho Projects?
A project with one user is a to-do list. The value of Zoho Projects shows up when you add teammates. Click “Users” in the left sidebar (or the Users tab inside the project) and click “Add User”.
Enter each teammate’s email and pick a role. Zoho’s default roles are Portal Owner, Admin, Manager, Employee, and Contractor, with permissions that scale down in that order. For most invites, “Employee” is the right starting role - they can create and edit tasks but cannot change portal settings or billing.
The free plan caps you at 5 total users including yourself, so plan invites carefully. If your team is larger than four people plus you, you have already outgrown the free tier - Premium is the right move before you build out the project further, because reorganizing tasks across users is more painful than upgrading.
After you send invites, your teammates get an email with a sign-in link. They click it, set a password, and land on the portal. Walk them through the same Settings tour you did - especially the notification preferences. Most onboarding friction in Zoho Projects comes from teammates getting overwhelmed by default email notifications and tuning out before they have learned the tool.
For each invited user, assign them at least one task in your first project. People learn project tools by doing, not by watching demos. A teammate with one assigned task and a due date will figure out the interface in 10 minutes. A teammate dropped into an empty portal and told to “explore” will not log in again. Industry guidance on HBR’s leadership guide to culture reinforces that adoption follows assigned ownership rather than passive invitation.
If your team needs structured Zoho Projects training, the Zoho Projects resources page hosts free video courses and a downloadable guide pdf. There is also a tutorial pdf for administrators that covers permissions, and a guide free option through Zoho’s partner network for paid live training.
Verifying Your Setup
Before you call the setup complete, verify these six items end-to-end. If any one fails, fix it now - debugging issues later when real work depends on the system is much harder.
- Log out and log back in via your portal URL to confirm credentials work
- Open your first project and confirm at least three tasks and one milestone exist with correct dates
- Confirm at least one teammate has logged in and accepted their invite (check the Users tab - their status should show “Active” not “Pending”)
- Open the Gantt view and confirm tasks appear on the timeline at the dates you set
- Send yourself a test notification by mentioning yourself in a task comment using “@yourname” and confirm the email arrives
- Click into your account settings and confirm the time zone matches the date format you see on tasks
If the time zone is wrong, fix it before any deadlines go live - Zoho stores times relative to the portal time zone, and changing it later shifts all existing dates. If a teammate has not accepted their invite after 24 hours, resend it from the Users tab. Pending invites expire after 7 days.
If your tasks are not showing up on the Gantt chart, check that they have both a start date and a due date. Tasks with only a due date sometimes appear as instant-events rather than time-spanning bars. This is a common first-time setup confusion.
Next Steps and Pro Tips
Once your basic setup is verified, here are the next moves that get you the most value from the platform:
- Set up dependencies between tasks. Tasks rarely happen in isolation - “Approve copy” usually depends on “Draft copy”. Click any task, open the Dependencies section, and link predecessor and successor tasks. This makes the Gantt chart genuinely useful for planning. Background reading on critical path scheduling from PMI is worth a skim if you have not done dependency planning before.
- Create a recurring task for any work that repeats weekly or monthly (status reports, invoice runs, content calendar reviews). Recurring tasks are available on the free plan.
- Connect Zoho Projects to your other tools. The free plan supports integrations with Google Drive, Dropbox, OneDrive, Slack, and a handful of others. If you live in Microsoft Teams or Google Workspace, set up the connector now. The full integration list is on the Zoho Marketplace.
- Try the Zia AI features on a Premium trial. Zia can generate task descriptions, summarize project status, and translate content into other languages. Zia is Premium-only, but the trial gives you 10 days to evaluate whether the AI features justify the upgrade. Our Zoho AI Guide covers Zia across the entire Zoho suite.
- Set up time tracking if you bill clients hourly or want to understand where your team’s time actually goes. Time tracking is Premium-only.
- Build a project template from your first project once you have a structure you like. Templates are Premium-only but they pay for themselves the second time you start a similar project.
For a deeper look at Zoho’s AI features, the Zoho Projects Zia AI Guide covers content generation, project insights, and translation. To compare options before committing, the Best AI Project Management Tools 2026 roundup has side-by-side feature and pricing comparisons, and the Project Management for Small Teams post walks through pricing math for teams of 2 to 15 people. For teams that do not need anything paid, the Best Free Project Management Tools post compares free tiers side by side.
Frequently Asked Questions
What are the correct steps to create a project in Zoho?
The correct steps are: log into your Zoho Projects portal, click “Projects” in the left sidebar, click “Add Project” in the top right, fill in the project name and dates, optionally pick a template (Premium) or group, click “Add” to create it, then move into the new project to add task lists, tasks, and milestones. The whole flow takes about 5 minutes for an empty project and 15-20 minutes if you populate it with starter tasks at the same time.
Is Zoho Projects better than Trello?
Zoho Projects is better than Trello for teams that need Gantt charts, dependencies, time tracking, milestones, and integration with a broader business suite (CRM, invoicing, support). Trello is better for teams that want a pure Kanban board with minimal setup and do not need timeline views. Zoho’s free tier covers more features (subtasks, Gantt viewer, document sharing) than Trello’s free tier, but Trello is faster to learn for non-technical users. The right answer depends on whether you need timeline planning - if yes, Zoho Projects wins. If no, Trello is simpler.
Is Zoho Projects better than Asana?
Zoho Projects and Asana compete directly, and the right answer depends on price sensitivity and ecosystem fit. Zoho Projects Premium on annual billing is significantly cheaper than Asana Starter for similar features. Asana has a more polished interface and better mobile apps. Zoho Projects integrates natively with the Zoho suite (CRM, Books, Desk), which matters if you already use those. For teams already in Zoho One, Projects is the obvious pick. For teams starting fresh and prioritizing UX over price, Asana is often preferred.
Can I use Zoho Projects for free forever?
Yes, Zoho Projects has a permanent free plan with no time limit. The free plan supports up to 5 users, 3 active projects, and 5GB of storage with basic task management, subtasks, document sharing, and a Gantt viewer. The plan stays free indefinitely, but it does not include time tracking, custom fields, automations, project templates beyond the basics, or Zia AI features. For very small teams running one or two projects, the free plan is genuinely usable. For growing teams, the 3-project cap usually becomes the first bottleneck.
Where can I find Zoho Projects training and documentation?
Zoho publishes free Zoho projects training through their help center, which includes written documentation, video tutorials, and downloadable resources. The official help center is the authoritative source. For structured learning, Zoho offers paid live training sessions through their partner network, and several third-party platforms (LinkedIn Learning, Udemy) have Zoho Projects courses. For just-in-time help, the in-app chat support on paid plans is responsive, and the community forum has answers to most common questions.
How do I migrate from another project management tool to Zoho Projects?
For most tools, export your existing tasks to CSV (with columns for task name, owner, due date, status, and any custom fields you use), then use the built-in CSV import on the Tasks tab. Larger migrations from Jira or Asana benefit from the Zoho Migration Wizard, which preserves task relationships and comments. Plan to spend 30-60 minutes per project on cleanup - field mappings rarely match perfectly, and you will want to re-link dependencies and milestones manually.
For current plan details, see Zoho Projects pricing, Zoho CRM pricing, or Zoho One pricing.
Want to learn more about Zoho Projects?
Related Reading
- Zoho Projects Tool Page
- Best AI Project Management Tools 2026
- Best Free Project Management Tools
- Project Management for Small Teams
Related Guides
- Zoho Projects Zia AI Guide
- Zoho Analytics Dashboard Setup: Build Your First BI Dashboard
- Zoho Invoice Free Setup Guide: From Signup to First Invoice in 15 Minutes
- Zoho Marketing Automation Guide: Workflows for Lead Nurture and Conversion
- Zoho CRM API Guide: Authentication, Endpoints, and Integration Patterns
External Resources
- Zoho Projects free signup
- Zoho Projects pricing plans
- Zoho Projects help center
Related Guides
- ActiveCampaign CRM Setup: How to Set Up ActiveCampaign CRM
- AI Workflow Automation Maturity Model: 5 Levels
- Apollo Sequences Automated Outreach: Complete 2026 Guide
- Automate Approval Process No Code: Complete 2026 Guide
- Elevenlabs Zapier Integration: Complete 2026 Guide
- How to Automate Invoicing with AI: Complete Guide for 2026
- How to Summarize Meetings with AI: Never Miss Action Items
- Meeting Culture Reform AI: 2026 Walkthrough for Teams
- Migrate HubSpot to Zoho CRM: Sales Team Guide 2026
- Monday.com Automation Tips: 2026 Walkthrough for Teams