Remote support tools are no longer optional for IT teams, MSPs, or even small business owners who occasionally help a client troubleshoot a stuck application. Zoho Assist sits in a useful middle position: it offers a genuinely usable free tier for ad-hoc support, then scales into unattended access, session recording, and department-level access controls as needs grow. This zoho assist setup walkthrough takes you from a brand new account to your first remote session, then layers in unattended access, technician management, and branding so the platform is ready for daily use.
The instructions below follow the order most IT teams move through during their first hour with the product. You will create the account, install the technician console, run a live remote desktop support session against a test machine, then add unattended endpoints and additional technicians. Every step uses the standard web console and works on Windows, macOS, and Linux. The total active time is roughly 20 minutes if your test machine is ready before you begin.
Zoho Assist is one of the best free tier remote support tools available, and pairing it with Zoho One unlocks a far broader set of supporting applications: Zoho Desk for ticketing, Zoho Cliq for technician chat, and Zoho Lens for augmented reality field support. The same login works across the suite, which keeps the operational overhead low. The Zoho One bundle review 2026 covers the bundling math in detail.
What Do You Need Before Starting Zoho Assist Setup?
Before you begin, make sure the following items are in place. Skipping any of these tends to cause the most common first-session failures, where a technician thinks the tool is broken when the issue is actually a local firewall or a missing browser permission.
- A Zoho account. Any free Zoho account works for the Zoho Assist free tier. If you already use Zoho Mail, Zoho CRM, or Zoho One, sign in with that same account.
- A technician workstation running a recent version of Windows, macOS, or Linux. The technician console runs locally and connects out to Zoho’s servers.
- A second machine to act as the customer endpoint for testing. A spare laptop, a virtual machine, or a colleague’s computer all work. Avoid testing against your own technician workstation, since outbound and inbound on the same device makes troubleshooting harder.
- Outbound HTTPS access on port 443 from both machines. Most corporate firewalls allow this by default, but tightly locked-down networks may need to allowlist Zoho’s domains.
- Administrator rights on the customer endpoint if you intend to install the unattended access agent during this guide.
If you plan to use Zoho Assist as part of the broader Zoho One bundle, confirm that your Zoho One administrator has assigned the Zoho Assist application to your user. The application appears automatically once provisioned.
Step 1: Create Your Free Zoho Assist Account
Open a browser and navigate to zoho.com/assist. Click the sign up button and enter your work email address. Zoho sends a verification email that needs to be confirmed before the workspace is fully active. If you already use a Zoho service, click sign in instead and the account selector will surface Zoho Assist as an available app, so a single Zoho Assist login covers every product in the suite.
Once inside the Zoho Assist console, you will see two main starting points: Remote Support and Unattended Access. Both share the same dashboard. The free plan supports one technician seat, one concurrent session, and unlimited ad-hoc remote support sessions to any computer. There is no time limit on the free plan, which makes it suitable for low volume support work indefinitely.
Take a moment to confirm your data center region. Zoho operates regional data centers in the United States, European Union, India, China, and Australia. The region is set when you first sign up and influences where your session metadata is stored. For teams with data residency requirements, this matters. The region is visible at the bottom of the console and in the URL.
Inside Settings, open General and set your time zone. Session logs and recordings stamp times based on this value, so getting it right early prevents later confusion when reviewing audit trails.
How Do You Install the Zoho Assist Technician Console?
The web console works for most session types, but installing the desktop technician application unlocks a more reliable experience for long sessions, copy and paste, and multi-monitor navigation. From the dashboard, click the download link in the top right to start the Zoho Assist download and pick the installer for your operating system. To download Zoho Assist for Windows, choose the Windows package; installers are also available for macOS and Linux.
Run the installer with administrator privileges. On macOS, after the application opens, you will be prompted to grant Screen Recording, Accessibility, and Input Monitoring permissions in System Settings. Approve all three, then quit and reopen the app so the permissions take effect. Skipping any of these will result in a session that connects but cannot actually transmit screen content or accept input.
On Windows, Defender SmartScreen may flag the installer on first run. Click More Info, then Run Anyway. The installer is signed by Zoho Corporation, which you can verify in the publisher field.
Sign in to the technician console using the same credentials you used on the web. The console caches your login so subsequent sessions launch in a few seconds. If your organization uses single sign-on through Zoho Directory or a third-party identity provider, the console handles SSO redirects automatically.
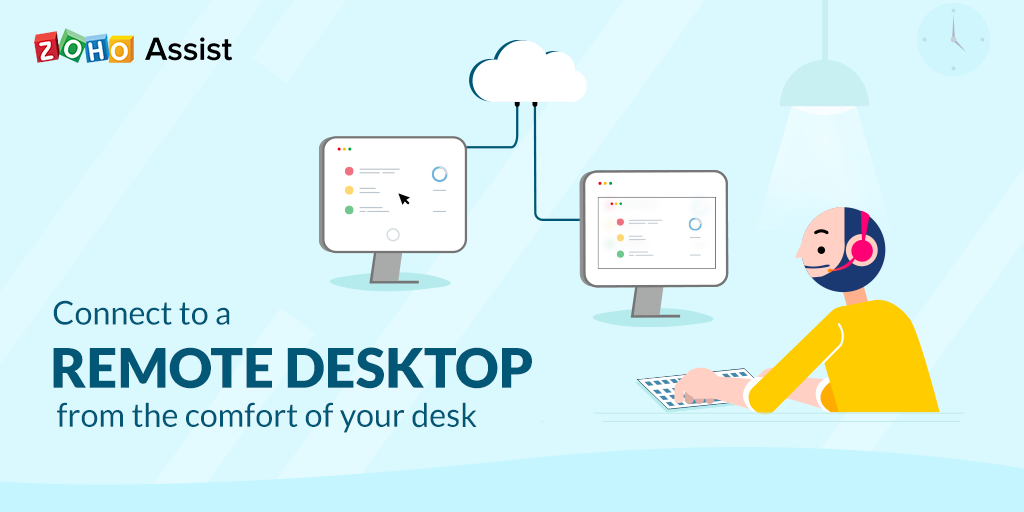
Step 3: Run Your First Remote Support Session
With the technician console installed and signed in, you are ready to run a live support session against your test machine. From the technician console or the web dashboard, click Start Now under Remote Support. Zoho Assist generates a session URL and a numeric session key.
Send the session URL to the test machine using whatever channel you would normally use with a customer: email, chat, or even a phone call where you read out the session key. On the customer endpoint, opening the URL downloads a small lightweight runner. The runner does not require admin rights for a basic screen sharing session, which makes it easy to deploy through corporate environments where the end user is a standard account.
Once the customer runs the application, the session connects automatically and the customer’s screen appears in your technician window. From here you can move the mouse, type, and walk through troubleshooting steps. The customer can pause, end, or take back control at any time, which is a useful trust feature when supporting external clients.
Note the limitations of the free plan during this session: file transfer between machines is not available, multi-monitor navigation falls back to a single primary monitor, and voice chat is disabled. These features become available on the Standard plan at $10 per user per month on annual billing. For teams that genuinely need richer in-session tooling, the upgrade pays for itself quickly. For occasional ad-hoc support, the free tier is fully workable.
End the session by clicking the End Session button. Zoho Assist logs the session duration, the customer machine name, and the technician account in the session history under Reports.
Step 4: Configure Unattended Access
Unattended access is a paid feature that lets you connect to a registered computer without the end user needing to be present or accept a session. It is essential for server administration, after-hours patching, and supporting machines that are physically distant from their owners. To enable unattended access, your account needs to be on the Standard plan or higher.
From the Zoho Assist dashboard, switch to the Unattended Access tab. Click Add Computer. Zoho Assist offers two deployment paths: a direct installer for individual machines, and a deployment file that can be pushed through Group Policy or Microsoft Intune, or a configuration management tool such as NinjaOne or Atera. Pick the direct installer for your first endpoint.
Run the deployment installer on the customer machine with administrator rights. The installer registers the device under your Zoho Assist account and starts the unattended access service. Within a minute or two, the device shows up under Computers in your dashboard with a green dot indicating it is online.
To connect, click the device name and choose Connect. The session opens directly to the desktop, with no acceptance prompt on the remote side. For shared workstations, you can configure a confirmation prompt under the device’s settings if you prefer that the logged-in user knows a session is occurring.
Group your endpoints into Computer Groups by physical location, customer, or function. Group-level permissions let you scope which technicians can connect to which devices, which is critical for MSPs supporting multiple clients from a single Zoho Assist tenant.
Step 5: Add Technicians and Departments
If your team has more than one IT person, the next step is adding additional technicians. From Settings, open Users and click Add Technician. Each technician seat is licensed separately on the paid plans. The free plan is limited to one technician.
When adding a technician, choose between Administrator and Technician roles. Administrators can manage settings, billing, and other users; technicians can run sessions and manage devices but cannot change account-level configuration. For larger teams, the Enterprise plan adds Departments, which let you organize technicians and unattended computers into separate operational units with isolated visibility.
Departments are particularly valuable for MSPs and for IT teams supporting multiple business units within the same parent organization. A technician in the Helpdesk department can be granted access to a specific computer group without seeing devices managed by the Server Operations department. This avoids the scenario where a junior technician accidentally restarts a production database server while triaging a printer issue.
Each technician should sign in to their own console and run a test session before being routed live tickets. The audit trail records every session against the technician who ran it, which becomes important for SLA reporting, compliance reviews, and capacity planning.
Step 6: Customize Branding and Email Templates
By default, the customer-facing prompts and emails carry Zoho Assist branding. For internal IT teams, this is usually fine. For MSPs and for larger organizations that want a polished customer experience, custom branding is available on the Professional plan and above.
From Settings, open Customization. The available options include a custom logo, custom portal URL, custom session UI colors, and custom text on the customer-facing application. Upload a transparent PNG of your logo at roughly 200 pixels wide for best results. Set the portal URL to a subdomain of your company website if you want session URLs to read assist.yourcompany.com instead of join.zoho.com.
Email templates control the messaging in session invitations, scheduled session reminders, and post-session summaries. Open Settings, then Email Templates, and edit each template to match your tone of voice and add any required disclaimers, escalation contacts, or ticket links. Use the available merge tags to insert technician name, session URL, and scheduled time dynamically.
If you operate under regulatory requirements such as HIPAA, GDPR, or SOC 2, this is also where you add the relevant disclosure language to the session start prompt. The session recording disclaimer can be made mandatory on the Enterprise plan, which forces an explicit consent click before the session can begin.
Verifying Your Zoho Assist Setup
Before considering the deployment production-ready, run through this verification checklist. Each item maps to a common failure mode caught in the first week of real use.
- Run a fresh ad-hoc session from a clean technician console to a fresh customer machine. Confirm the session connects in under 30 seconds.
- Restart the unattended access endpoint and confirm it reconnects automatically. Many deployments fail this test because the agent service is set to manual start instead of automatic.
- Sign in as a non-administrator technician and confirm they can only see the computer groups you assigned them. If they see everything, your group permissions are not yet enforced.
- Send a test session invitation email from the platform to your own inbox. Confirm the customized branding renders correctly in Outlook, Gmail, and on a mobile email client.
- Open Reports, then Session History, and confirm the last few sessions are logged with correct technician name, customer machine, duration, and timestamp.
- If you are on the Enterprise plan, enable session recording on a test session, end the session, and confirm the recording is accessible from the session history view.
If every item passes, your zoho assist setup is ready to handle production support. If any item fails, fix it before opening the door to live tickets, since these issues compound quickly when real customers are waiting.
Next Steps for IT Teams
With the platform live, the next phase of work is operational. Connect Zoho Assist to your ticketing system so sessions can be initiated directly from a ticket. Zoho Assist integrates natively with Zoho Desk, Zoho CRM, ServiceNow, Jira Service Management, and Freshservice. See the Zoho Desk setup help center guide for the desk-side configuration. The integration writes session metadata back to the ticket, which closes the audit loop.

Document a standard operating procedure for new technician onboarding so each new hire repeats the same setup steps in the same order. Include the screen recording permission grants on macOS, since this single item causes more first-day issues than any other configuration step.
Set a calendar reminder to review the Reports dashboard monthly. Look at session count, average duration, and technician utilization. If a single technician is running a disproportionate share of sessions, that is a workload distribution problem worth addressing before it becomes a retention problem.
Finally, if you have not yet consolidated your Zoho applications under Zoho One, run the numbers. The Zoho One bundle at $45 per user per month, or $37 per user per month on annual billing, includes Zoho Assist alongside more than 40 other Zoho applications. See the Zoho One pricing page for current rates. For organizations already using Zoho CRM, Zoho Mail, and Zoho Desk, the bundle is almost always cheaper than buying the same applications separately.
Frequently Asked Questions
Is Zoho Assist actually free?
Yes. The Zoho Assist free plan is genuinely free with no time limit. It includes one technician, one concurrent session, and unlimited ad-hoc remote support to any computer. The trade-offs are no file transfer, no multi-monitor navigation, no unattended access, and no rebranding. For occasional support work, those trade-offs are acceptable. For daily IT operations, you will outgrow the free tier within a few weeks and want to move to Standard at $10 per user per month on annual billing.
How does Zoho Assist compare to TeamViewer or AnyDesk?
Zoho Assist is closest to TeamViewer in feature scope and pricing model, and tends to undercut TeamViewer on per-technician cost at every plan level. AnyDesk is generally cheaper than both but has a narrower feature set. For teams already using other Zoho products, the integration with Zoho Desk, Zoho CRM, and Zoho Cliq makes Zoho Assist the obvious choice. For pure remote support without the surrounding ecosystem, evaluate all three on a free trial before committing.
Can I use Zoho Assist for unattended access on the free plan?
No. Unattended access requires the Standard plan or higher. The free plan only supports ad-hoc sessions where the customer accepts the connection. If your primary use case is unattended server access or after-hours patching, plan to start on Standard at minimum.
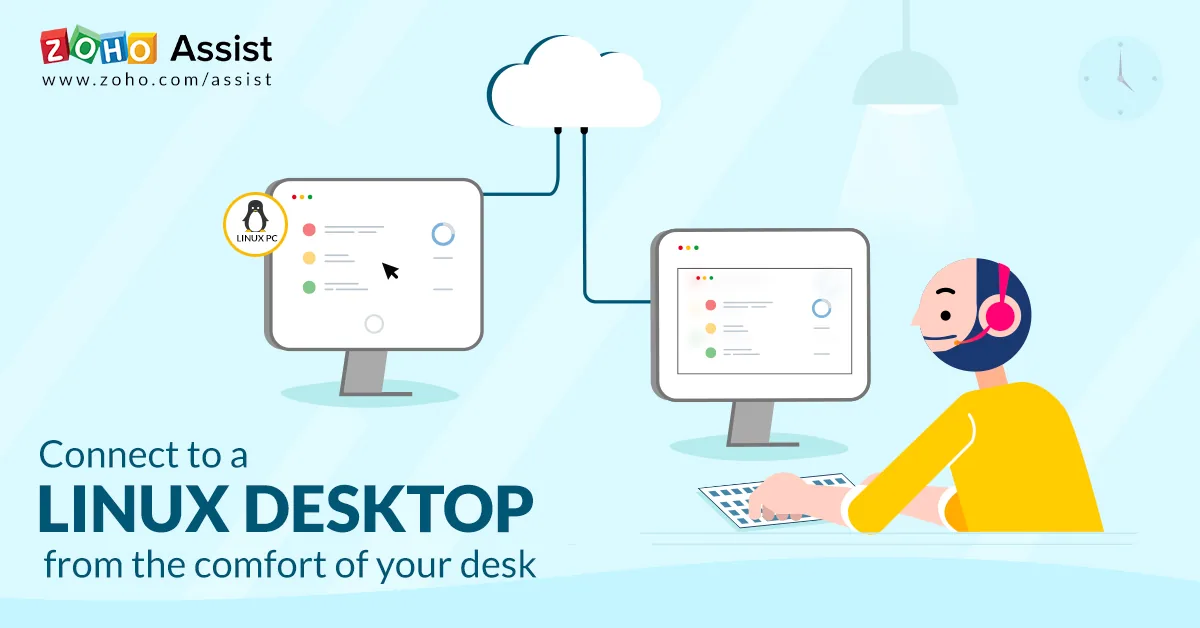
Does Zoho Assist work on Linux?
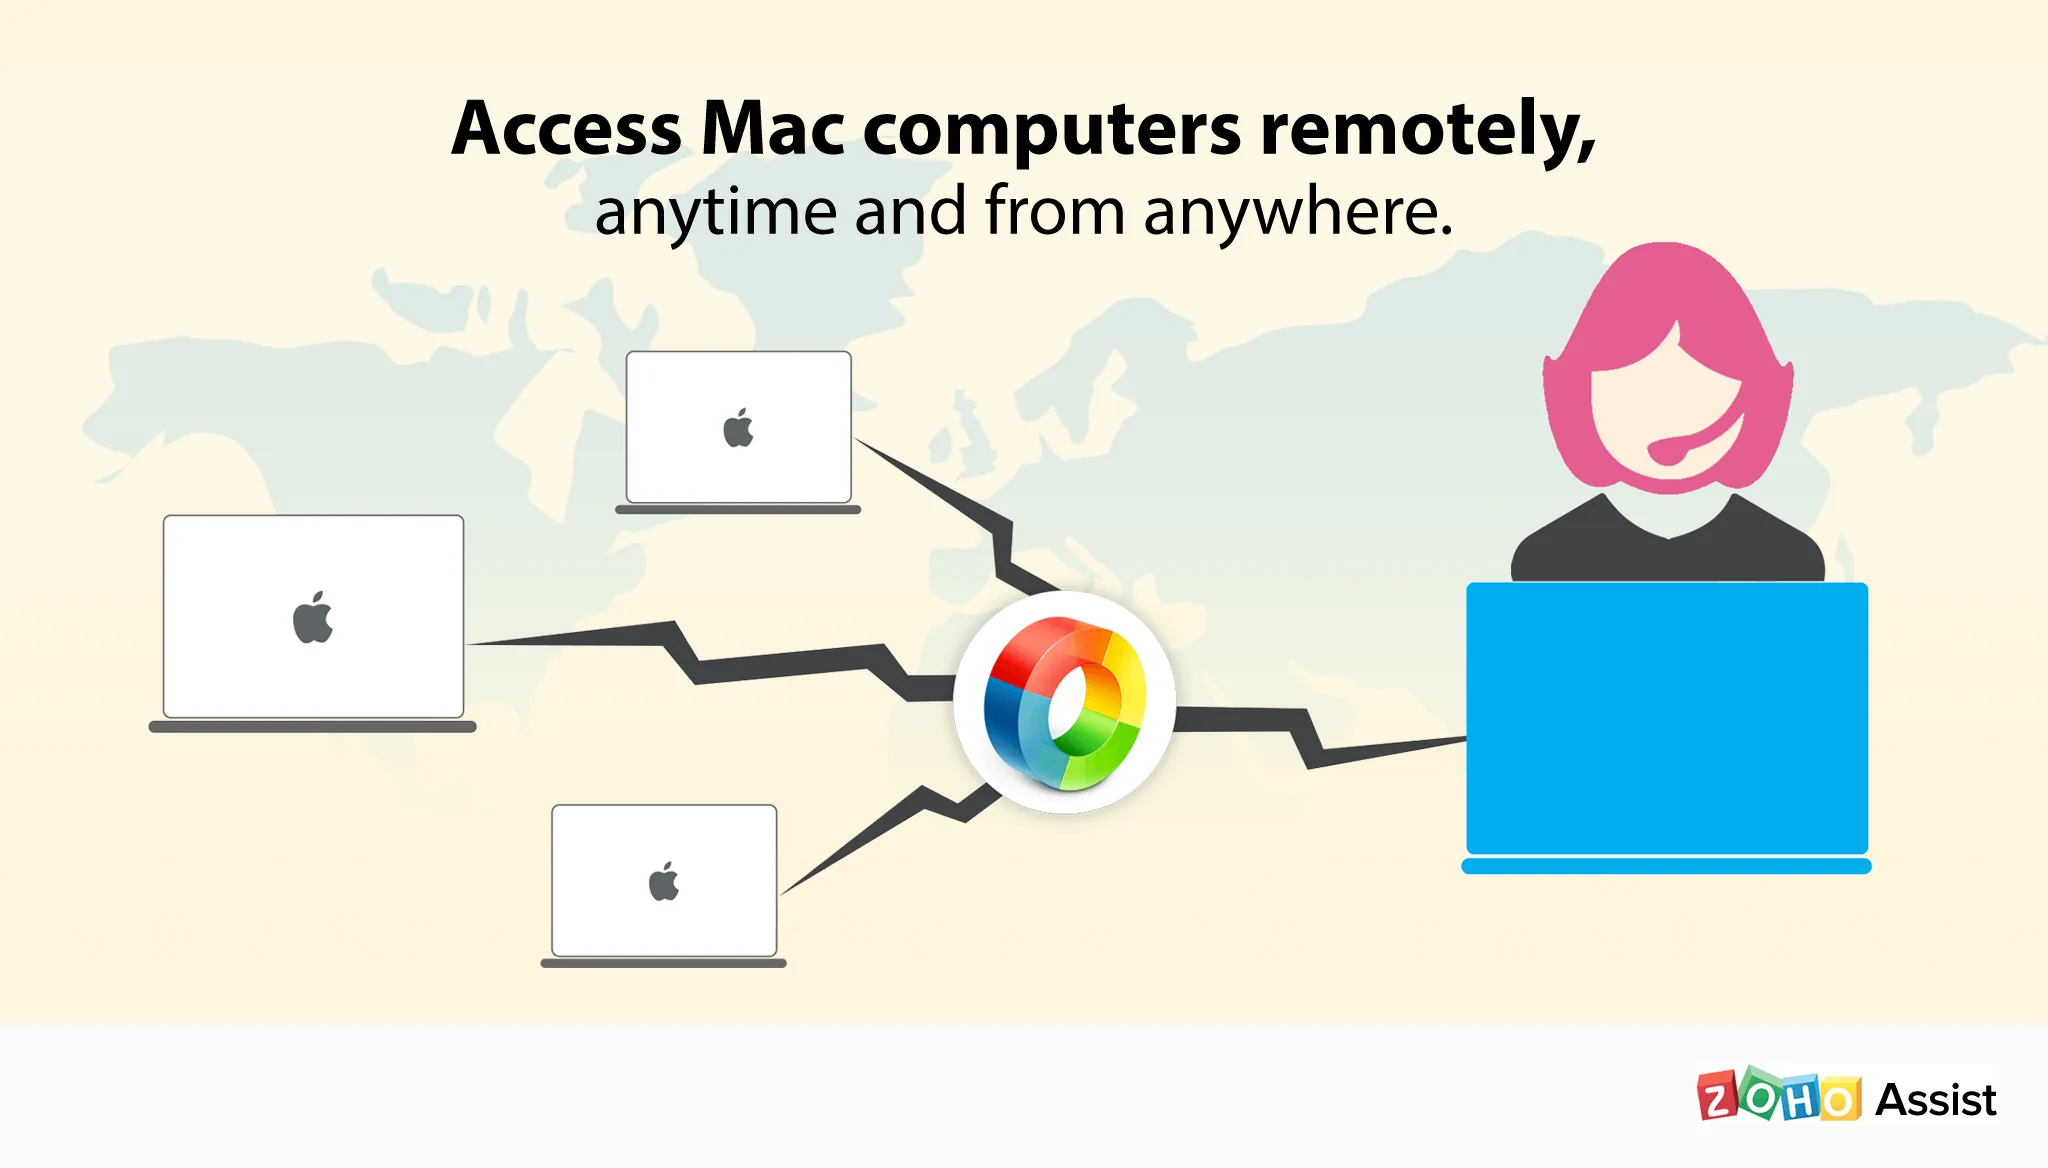
Yes. The technician console and the customer applications are available for Windows, macOS, and most major Linux distributions including Ubuntu, Debian, CentOS, Red Hat, and Fedora. Linux endpoints can both initiate and receive sessions. Unattended access on Linux requires the deployment of the unattended agent service, which runs as a systemd unit on modern distributions.
Is Zoho Assist secure enough for regulated industries?
Zoho Assist holds SOC 2 Type II, ISO 27001, and HIPAA-aligned certifications, and the platform supports session recording, audit trails, and mandatory consent prompts on the Enterprise plan. For the most regulated environments, work with your compliance team to confirm the specific control requirements and review Zoho’s published trust documentation. For most small and mid-sized business contexts, the security posture is more than sufficient.
The Bottom Line
A complete zoho assist setup gives an IT team a free, browser-based remote support console with unlimited ad-hoc sessions on the free tier and unattended access on paid tiers. For solo technicians and small MSPs the free plan is genuinely usable; teams running multiple concurrent sessions or needing session recording will move to Standard or Enterprise. Compare the broader category against alternatives in our remote collaboration tools round-up, the AI tools for small business guide for budget picks, and review the Zoho One tool page if you also need the rest of the suite. The Zoho One bundle review explains when the suite license is more cost-effective than buying Zoho Assist standalone.
Want to learn more about Zoho One?
Related Reading
- Zoho One Tool Page
- Remote Collaboration Tools Compared
- AI Tools for Small Business Teams
- Zoho CRM Alternatives Compared
Related Guides
- Zoho AI Guide: Zia Across the Zoho Suite in 2026
- Zoho Analytics Dashboard Setup: First BI Dashboard
- Zoho Books Setup Guide: Small Business in 30 Minutes
- Zoho Connect Setup Guide: Internal Team Network
- Zoho CRM Setup Guide for Small Business Sales Teams
- Zoho Mail Custom Domain Setup: Migrate from Gmail
- Zoho One Review 2026: Is the All-in-One Suite Worth It?
- Zoho Projects Setup Guide: Tasks, Milestones, Onboarding
- Zoho Sign Setup Guide: Send Your First eSignature Fast
- Zoho Desk Setup Guide: Build Your Help Center
- Zoho Social Setup Guide: Schedule Posts Across All Networks
- Zoho Bookings Setup: Appointment Scheduling in 15 Minutes
- Zoho Campaigns Email Marketing Setup: First Campaign in 20 Minutes
External Resources
Related Guides
- Zoho AI Agents: Step-by-Step Zia Agent Studio Setup
- Zoho AI Guide: Zia Features, Pricing, and Use Cases 2026
- Zoho Bookings Setup: Schedule Appointments Fast
- Zoho Campaigns Setup: Send Your First Email Campaign
- Zoho Cliq Setup Guide 2026: Team Chat in 20 Minutes
- Zoho Commerce Setup Guide (2026): Domain to First Sale
- Zoho Connect Setup Guide: Build a Team Network 2026
- Zoho CRM For Small Business Explained (2026 Guide)
- Zoho CRM Pricing Guide: All Tiers & Costs Compared
- Zoho Flow Tutorial: Connect Apps Without Code 2026