A stable diffusion tutorial is a step-by-step guide to running Stable Diffusion, the free, open-source image generation model that launched in 2022. This tutorial covers installation options, ComfyUI basics, custom models, LoRAs, ControlNet, and video generation - giving users full creative control without content filters, subscriptions, or usage limits imposed by cloud alternatives.
Stable Diffusion changed everything when it launched in 2022. For the first time, anyone could run a state-of-the-art image generation model on their own computer, completely free. No subscriptions, no usage limits, no corporate terms of service deciding what you can create.
Three years later, the ecosystem has exploded and any stable diffusion tutorial 2024 felt out of date by mid-year. ComfyUI replaced AUTOMATIC1111 as the interface of choice. Civitai hosts over 100,000 custom models. And with Stable Video Diffusion and newer models, video generation is now accessible to hobbyists. If you tried Stable Diffusion in 2023 or followed a stable diffusion tutorial 2025 writeup and bounced off, it’s time to revisit.
This stable diffusion tutorial 2026 walks you through everything: installation options, ComfyUI basics, custom models, LoRAs, ControlNet, and video generation. It also points to the stable diffusion tutorial python paths for scripting fans. By the end, you’ll have a working setup and understand the workflows that professionals use.
Why Stable Diffusion Over Midjourney or DALL-E?
Before diving into setup, let’s address why you’d choose Stable Diffusion over simpler alternatives like Midjourney or DALL-E 3.
| Factor | Stable Diffusion | Midjourney | DALL-E 3 |
|---|---|---|---|
| Cost | Free (local) or approximately $0.40/hr (cloud) | $10/month and up | $20/month (ChatGPT Plus) |
| Privacy | 100% local, data never leaves your machine | Cloud-based | Cloud-based |
| Customization | Full control: custom models, LoRAs, ControlNet | Limited style references | Minimal |
| NSFW/Unrestricted | No content filters | Strict policies | Strict policies |
| Learning Curve | Steep | Easy | Very easy |
| Best For | Power users, developers, specific styles | Quick beautiful images | Conversational generation |
Choose Stable Diffusion if you:
- Want complete creative freedom without content restrictions
- Need to generate hundreds or thousands of images
- Have a specific style that requires custom training
- Value privacy and local processing
- Enjoy tinkering and optimizing workflows
Stick with Midjourney/DALL-E if you:
- Need beautiful images fast with minimal setup
- Prefer paying monthly over hardware investment
- Don’t require custom models or advanced techniques
Installation Options: Local vs Cloud
The first step in any stable diffusion tutorial is choosing your installation path. Your hardware determines which approach to take, since Stable Diffusion requires a decent GPU for reasonable performance.
Hardware Requirements
| Setup | Minimum | Recommended |
|---|---|---|
| VRAM | 6GB (slow, limited) | 12GB+ (RTX 3060/4070 or better) |
| RAM | 16GB | 32GB |
| Storage | 50GB free | 200GB+ (models are large) |
Reality check: If you have an RTX 3060 12GB or better, local installation is worth it. If you’re on a laptop GPU, integrated graphics, or Mac (even M1/M2), cloud services are more practical.
Option 1: Local Installation with ComfyUI
ComfyUI is a node-based interface that’s become the standard for serious Stable Diffusion users. It’s more powerful than AUTOMATIC1111 and allows visual workflow creation.
Step 1: Install ComfyUI
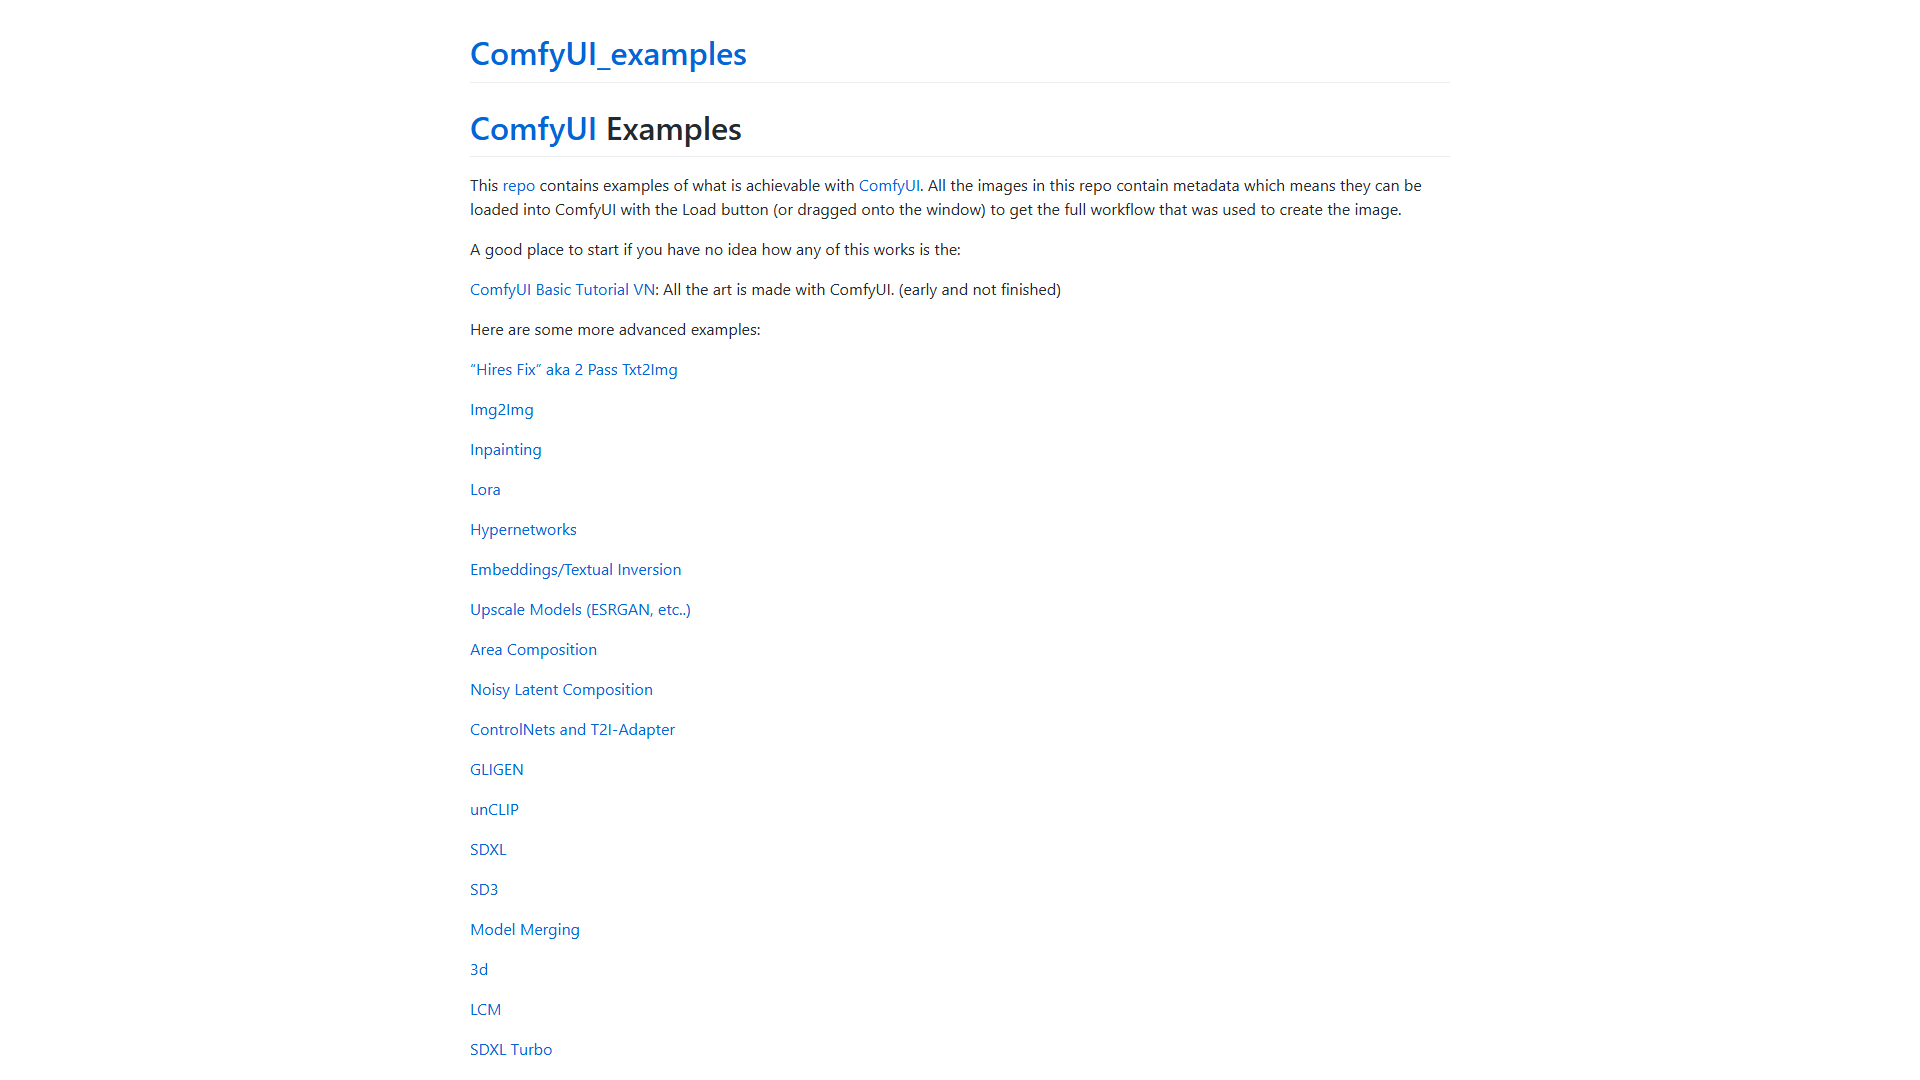
The ComfyUI repository is actively maintained on GitHub with regular updates. Installation is straightforward:
# Clone the repository
git clone https://github.com/comfyanonymous/ComfyUI.git
cd ComfyUI

# Create virtual environment (recommended)
python -m venv venv
source venv/bin/activate  # On Windows: venv\Scripts\activate

# Install PyTorch with CUDA support
pip install torch torchvision torchaudio --index-url https://download.pytorch.org/whl/cu121

# Install ComfyUI dependencies
pip install -r requirements.txt
Step 2: Download a Model
Download Stable Diffusion 3.5 Medium (the best balance of quality and speed) from Hugging Face, the leading platform for open-source AI models:
# Place in ComfyUI/models/checkpoints/
# File: sd3.5_medium.safetensors (~5GB)
Step 3: Launch ComfyUI
python main.py
# Opens at http://127.0.0.1:8188
Option 2: Cloud GPU Services
No GPU? Cloud services provide pre-configured environments at hourly rates.
| Service | Cost | Setup Time | Best For |
|---|---|---|---|
| RunPod | $0.40-0.80/hr | 5 min | Most popular, ComfyUI templates |
| Vast.ai | $0.20-0.50/hr | 10 min | Budget option, variable quality |
| Google Colab | Free-$10/mo | 15 min | Testing, limited runtime |
| ThinkDiffusion | $0.50/hr | Instant | Zero setup, browser-based |
RunPod Quick Start:
- Create account at runpod.io
- Select “Templates” and search “ComfyUI”
- Choose a GPU (RTX 4090 recommended for speed)
- Deploy and access via browser
Cloud costs add up. At 20 hours/month usage, you’re paying $8-16/month, which approaches Leonardo AI subscription prices. But you get full customization that managed platforms can’t match.
ComfyUI Basics: Your First Workflow
ComfyUI uses a node-based system where you connect components visually. Think of it like wiring a synthesizer: data flows from left to right through nodes.
Core Nodes You’ll Use
| Node | Purpose |
|---|---|
| Load Checkpoint | Loads your SD model (.safetensors file) |
| CLIP Text Encode | Converts text prompts to embeddings |
| KSampler | The actual image generation (denoising) |
| VAE Decode | Converts latent space to viewable image |
| Save Image | Outputs final image |
Basic Text-to-Image Workflow
- Load Checkpoint → Connect MODEL, CLIP, VAE outputs
- CLIP Text Encode (Positive) → Your main prompt
- CLIP Text Encode (Negative) → What to avoid
- Empty Latent Image → Set resolution (1024x1024 for SD3.5)
- KSampler → Connect all inputs, set steps (20-30), CFG scale (4-7)
- VAE Decode → Converts to RGB image
- Save Image → Outputs to ComfyUI/output/
Example Prompt:
Positive: "a majestic owl perched on ancient ruins, golden hour lighting,
photorealistic, 8k detail, volumetric fog, depth of field"

Negative: "blurry, low quality, text, watermark, distorted, deformed"
Key Settings:
- Steps: 20-30 (more = better quality, slower)
- CFG Scale: 4-7 for SD3.5 (controls prompt adherence)
- Sampler: euler, dpmpp_2m_sde (experiment to find preference)
- Scheduler: karras or normal
Using Custom Models from Civitai
Civitai is the community hub for Stable Diffusion models. Over 100,000 checkpoints, LoRAs, and embeddings are available, from photorealistic to anime to specific art styles.

Finding the Right Model
Popular Model Types:
| Type | Examples | Best For |
|---|---|---|
| Photorealistic | Juggernaut XL, RealVisXL | Product photos, portraits |
| Anime/Illustration | Pony Diffusion, Animagine | Anime art, character design |
| Artistic | DreamShaper, SDXL Unstable | Creative, painterly styles |
| Specialized | Architecture, Fashion | Industry-specific needs |
Installing Civitai Models
- Find a model on civitai.com (check for SDXL or SD3.5 compatibility)
- Download the .safetensors file
- Place in
ComfyUI/models/checkpoints/ - Reload ComfyUI (Ctrl+R) or restart
- Select in Load Checkpoint node
Pro Tip: Read the model card. Creators specify optimal settings (CFG scale, samplers, trigger words) that dramatically improve results.
LoRA and ControlNet: Advanced Techniques
LoRAs and ControlNet transform Stable Diffusion from “generic image generator” to “precision creative tool.”
LoRA (Low-Rank Adaptation)
LoRAs are small adapter files (10-200MB) that modify model behavior without changing the base model. Use them to add:
- Styles: Specific artistic styles, lighting, compositions
- Characters: Consistent characters across images
- Concepts: Objects, poses, environments
Using LoRAs in ComfyUI:
- Download LoRA from Civitai
- Place in
ComfyUI/models/loras/ - Add “Load LoRA” node after Load Checkpoint
- Connect MODEL and CLIP through the LoRA node
- Set strength (0.5-1.0 typical)
Example: Using a “cinematic lighting” LoRA at 0.7 strength adds Hollywood-style lighting to any prompt.
ControlNet: Precise Composition Control
ControlNet lets you guide image generation using reference images. Instead of hoping the AI positions elements correctly, you specify exact poses, edges, or depth maps.
ControlNet Types:
| Type | Input | Use Case |
|---|---|---|
| Canny Edge | Line drawing/edges | Maintain structure from sketch |
| Depth | Depth map | Control 3D positioning |
| OpenPose | Pose skeleton | Character poses |
| Scribble | Rough sketch | Quick concept art |
| IP-Adapter | Reference image | Style transfer |
Basic ControlNet Workflow:
- Install ControlNet models from Hugging Face
- Add “Load ControlNet Model” node
- Add “Apply ControlNet” node
- Connect your preprocessed image (edge detection, pose extraction)
- Connect to KSampler conditioning
This technique is essential for professional work where specific compositions are required.
Video Generation with Stable Video Diffusion
Stable Diffusion isn’t just for images anymore. Stability AI’s video models enable short-form video generation.
Current Video Models (2026)
| Model | Input | Output | Best For |
|---|---|---|---|
| Stable Video Diffusion | Single image | 2-4 sec clip | Image animation |
| Stable Video 4D 2.0 | Image | Multi-view video | 3D object rotation |
| Stable Virtual Camera | 2D video | Immersive video | Adding camera motion |
Image-to-Video Workflow
- Generate or select a high-quality image
- Use SVD model in ComfyUI (requires separate download)
- Set motion parameters (motion bucket, fps)
- Generate frames (14-25 typical)
- Export as video
Hardware Note: Video generation is significantly more VRAM-intensive. Expect 12GB+ for basic SVD, 24GB+ for higher quality.
For more accessible video generation, consider dedicated platforms like Runway or HeyGen which offer more polished workflows at the cost of flexibility.
Tips for Better Results
These practices consistently improve output quality across many generations.
Prompt Engineering
Structure your prompts:
[Subject], [Style/Medium], [Lighting], [Quality Keywords], [Artist Reference]

Example: "portrait of a cyberpunk hacker, digital painting,
neon rim lighting, intricate details 8k, in the style of Simon Stalenhag"
Quality boosters that work:
- “highly detailed, 8k, intricate”
- “professional photography, DSLR”
- “masterpiece, best quality” (for anime models)
- Specific lighting: “golden hour, studio lighting, volumetric”
Negative prompts matter:
"blurry, low quality, text, watermark, signature, worst quality,
jpeg artifacts, deformed, distorted, extra limbs"
Workflow Optimization
- Start low, scale up: Generate at 512x512 first, upscale winners
- Use Hi-Res Fix: Two-pass generation for sharper large images
- Batch generate: Create 4-8 variations, pick the best
- Save workflows: ComfyUI saves workflows in image metadata
Common Mistakes to Avoid
| Mistake | Solution |
|---|---|
| CFG scale too high | SD3.5 works best at 4-7, not 7-12 like older models |
| Wrong resolution | Match model’s training resolution (1024x1024 for SDXL/SD3.5) |
| Ignoring model cards | Read recommended settings on Civitai |
| Too many LoRAs | Stack 1-3 max, reduce strength when combining |
| Skipping negative prompts | Always specify what to avoid |
Stable Diffusion vs Alternatives Comparison
How does Stable Diffusion stack up against commercial alternatives for different use cases?
- Stable Diffusion: - Free, unlimited, full control
- Midjourney: - Best aesthetics, starting at $10/month
- DALL-E 3: - Best text rendering, pay-per-use
- Leonardo AI: - Best free cloud option
| Use Case | Best Choice | Why |
|---|---|---|
| Quick beautiful images | Midjourney | Aesthetic defaults, minimal prompting |
| Conversational generation | DALL-E 3 | Natural language understanding |
| Specific style consistency | Stable Diffusion | Custom models, LoRAs |
| High volume generation | Stable Diffusion | No per-image costs |
| Video generation | Runway or SD | Depends on control needs |
| Managed custom training | Leonardo AI | Guided workflow, no setup |
Getting Started Checklist
Now that you have completed this stable diffusion tutorial, here is your action plan to get started:
Week 1: Setup
- Assess hardware (GPU VRAM check)
- Install ComfyUI locally or sign up for RunPod
- Download SD 3.5 Medium checkpoint
- Generate first images with basic workflow
Week 2: Exploration
- Browse Civitai for models matching your needs
- Try 2-3 different checkpoints
- Experiment with LoRAs
- Practice prompt engineering
Week 3: Advanced
- Install ControlNet models
- Create pose-controlled generations
- Try image-to-video with SVD
- Build and save custom workflows
The learning curve is real, but the payoff is complete creative control. Unlike subscription services that can change policies or pricing overnight, your local Stable Diffusion setup is yours forever.
For more AI image generation techniques, see our guides on custom model training and AI image generation tips.
Final Thoughts on This Stable Diffusion Tutorial
This stable diffusion tutorial has covered everything from hardware requirements and installation to advanced techniques like ControlNet and LoRA fine-tuning. Whether you choose ComfyUI for its flexibility or a cloud provider for convenience, the open-source ecosystem gives you creative freedom that no subscription service can match. Start with the basics, experiment with different models, and build your skills incrementally - the community resources and model repositories make this stable diffusion tutorial journey rewarding at every stage.
Frequently Asked Questions
How does Stable Diffusion work for beginners?
Stable Diffusion uses a node-based workflow where data flows left to right. A text prompt is converted to embeddings by CLIP Text Encode, then the KSampler performs the actual image generation through a denoising process, and finally the VAE Decode converts the result from latent space into a viewable image. Think of it like wiring a synthesizer - components connect visually, and once you have a working text-to-image graph saved, you can reuse it as the foundation for every advanced workflow.
Can you run Stable Diffusion at home?
Yes - Stable Diffusion can run locally at home for free. An RTX 3060 12GB or better GPU makes local installation worthwhile, with a minimum of 6GB VRAM, 16GB RAM, and 50GB storage. Those on laptop GPUs or integrated graphics may find cloud services like RunPod (from $0.40/hr) more practical than a local setup. Mac users on M-series chips can run smaller models reasonably well, but should expect significantly slower iteration times than a comparable Nvidia GPU.
How to use Stable Diffusion step by step?
The first step in any stable diffusion tutorial is choosing your installation path - local ComfyUI for full control, or a cloud service like RunPod for zero-setup access. Once installed, download an SD 3.5 or SDXL checkpoint, build a basic text-to-image workflow with Load Checkpoint, CLIP Text Encode (positive and negative), Empty Latent Image, KSampler, VAE Decode, and Save Image nodes, then iterate on prompts and settings until output quality matches your goals.
Is Stable Diffusion difficult to use?
ComfyUI is a node-based interface that’s become the standard for serious Stable Diffusion users. It’s more powerful than AUTOMATIC1111 and allows visual workflow creation, but the initial learning curve is steeper than commercial alternatives like Midjourney or DALL-E 3. Plan for 5-10 hours of hands-on practice to reach competence with the basic workflow, and another 10-15 hours to feel comfortable with LoRAs and ControlNet.
What GPU do I need to run Stable Diffusion locally?
A minimum of 6GB VRAM will work but runs slowly with limited options. The recommended setup is 12GB VRAM or more - an RTX 3060 12GB or better. You also need at least 16GB RAM (32GB recommended) and 50GB of free storage, though 200GB+ is more practical since models are large. Nvidia’s 40-series cards with 12GB+ VRAM offer the best price-to-performance ratio for serious Stable Diffusion work in 2026.
How does Stable Diffusion compare to Midjourney for professional work?
Stable Diffusion wins on flexibility, custom training, and total cost of ownership for high-volume work. Midjourney wins on aesthetic defaults and minimal setup. Most professional studios use both - Midjourney for fast concept exploration and Stable Diffusion (via ComfyUI) for production work where consistency, style control, and unrestricted output matter. Our AI image generators comparison breaks down the trade-offs in more detail.
Want to learn more about Stable Diffusion?
Related Guides
- Midjourney Prompt Engineering - Sibling guide on prompt techniques that translate well across image models
- AI Image Generation Tips - Companion guide on prompt structure and workflow optimization
- Custom AI Models Guide - Deeper dive on training and fine-tuning custom checkpoints
Related Reading
Tools covered in this article:
- Stable Diffusion - Open-source image generation
- Midjourney - AI art generation platform
- DALL-E 3 - OpenAI image generation
- Leonardo AI - AI image creation suite
- Runway - AI video and image generation
- HeyGen - AI avatar video creation
More image generation guides:
- Best AI Image Generators for Professional Marketing in 2026
- How to Train Custom AI Models for Brand Consistency
- Best AI Image Generators: Leonardo vs Midjourney vs DALL-E
- Midjourney vs DALL-E 3: Complete Comparison for 2026
- 10 Prompt Engineering Tips for Better AI Images
External Resources
Related Guides
- AI Avatar Video Marketing: 2026 Walkthrough for Teams
- AI Image Generation Tips: 2026 Walkthrough for Teams
- AI Video Creation Tips: 2026 Walkthrough for Teams
- Custom AI Models For Brand Consistency: Complete 2026 Guide
- Elai AI Training Videos: 2026 Walkthrough for Teams
- Leonardo AI Marketing Images: 2026 Walkthrough for Teams
- Master AI Video Marketing: Workflow and Top Tools 2026
- Midjourney Prompt Engineering: Complete 2026 Guide
- Sider AI Browser Productivity: Complete 2026 Guide
- Synthesia Tutorial Tips: Create Pro Videos in 10 Minutes