Most developers install Cursor and immediately start typing prompts into the chat panel. That works, but it barely scratches the surface. The real productivity gains come from features most users never touch - things like .cursorrules files, strategic @-references, and multi-agent parallel workflows.
These 12 Cursor AI productivity tips are the techniques that take a typical workflow from “faster than VS Code” to “3x faster than anything before.” Think of this as a hands-on Cursor AI tutorial for beginners and power users alike - a running list of Cursor tips and tricks that work whether you are on the free tier or a paying subscriber. If you are still evaluating which editor to commit to, our best AI code editors 2026 roundup compares Cursor against the field. Each tip includes the exact steps to implement it, so you can start seeing results today.
What Is Cursor?
Cursor AI Productivity Tips cover the settings, shortcuts, and Cursor AI hacks that most users overlook. Knowing these techniques turns a basic setup into a productivity system that saves hours each week, and understanding how does Cursor AI work at the agent layer is key to unlocking them. This guide focuses on the high-impact adjustments that deliver immediate results.

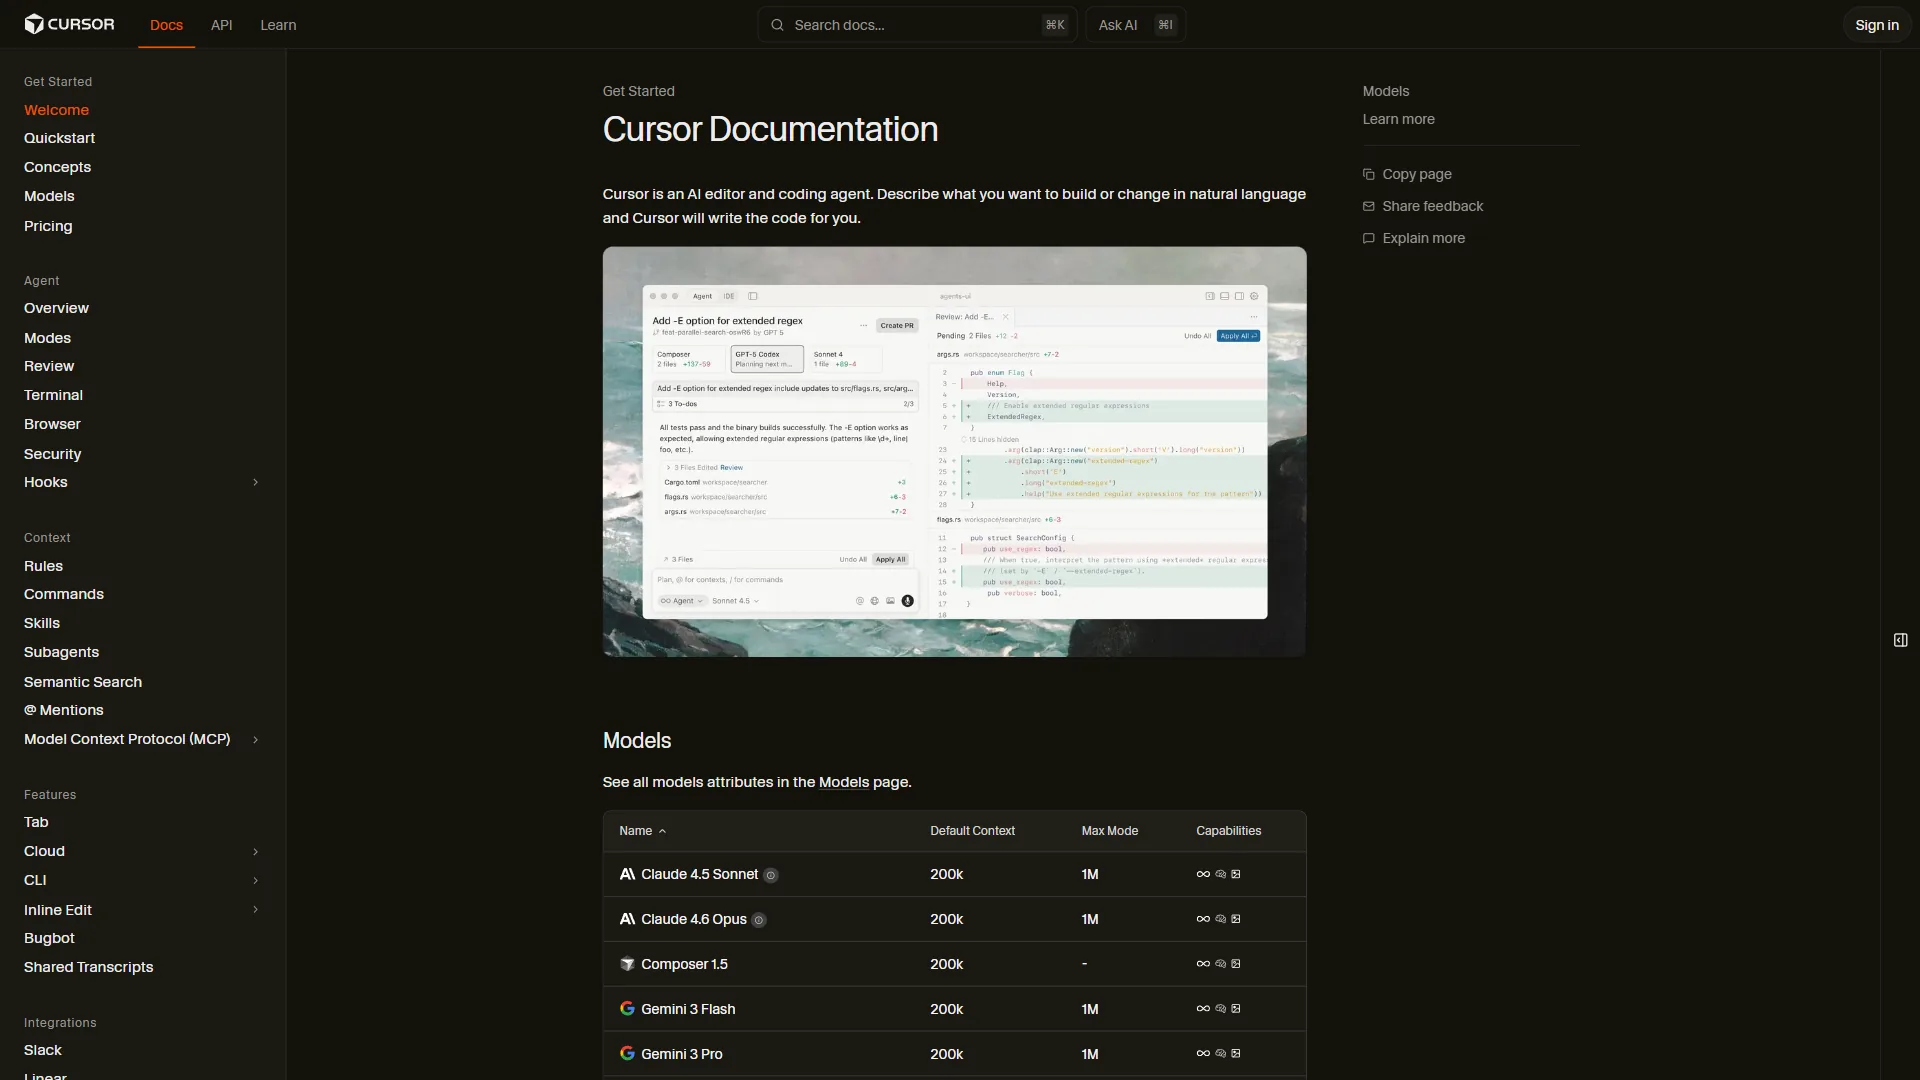
Cursor is an AI-powered code editor built on VS Code that integrates AI assistance directly into your development workflow. It is not just a copilot plugin bolted onto an existing editor - it is a purpose-built environment where AI understands your entire codebase, predicts your next edit, and can execute multi-file changes in seconds.
Pricing verified April 2026 from Cursor's pricing page:
- Hobby: $0/mo
- No credit card required
- Limited Agent requests
- Limited Tab completions
- Pro: $20/user/mo
- Extended Agent limits
- Access to frontier models (GPT-5, Claude 4, Gemini 2.5 Pro)
- MCPs, skills, and hooks
- Pro+: $60/user/mo
- 3x usage on OpenAI, Claude, and Gemini models
- All Pro features
- Priority model access
- Ultra: $200/user/mo
- 20x usage on major models
- Priority access to new features
- All Pro features
- Teams: $40/user/mo
- Shared chats, commands, and rules
- Centralized team billing
- Usage analytics and reporting
- Enterprise: Contact sales
- Pooled usage across organization
- Invoice/PO billing
- SCIM seat management
With over 50% of Fortune 500 companies now using Cursor and the platform hitting $500M in annual recurring revenue by mid-2026, this is no longer an experimental tool - it is production infrastructure, and even power features like Cursor YOLO mode are now part of daily engineering workflows. Here is how to get the most out of it with this practical Cursor AI tutorial covering productivity tips you can implement immediately.
Foundation Tips (1-4): Set Up for Speed
1. Create a .cursorrules File for Every Project
This is the single highest-impact change you can make. A .cursorrules file sits in your project root and tells Cursor’s AI about your coding standards, tech stack, and preferences. Without it, Cursor generates generic code. With it, every suggestion matches your project’s conventions.
How to set it up:
Create a .cursorrules file in your project root:
# Project Context
This is a Next.js 15 app using TypeScript, Tailwind CSS, and Prisma ORM.
We use the app router exclusively. No pages router.

# Code Style
- Use functional components with arrow functions
- Prefer named exports over default exports
- Use `cn()` utility for conditional class names
- Error handling: use Result types, not try/catch
- All database calls go through service layer, never in components

# File Naming
- Components: PascalCase (UserProfile.tsx)
- Utilities: camelCase (formatDate.ts)
- API routes: route.ts inside descriptive folders

# Testing
- Use Vitest, not Jest
- Co-locate test files: Component.test.tsx next to Component.tsx
The more specific your rules, the better. A good practice is maintaining different .cursorrules files for different project types and copying the relevant one when starting new work. Cursor reads this file automatically and applies it to every AI interaction - Tab completions, Composer edits, and chat responses.
2. Master the Three Input Modes
Cursor has three distinct ways to interact with AI, and knowing when to use each one saves enormous time:
Tab Completion (passive) - Powered by the Fusion model, this predicts your next edit as you type. Read more about Cursor’s underlying agent architecture in the official agent docs. It achieves 28% higher acceptance rates than previous models with 21% fewer distracting suggestions. The key insight: Tab does not just complete the current line. It predicts where you will edit next and jumps your cursor there. Let it guide you.
Cmd+K / Ctrl+K (inline) - Highlight code and press Cmd+K to edit it in place. This is faster than chat for targeted changes like “convert this to async/await” or “add error handling here.” Use it for single-file, surgical edits.
Composer (multi-file) - Open with Cmd+Shift+I. This is where the real power lives. Composer understands your entire project structure and can create, modify, and delete files across your codebase in a single operation. Use it for features that touch multiple files - the same multi-file mindset that drives our Claude Code tips and tricks.
The rule of thumb: Tab for flow, Cmd+K for fixes, Composer for features.
3. Use @-References to Give Cursor Precise Context
Vague prompts produce vague code. The @ symbol is your precision tool. Instead of describing what file you mean, reference it directly:
@filename- Reference a specific file@folder- Reference an entire directory@codebase- Search your entire project@web- Pull in web search results@docs- Reference documentation (also see the @-symbol reference)@git- Reference git history and diffs
Before: “Update the user authentication to add rate limiting”
After: “Add rate limiting to @auth/middleware.ts using the pattern from @lib/rateLimiter.ts. Apply to all routes in @app/api/auth/”
The second prompt produces correct, contextual code on the first try because Cursor knows exactly which files to read and which patterns to follow. Using @-references in approximately 80% of Composer prompts is a good benchmark to aim for.
4. Configure Your AI Model Strategy

Cursor supports multiple AI models, and using the right one for each task matters more than most developers realize:
- Auto mode - Let Cursor pick the best model per task. This is the default and works well for most workflows. It balances speed and quality automatically.
- Claude 4 Sonnet - Best for complex refactoring and architectural decisions. Slower but more thoughtful.
- GPT-5 - Strong for rapid generation and boilerplate code. Fast responses.
- Gemini 2.5 Pro - Excellent for large context windows and long file analysis.
For daily work, Auto mode is the best default - only override it when a specific model’s strengths are needed. If you are on Pro+, you get access to frontier models that handle the most demanding tasks.
Workflow Tips (5-8): Daily Speed Gains
5. Use Composer for Multi-File Feature Development
Stop building features one file at a time. Composer can scaffold an entire feature across your project in a single prompt:
Example prompt:
Create a user notifications system:
1. Prisma schema for Notification model with userId, type, message, read, createdAt
2. Service layer at @lib/services/notifications.ts with CRUD operations
3. API routes at @app/api/notifications/ for GET (list) and PATCH (mark read)
4. React component at @components/NotificationBell.tsx with dropdown
5. Hook at @hooks/useNotifications.ts with SWR for real-time updates
Composer generates all five files with proper imports, types, and cross-references. The Composer Agent model completes most multi-file tasks in under 30 seconds - around 4x faster than doing each file individually. Review the output, make adjustments, and you have a working feature in minutes instead of an hour.
6. Run Parallel Agents for Complex Tasks
This is the feature that changes how developers approach large projects. On Pro and above, you can run up to 8 agents in parallel from a single prompt. Each agent works in an isolated copy of your codebase using git worktrees, so they cannot conflict with each other.
If you have not used branching workflows much before, our AI pair programming guide covers the mental model that makes parallel agents click.
When to use parallel agents:
- Implementing the same pattern across multiple modules
- Writing tests for several components simultaneously
- Refactoring different parts of a codebase in parallel
- Building frontend and backend pieces of a feature at the same time
Example: “Write unit tests for all service files in @lib/services/. Test each service in parallel.”
Cursor spawns separate agents for each service file using git worktrees. What would take 45 minutes sequentially finishes in under 10. The isolated worktrees mean each agent has a clean copy of your code - no merge conflicts, no stepping on each other’s changes.
7. Build Prompt Templates for Repeated Tasks
If you find yourself writing similar prompts repeatedly, create a templates file that you can reference:
Create a prompts.md file in your project:
## New API Endpoint
Create a REST endpoint at @app/api/{resource}/:
- GET (list with pagination), GET/:id, POST, PATCH/:id, DELETE/:id
- Zod validation schemas
- Service layer integration
- Error handling with proper HTTP status codes
- TypeScript types exported from a shared types file

## New React Component
Create a component at @components/{Name}.tsx:
- TypeScript props interface
- Tailwind CSS styling (no CSS modules)
- Loading and error states
- Unit test file alongside
Reference these templates in Composer: “Follow the ‘New API Endpoint’ template from @prompts.md to create a /products endpoint.” This consistency eliminates the overhead of writing detailed prompts every time and ensures your codebase stays uniform.
8. Use Cmd+K for Rapid Inline Refactoring

While Composer handles multi-file work, Cmd+K is unbeatable for quick, targeted edits. Select a block of code and describe the change:
High-impact Cmd+K patterns:
- Select a function: “Add comprehensive error handling with typed errors”
- Select a component: “Convert to use React.memo with custom comparison”
- Select a test: “Add edge cases for null input, empty string, and unicode”
- Select an interface: “Make all fields optional and add JSDoc comments”
- Select a CSS block: “Convert to Tailwind utility classes”
The speed advantage: Cmd+K applies changes inline without opening a separate panel, switching context, or losing your place in the file. For small edits, it is around 2x faster than chat or Composer because there is zero context-switching overhead.
Advanced Tips (9-12): Power User Techniques
9. Use Background Agents for Long-Running Tasks
Background Agents (available on Pro and above) run tasks asynchronously without blocking your editor. Start an agent, keep coding, and check results when it finishes.
Best use cases for background agents:
- Large-scale refactoring across dozens of files
- Generating comprehensive test suites - especially valuable when paired with AI coding assistants for review
- Migrating code from one framework to another
- Creating documentation for existing code
Start a background agent from the Composer panel, describe the task, and continue working. Cursor notifies you when the agent completes. This is especially valuable for tasks that take several minutes - instead of watching a progress bar, you are productive the entire time.
10. Chain Composer Sessions for Complex Refactoring
For major refactoring projects, break the work into sequential Composer sessions rather than one massive prompt. Each session builds on the previous one:
Session 1: “Analyze @src/legacy/ and create a migration plan. List every file that needs changes and what changes are needed.”
Session 2: “Following the migration plan, update all type definitions in @types/ to use the new schema.”
Session 3: “Update all service files in @lib/services/ to use the new types. Reference @types/ for the updated definitions.”
Session 4: “Update all components in @components/ to match the updated service interfaces.”
This sequential approach works better than one giant prompt because each session has focused context. Cursor’s automatic conversation summarization keeps track of previous sessions, so the AI maintains continuity without losing detail.
11. Optimize Tab Completion With Consistent Coding Patterns
Tab completions learn from your codebase patterns. The more consistent your code, the more accurate Tab becomes. Here is how to maximize this:
Write one example, then let Tab replicate it. If you need 10 similar API handlers, write the first one manually with your exact patterns. Tab will predict the next 9 with remarkable accuracy because it recognizes the pattern.
Keep naming conventions strict. If your service methods follow getUser, getUsers, createUser, updateUser, deleteUser - Tab will predict the entire CRUD set after seeing two or three examples.
Accept Tab predictions aggressively. The Fusion model’s 28% higher acceptance rate means most predictions are correct. Develop the habit of scanning and pressing Tab quickly rather than ignoring suggestions. The cursor-jump feature shows you where the next edit should go - trust it and press Tab to navigate there.
Over a full day of coding, aggressive Tab acceptance saves around 45 to 60 minutes compared to typing everything manually. Many of the same prompting principles in our Claude Code prompt engineering guide apply here - clear context up front pays off in every Tab cycle.
12. Use Git Integration for Context-Aware Code Reviews
Cursor’s built-in git understanding is an underused superpower. Use @git references to tap into your version history:
- “Review the changes in
@git diffand suggest improvements” - “What patterns were used in
@git logfor similar features?” - “Generate a PR description for the current
@git diff --staged”
For code reviews, paste a PR URL or diff into chat and ask Cursor to review it with your project’s standards in mind. Combined with your .cursorrules file, this produces reviews that catch style violations, missing error handling, and architectural concerns - not just syntax issues. If you work across GitHub and other version control tools, Cursor’s git integration keeps your review workflow centralized. The Cursor changelog is also worth a periodic skim - new agent features ship almost monthly.
Cursor Pricing: Which Tier Do You Need?
For implementing these tips, here is what you actually need:
| Tip | Minimum Tier |
|---|---|
| .cursorrules, @-references, Cmd+K | Hobby (Free) |
| Composer multi-file edits | Pro ($20/mo) |
| Parallel agents (8 concurrent) | Pro ($20/mo) |
| Background agents | Pro ($20/mo) |
| Frontier models (Claude 4 Opus, GPT-5) | Pro+ ($60/mo) |
The Pro tier at $20/month unlocks the tips that deliver the biggest productivity gains. Developers report 20-25% time savings on debugging and refactoring, with complex projects seeing 30-50% reductions in development cycles. Engineers using Cursor actively merge around 20% more pull requests per week while maintaining quality.
If you are on the free Hobby tier, tips 1 through 4 and tip 11 still deliver significant improvements. Upgrade to Pro when you are ready for Composer and parallel agents. For a side-by-side look at how Cursor stacks up against its closest rival, see our Claude Code vs Cursor 2026 comparison, and our Windsurf vs Cursor breakdown covers the other major contender.
The Bottom Line: Cursor AI Productivity Tips That Compound
These 12 Cursor AI productivity tips represent the difference between using Cursor as a fancy autocomplete and using it as a genuine force multiplier. The foundation tips (.cursorrules, @-references, model strategy) take 15 minutes to set up and pay dividends on every single prompt. The workflow tips (Composer, parallel agents, prompt templates) change how you approach feature development. And the advanced tips (background agents, chained sessions, git integration) compound your gains over weeks and months.
Start with tip 1 - creating a .cursorrules file for your current project. You will notice the difference in your very next AI interaction. Bookmark these Cursor AI productivity tips and revisit them as your workflow evolves.
Frequently Asked Questions
What is a .cursorrules file and why does it matter?
A .cursorrules file sits in your project root and tells Cursor’s AI about your coding standards, tech stack, and preferences. Without it, Cursor generates generic code; with it, every suggestion matches your project’s conventions. Cursor reads this file automatically and applies it to Tab completions, Composer edits, and chat responses.
When should I use Tab, Cmd+K, or Composer in Cursor?
Cursor has three input modes, and the rule of thumb is: Tab for flow, Cmd+K for fixes, Composer for features. Tab completion predicts your next edit as you type, Cmd+K edits highlighted code in place for surgical single-file changes, and Composer handles multi-file work across your entire project.
How do parallel agents work in Cursor?
On Pro and above, you can run up to 8 agents in parallel from a single prompt. Each agent works in an isolated copy of your codebase using git worktrees, so they cannot conflict with each other. What would take 45 minutes sequentially finishes in under 10, with no merge conflicts between agents.
Which Cursor pricing tier do I need for these productivity tips?
The Hobby free tier covers .cursorrules, @-references, and Cmd+K. Pro at $20/month unlocks Composer multi-file edits, parallel agents, and background agents - the tips that deliver the biggest productivity gains. Pro+ at $60/month adds frontier models like Claude 4 Opus and GPT-5 for the most demanding tasks.
Does Cursor work offline or do I need an internet connection?
Cursor’s editor opens locally, but every AI feature - Tab completions, Composer, Cmd+K, and chat - requires an internet connection because inference runs on the model providers’ servers. You can still edit code offline using Cursor as a regular VS Code-compatible editor, but the AI assistance pauses until you reconnect.
How is Cursor different from GitHub Copilot?
Both predict code as you type, but Cursor is a full editor with multi-file Composer agents, parallel git-worktree agents, and @-references that pull project context into prompts. Copilot is an IDE plugin focused mainly on inline completions and chat. For a side-by-side breakdown see our GitHub Copilot vs Cursor comparison.
Want to learn more about Cursor?
Related Guides
- Claude Code Tips and Tricks - Companion AI coding workflow techniques
- Claude Code Prompt Engineering - How to structure prompts for AI coding agents
- Building MCP Servers Guide - Extend AI editors with custom tools
- Warp Terminal Guide - AI-native terminal that pairs well with Cursor
Related Reading
Tools covered in this article:
- Cursor - AI-powered code editor built on VS Code
More coding productivity guides:
- Best AI Code Editors 2026 - Cursor vs Windsurf vs Copilot compared
- Best AI Coding Assistants - Complete developer guide to AI coding tools
- GitHub Copilot vs Cursor - Feature-by-feature breakdown
- AI Pair Programming Guide - How to work effectively with AI coding assistants
External Resources
For official Cursor documentation and community resources:
- Cursor Documentation - Official guides for features, settings, and keyboard shortcuts
- Cursor Blog - Product updates, new model releases, and feature announcements
- Cursor Community Forum - Tips, troubleshooting, and workflow discussions from other developers
Related Guides
- Atlassian Tools for Developers: Jira, Confluence & Bitbucket
- Bitbucket Pipelines Guide: Compare CI/CD Tools in 2026
- Claude Code Hooks Guide: PreToolUse, PostToolUse, Stop
- Claude Code Ultraplan & Plan Mode: Complete Guide (2026)
- ElevenLabs API Setup: Developer Quick Start Guide (2026)
- ElevenLabs Getting Started: Complete Beginners Guide
- Elevenlabs Pronunciation Dictionary: Complete 2026 Guide
- ElevenLabs Python SDK Tutorial: Complete 2026 Guide
- GitHub Actions Tutorial: Build a CI/CD Pipeline Fast
- Localization Workflow Automation: Complete 2026 Guide