You have a library of blog posts generating traffic, but you are leaving views on the table by not repurposing them as video content. The fliki blog to video workflow from Fliki AI solves this problem by letting you paste a URL and walk away with a fully narrated, visually polished video in minutes. Users who adopt this workflow report staggering time savings compared to traditional video production - what used to take an afternoon now takes under 15 minutes.
This tutorial walks through the complete process: importing your blog URL into Fliki, selecting the right AI voice, editing scenes for quality, choosing export settings, and publishing across platforms. Whether you are a content marketer scaling video output or a blogger hoping to convert a blog post to video free of charge before upgrading, this guide covers every step from URL to finished video. For broader strategy context, see our AI video marketing guide.
Why Repurposing Blog Content as Video Matters
Before diving into the how-to, here is the strategic case for turning written content into video. According to Wyzowl’s 2026 Video Marketing Statistics report, 91% of businesses use video as a marketing tool, and 87% of marketers say video has directly increased sales. Yet most content teams still create blog posts and videos as entirely separate workflows.
Repurposing flips this equation, as covered in our AI video creation tips. A single 2,000-word blog post already contains the research, structure, and narrative that a video needs. Some teams wonder whether a Fliki alternative free of cost can match this output, but the missing pieces - visuals, voiceover, and formatting - are exactly what AI video tools now handle automatically.
The SEO case is equally compelling. Pages with embedded video are 53 times more likely to appear on the first page of Google results. By converting your existing blog content into video, you strengthen both the original article (with an embedded video) and your YouTube or social media presence simultaneously.
What You Need Before Starting
Gathering your materials before opening Fliki prevents wasted credits and backtracking mid-project.
Required:
- A published blog post URL (Fliki extracts content directly from the page)
- A Fliki account - the free tier gives you 5 minutes per month to test the workflow, though the Standard plan at $28/month is where the fliki blog to video feature becomes practical for regular use
Recommended:
- A brand kit with your logo, colors, and preferred fonts (available on Standard plan and above)
- A list of 2-3 AI voices you have previewed and liked - this saves time during the voice selection step
- An idea of your target platform (YouTube, LinkedIn, Instagram, TikTok) since aspect ratio decisions come early in the process
Step 1: Import Your Blog Post URL
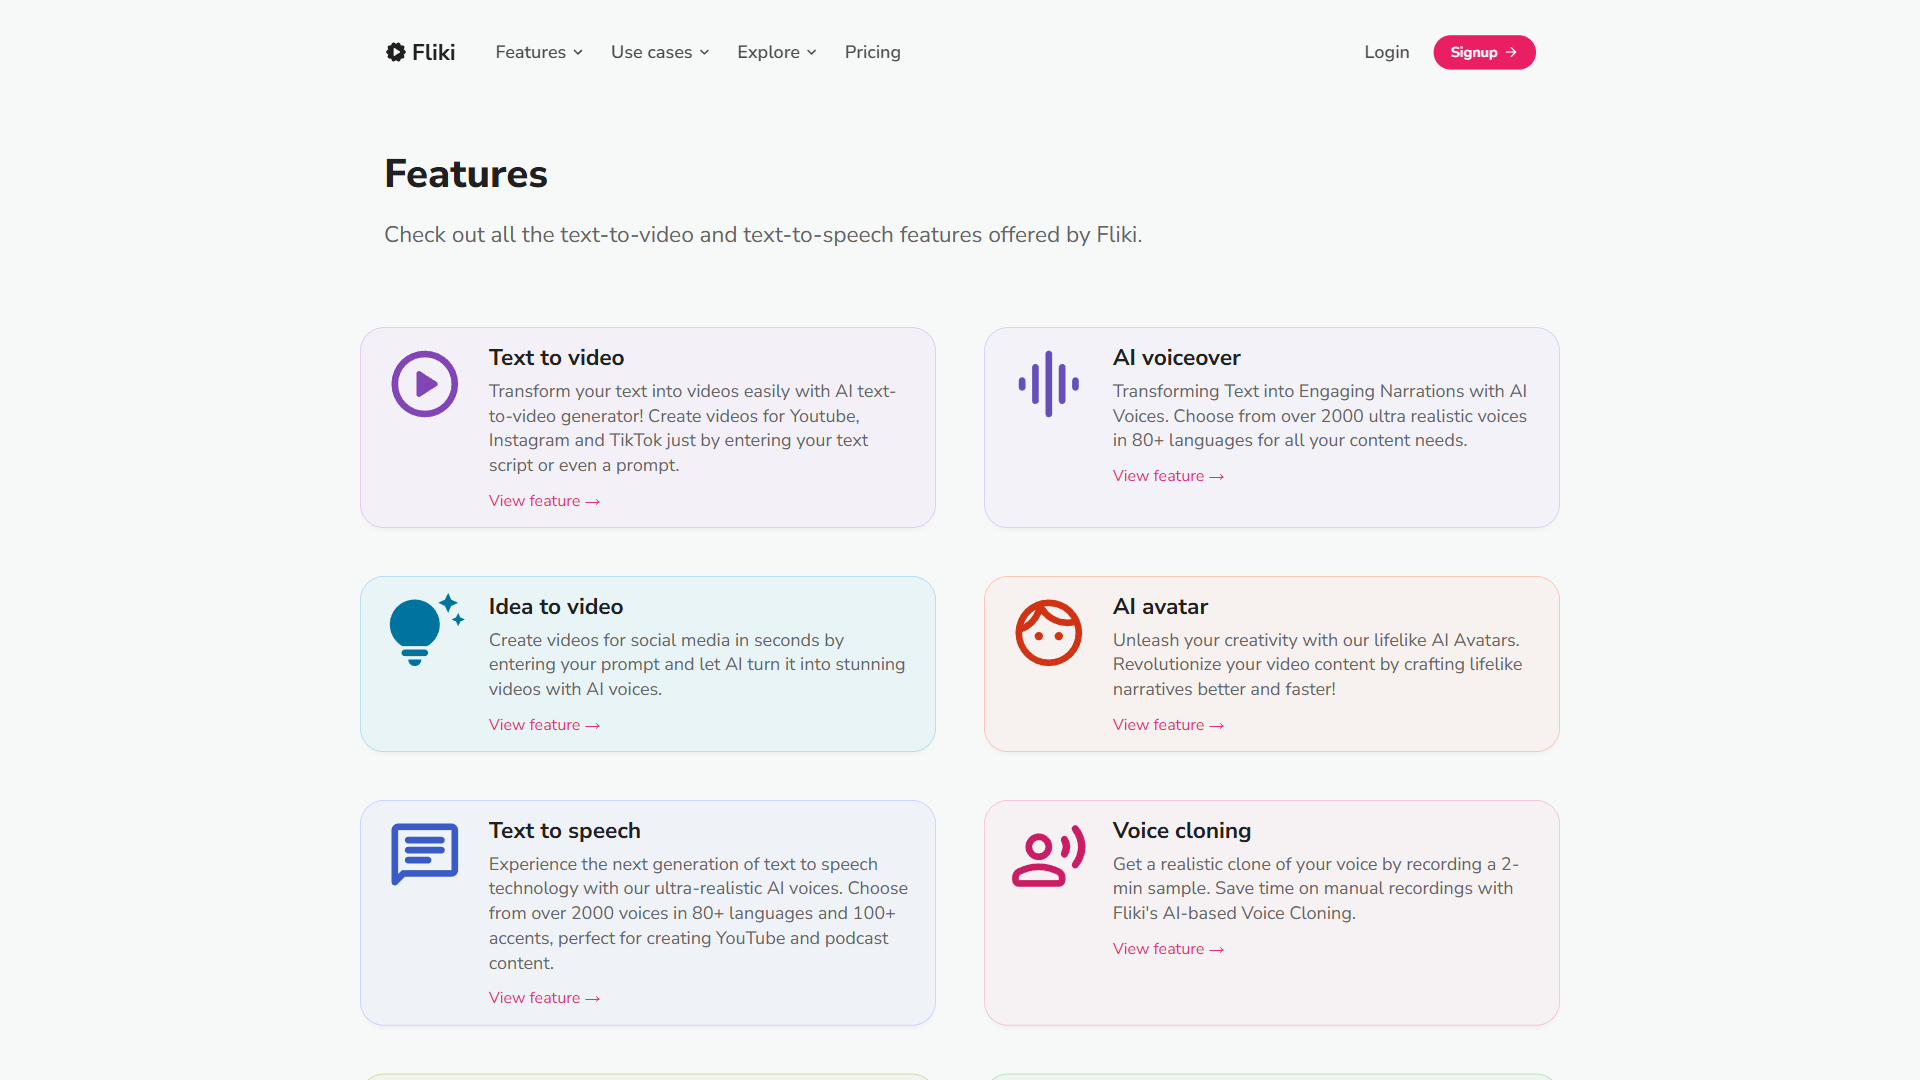
Log into your Fliki dashboard and create a new project. You will see several creation options including text-to-video, idea-to-video, and the one we want: the Blog to Video converter.
How the URL import works:
- Click the Blog to Video option
- Paste your full blog post URL into the input field
- Fliki’s AI crawls the page and extracts the text content, headings, and structure
- The tool generates a scene-by-scene breakdown with suggested visuals and narration for each section
The AI does a solid job of identifying your article’s main sections and converting them into logical video scenes. Each heading typically becomes a new scene, and the body text under each heading becomes the voiceover script for that scene.
What to watch for: The extraction is not always perfect. Blog posts with complex layouts - multi-column designs, embedded widgets, or heavy use of code blocks - sometimes produce incomplete or jumbled text. If your article has unusual formatting, you may get cleaner results by pasting the raw text manually instead of using the URL import.
Step 2: Review and Edit the AI-Generated Script
Once Fliki processes your URL, you will see a storyboard view with your blog content broken into individual scenes. Each scene contains a text block (the narration script), a suggested visual, and timing information.
Editing the script for video:
Blog writing and video narration have different rhythms. What reads well on screen often sounds awkward when spoken aloud. Here is how to adjust the script before generating voiceover:
- Shorten sentences. Blog sentences can run 30+ words. For video narration, aim for 15-20 words per sentence. Shorter sentences give the viewer time to absorb each point.
- Remove visual references. Phrases like “as shown in the chart below” or “click the link above” do not translate to video. Replace them with direct statements.
- Add transitions. Written content relies on headings to signal topic changes. In video, you need verbal bridges - phrases like “Now let us look at…” or “The next step is…” keep the narrative flowing.
- Cut ruthlessly. A 2,000-word blog post converts to roughly 12-15 minutes of video at a natural speaking pace. For social platforms, you want 3-5 minutes. That means cutting 60-75% of the original text and keeping only the highest-impact points.
Pro tip: Read your edited script aloud before selecting a voice. If you stumble on a phrase while reading, the AI voice will likely stumble too. Smooth the wording until it flows naturally when spoken.
Step 3: Select Your AI Voice
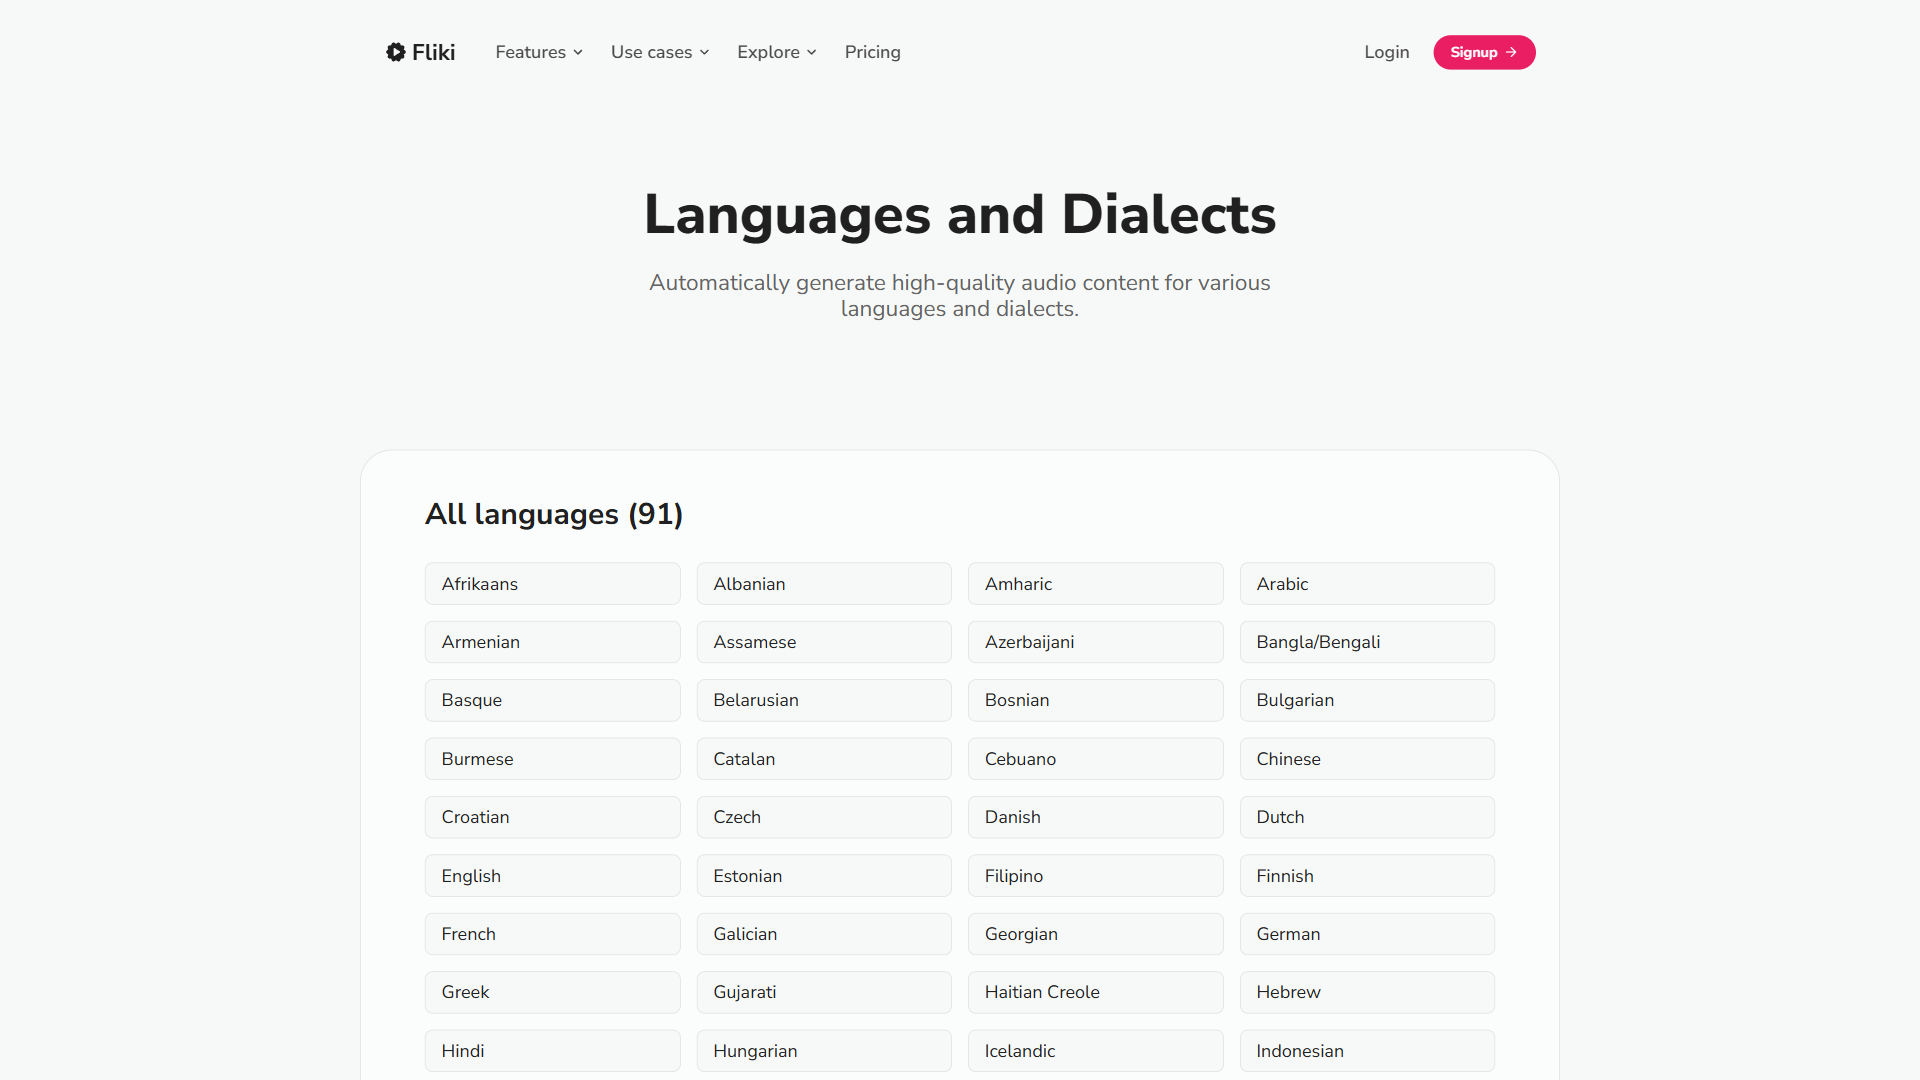
Voice selection is the single biggest factor in whether your video feels professional or robotic. Fliki offers over 2,000 voices across 75+ languages, but the quality varies significantly across tiers.
Voice tiers explained:
- Standard voices (included in Free tier) - Functional but noticeably synthetic. Fine for internal content or quick prototypes.
- Ultra-realistic voices (150 on Standard, 1,000+ on Premium) - These sound genuinely human with natural pacing and intonation. This is where the fliki blog to video workflow becomes impressive.
- Studio-quality voices (50 on Standard, 350+ on Premium) - The highest tier. These voices handle emotional delivery, emphasis, and complex sentence structures convincingly.
How to choose the right voice:
- Match the voice to your brand. A casual tech blog calls for a friendly, conversational voice. A B2B whitepaper conversion needs something more measured and authoritative.
- Test with your actual content. Do not rely on the sample phrases in the voice preview. Generate a 15-second clip using a paragraph from your blog to hear how the voice handles your specific vocabulary and sentence structure.
- Check pronunciation of technical terms. AI voices occasionally mispronounce industry jargon, brand names, or acronyms. Fliki lets you add phonetic corrections for problem words.
- Consider voice cloning (Standard plan and above). If you have existing video or podcast content with your own voice, Fliki can clone it from just 2 minutes of audio. For a deeper look at how voice cloning works, see our ElevenLabs voice cloning tutorial. This maintains brand consistency across all your content.
Language considerations: If you plan to repurpose videos for international audiences, choose a voice that has strong multilingual support. Our AI voice generators roundup compares voice quality across platforms. Some of Fliki’s best English voices also perform well in Spanish, French, and German, making it easy to create translated versionlaterer.
Step 4: Customize Visuals and Media
With your script polished and voice selected, the next step is making sure every scene has visuals that complement the narration rather than distract from it.
Visual options for each scene:
- AI-selected stock footage - Fliki automatically matches stock video clips to your narration text. The default selections are usually decent but generic. Spending 2-3 minutes per scene upgrading the auto-selected clips to something more specific makes a noticeable difference.
- Stock images - When video clips feel too busy, a clean stock image with subtlmotionon (the Ken Burns effect that Fliki applies automatically) often works better, especially for data-heavy or conceptual sections.
- Screen recordings - For tutorial content showing software interfaces, you can record your screen directly within Fliki and insert the footage into specific scenes. If you need standalone screen capture, see our roundup of screen recording tools.
- AI-generated images - Fliki includes an AI image generator (powered by Stable Diffusion-class models similar to Leonardo) for creating custom visuals when stock media does not match your needs.
Recommended visual editing workflow:
- First pass: Review all auto-selected visuals. Accept the ones that work (usually 40-50% of scenes).
- Second pass: Replace weak visuals by searching Fliki’s stock library using specific keywords from your narration.
- Third pass: Add text overlays for key statistics, quotes, or section titles. These text elements anchor the viewer’s attention and reinforce the narration.
Music and audio: Add background music at this stage. Fliki includes a royalty-free music library similar in spirit to Epidemic Sound or Artlist, with licensing baked into your subscription. Keep music volume at 10-15% of the voiceover volume - it should create atmosphere without competing with the narration.
Step 5: Fine-Tune Timing and Transitions
This step separates amateur-looking AI videos from professional ones. The default scene timing is based on narration length, which is functional but not optimized.
Timing adjustments:
- Add breathing room after key points. When your narration makes an important claim, add 0.5-1 second of pause before the next sentence. This gives viewers time to process.
- Match visual transitions to content shifts. Use a clean cut between related scenes and a brief fade or dissolve between major topic changes. Fliki supports several transition styles in the scene editor.
- Check the overall pacing. Play through the entire video at this stage. If any section feels rushed, either trim the narration text or extend the scene duration. If a section drags, cut content.
Subtitle configuration:
Fliki generates subtitles automatically from your narration, which is critical since 85% of social media videos are watched without sound. Review the auto-generated subtitles for accuracy, especially around technical terms and proper nouns. Adjust subtitle styling to match your brand - font, color, background opacity, and position are all configurable.
Step 6: Export and Publish
The final step is choosing the right export settings for your target platform.
Aspect ratio selection:
- 16:9 - YouTube, website embeds, LinkedIn video
- 9:16 - TikTok, Instagram Reels, YouTube Shorts
- 1:1 - Instagram feed, Facebook feed, LinkedIn feed
One of Fliki’s strongest features is the ability to export the same video in multiple aspect ratios from a single project. This means one fliki blog to video conversion can produce three platform-specific versions without re-editing.
Export quality:
- Free tier exports at 720p with a Fliki watermark - not suitable for publishing
- Standard and above export at 1080p Full HD without watermarks and with full commercial usage rights
Publishing workflow:
- Export your primary version (usually 16:9 for YouTube)
- Re-export in 9:16 for short-form platforms if applicable
- Upload to YouTube with your blog post’s target keyword in the video title and description
- Embed the YouTube video back into your original blog post - this creates a content feedback loop that strengthens both assets
- Share the short-form version across social platforms with a link back to the full article
How Do You Optimize Your Fliki Blog to Video Workflow?
Based on user feedback and workflow analysis, here are the patterns that produce the best results with the least effort.
Batch your conversions. Instead of converting one article at a time, queue 3-5 blog posts on the same day. The URL import and script editing steps go faster when you are in the flow. Many creators batch Monday mornings for converting the previous week’s articles.
Create a voice and style template. Once you find a voice, music style, and visual approach that works for your brand, document it. Fliki’s brand kit feature (Standard plan) lets you save colors and fonts, but you should also keep notes on your preferred voice, subtitle style, and transition approach.
Prioritize your highest-traffic articles. Not every blog post is worth converting. Start with articles that already rank well in search - they have proven audience interest, and adding video only strengthens their position. Use your analytics to identify the top 10-20 articles by organic traffic and work through those first.
Repurpose the video further. A single fliki blog to video conversion can produce:
- A full-length YouTube video (5-10 minutes)
- 3-4 short clips for social media (30-60 seconds each)
- An audio track for podcast distribution
- Thumbnail images for social sharing
Common Mistakes and How to Avoid Them
Mistake 1: Converting the entire blog post word-for-word. Spoken content and written content have different structures. A direct conversion feels like someone reading an essay aloud. Always edit the script for spoken delivery.
Mistake 2: Using the first voice you find. Spend 10 minutes testing 4-5 voices with your actual content. The wrong voice makes even great content feel off-putting.
Mistake 3: Ignoring the default visuals. The auto-selected stock footage is a starting point, not a final product. Viewers notice generic visuals, and they signal low effort. Invest the extra 5-10 minutes to upgrade key scenes.
Mistake 4: Skipping subtitles. On every social platform, the majority of viewers watch without sound initially. No subtitles means no engagement from those viewers.
Mistake 5: Publishing only one format. If you export only a 16:9 YouTube video, you are missing the 9:16 audience on TikTok, Reels, and Shorts. Fliki makes multi-format export trivial - use it.
Fliki Pricing for Blog-to-Video Workflows
Understanding which plan fits your conversion volume prevents both overspending and running out of credits mid-project.
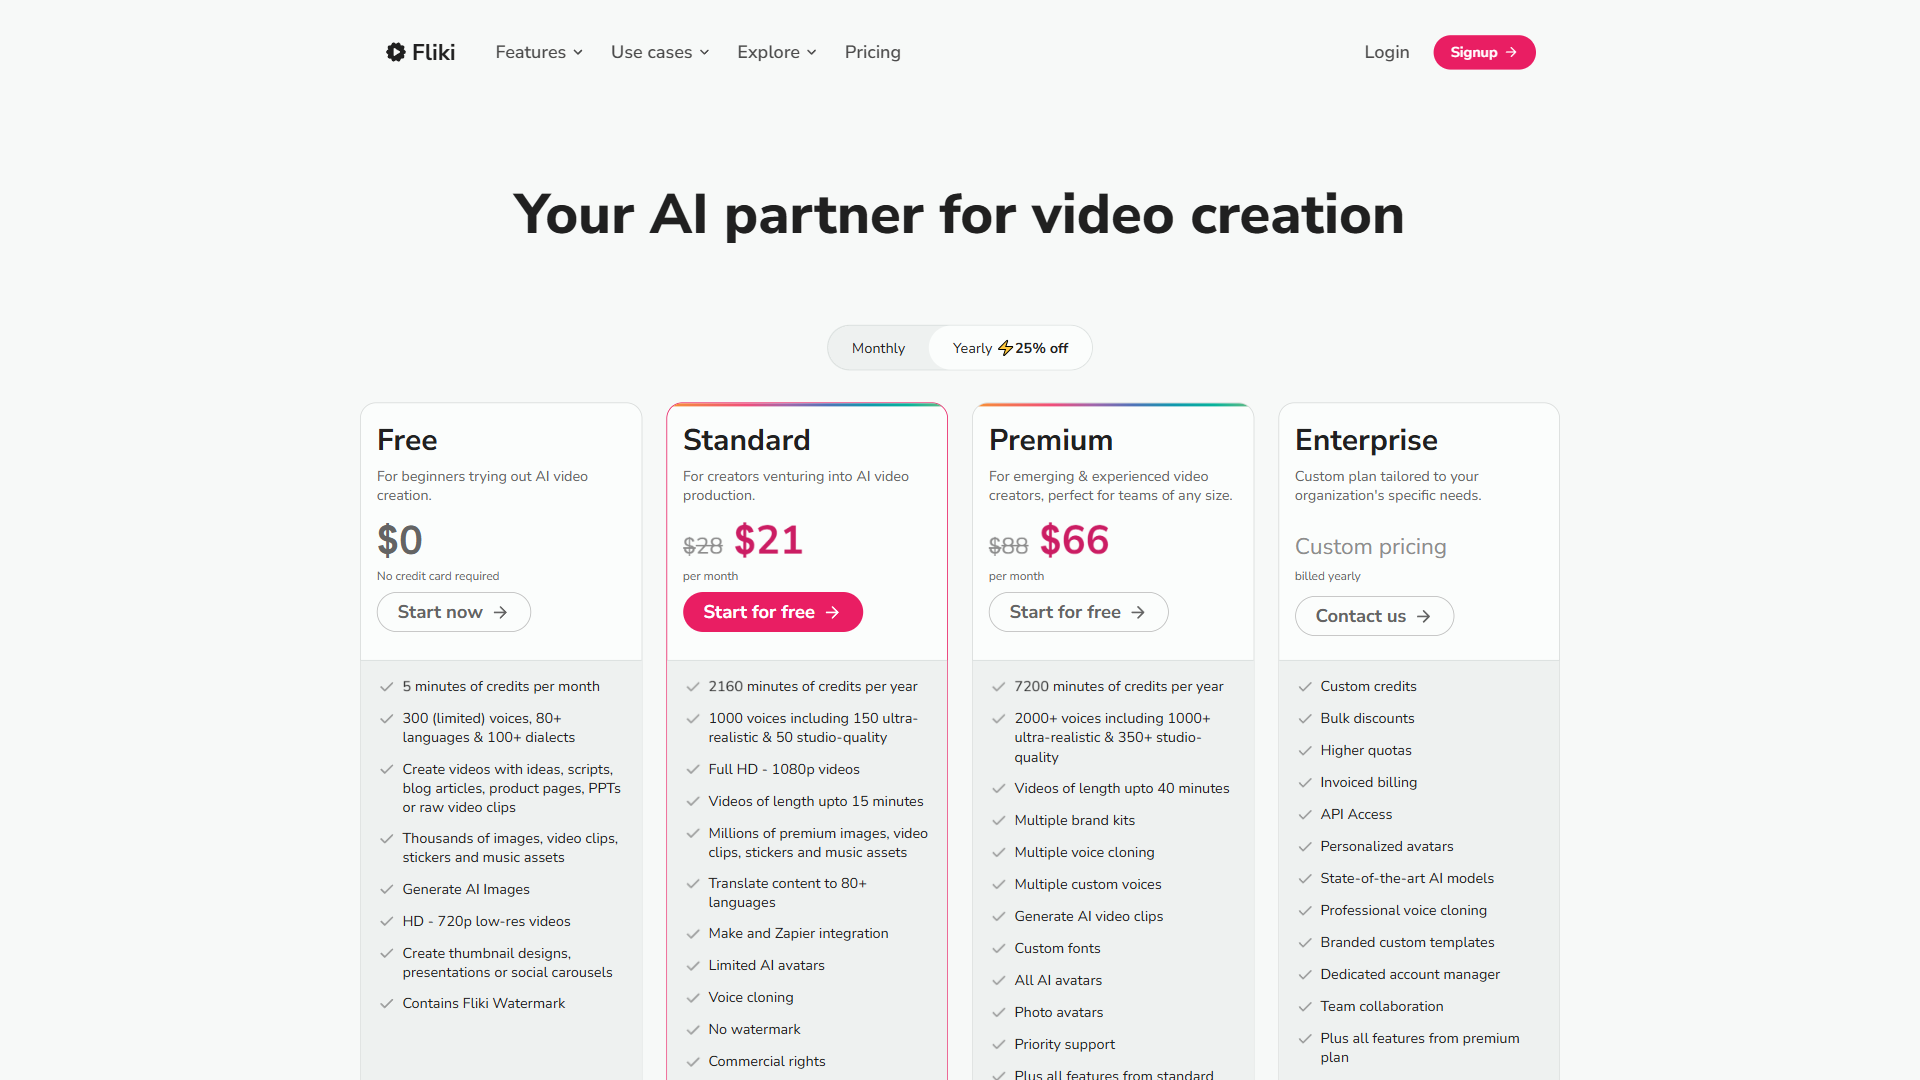
| Plan | Monthly Price | Minutes/Month | Resolution | Best For |
|---|---|---|---|---|
| Free | $0 | 5 | 720p (watermarked) | Testing the workflow |
| Standard | $28/month | 180 | 1080p | Regular content creators (10-15 videos/month) |
| Premium | $88/month | 600 | 1080p | High-volume teams (30+ videos/month) |
| Enterprise | Custom | Custom | 1080p+ | Agency and enterprise scale |
A typical 3-5 minute blog-to-video conversion uses 3-5 minutes of credits (1 minute of video = 1 credit). On the Standard plan, that gives you roughly 36-60 video conversions per month - more than enough for most content marketing teams.
The Bottom Line
The fliki blog to video workflow eliminates the biggest barrier to video content: production time. Instead of scripting, recording, editing, and producing from scratch, you are reusing work you have already done. A blog post that took 4 hours to research and write becomes a polished video in 15 minutes.
The practical value depends on your publishing volume. If you produce 2+ blog posts per week and want to expand into video without hiring a production team, Fliki at $28/month delivers a genuine return. Content creators and video editors looking to scale output will find this workflow particularly valuable. The voice quality on the Standard and Premium tiers is strong enough for public-facing content, and the multi-format export means each conversion feeds YouTube, TikTok, Instagram, and LinkedIn simultaneously.
Start with the free tier to test the import workflow with one of your existing articles. If the output quality meets your standards after basic editing, the Standard plan pays for itself within the first week of regular use.
Frequently Asked Questions
Is Fliki free?
Fliki does offer a free tier at $0 per month, giving you 5 minutes of video per month at 720p with a watermark - suitable for testing the workflow. The Standard plan at $28/month provides 180 minutes and 1080p resolution, which is where the blog to video feature becomes practical for regular use.
How do I turn a blog post into a video with Fliki?
Log into your Fliki dashboard and create a new project, then choose the Blog to Video converter. Paste your full blog URL, and Fliki crawls the page, extracts text and headings, and produces a scene-by-scene storyboard with suggested visuals and AI narration. Edit the script for spoken delivery, pick a voice, swap weak stock visuals, then export in the aspect ratio that matches your target platform.
Can ChatGPT convert text to video?
ChatGPT cannot directly produce video files - it generates text only. The practical workflow is to use ChatGPT to outline or rewrite a script, then paste that script into a dedicated text-to-video tool like Fliki, Synthesia, or Pictory to generate the actual video with AI voice and stock media.
How long does the Fliki blog to video process take?
The workflow takes under 15 minutes from URL import to finished video for most posts. A blog post that took 4 hours to research and write can become a polished, narrated video in that time - compared to an afternoon with traditional video production methods.
What does Fliki cost for regular blog to video use?
The free tier gives 5 minutes per month, which is enough to test the workflow. The Standard plan at $28/month includes 180 minutes and 1080p export, making it practical for regular use - roughly 36-60 video conversions per month for typical 3-5 minute videos.
Does Fliki include AI voice cloning?
Yes - Standard and Premium plans include voice cloning from as little as 2 minutes of source audio. This lets you maintain a consistent brand voice across every blog-to-video conversion without recording each one yourself. For an alternative-focused look at voice cloning quality and licensing, see the ElevenLabs voice cloning tutorial.
Want to learn more about Fliki?
Related Guides
- 12 AI Video Creation Tips for Better Results in 2026 - Tactics that pair with the blog-to-video workflow
- AI Video Marketing Guide: Strategy and Tools - Plan distribution after you have a finished video
- Fliki AI Tutorial Social Media - Sibling Fliki guide focused on short-form content
- AI Voiceover Tips for Professional Results - Get AI narration to sound less robotic
Related Reading
- Fliki Tool Page - Full review of pricing, voice tiers, and platform fit
- Best AI Video Generators in 2026 - How Fliki compares to Synthesia, Pictory, and others
External Resources
- Fliki Features Overview - Official features page with demos of text-to-video, voice library, and media assets
- Fliki Resources and Tutorials - Official guides and video walkthroughs for getting started
- Wyzowl Video Marketing Statistics 2026 - Industry data on video adoption and ROI across marketing teams
- YouTube Shorts Creator Playbook - Official guidance on short-form video aspect ratios and discovery
Related Guides
- Activecampaign AI Content Generation: Complete 2026 Guide
- AI Content Writing Workflow: 2026 Walkthrough for Teams
- AI Product Discovery Ecommerce: Lift Revenue in 2026
- AI Productivity Trends 2026: 6 Real Shifts, No Hype
- AI Workflow Automation Maturity Model: 5 Levels
- Building AI First Workflows: A Practitioner's 2026 Guide
- ChatGPT Custom GPTs Guide - Save 130+ Hours a Year
- ChatGPT Prompts 2026: Basic vs Engineered, 18 Examples
- ChatGPT Tips And Tricks: 2026 Walkthrough for Teams
- Craft Tips and Tricks: 12 Expert Hacks for Faster Docs