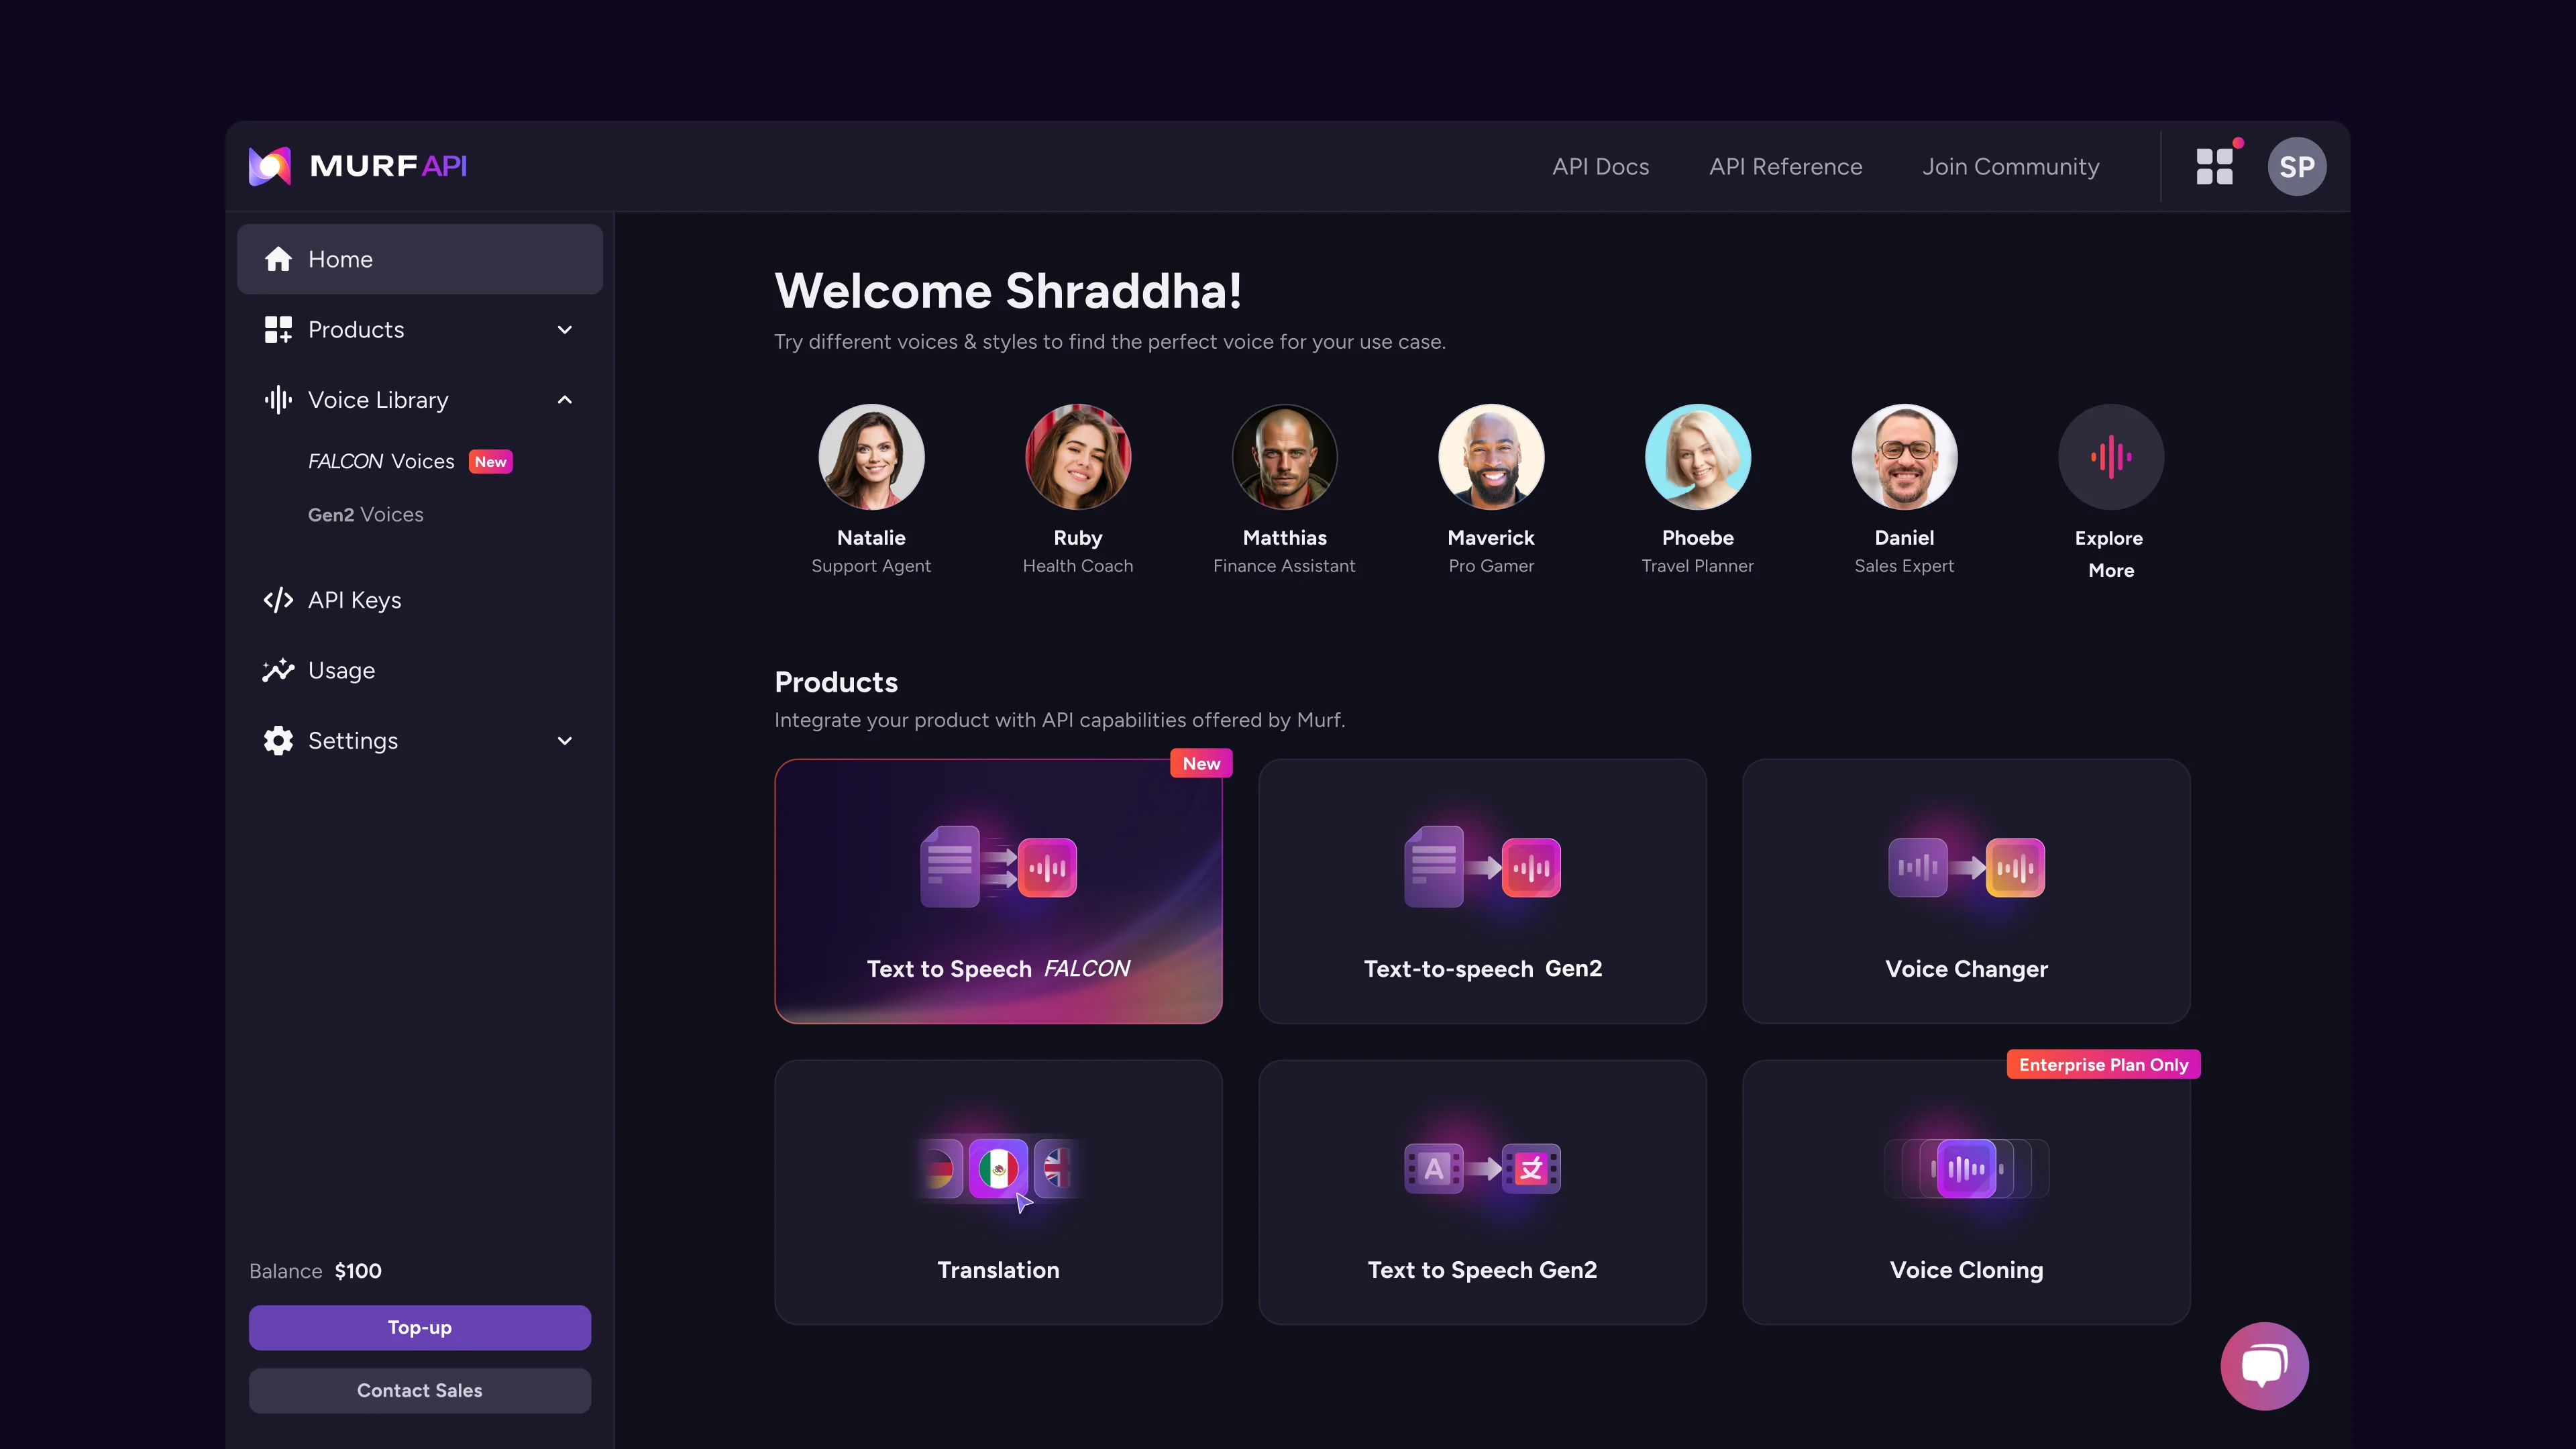
Real-time text-to-speech has moved from a novelty to a production requirement. Conversational AI systems, accessibility tools, voice-enabled web apps, and interactive learning platforms all need TTS that responds in milliseconds - not seconds. The Murf AI Falcon API is built for exactly this use case: a low-latency synthesis engine with 55ms time-to-first-audio that you can integrate into any application using standard HTTP and WebSocket connections. The companion Murf API documentation covers every endpoint and parameter referenced in this walkthrough.
This murf falcon api tutorial covers the complete integration path from zero to a working real-time TTS app. You will authenticate against the API, make your first REST call, stream audio over WebSockets, handle errors and rate limits gracefully, and configure advanced voice parameters. Code examples are provided in both Python and Node.js throughout - the full sample project is available as a murf falcon api tutorial github repository so you can clone and run it immediately. By the end of this guide you will have a functional TTS application and a clear picture of how to scale it for production workloads. New to the platform? Start with the Murf AI getting started guide before diving into the API.
The Falcon API is available on the Enterprise plan. If you are evaluating whether the API fits your needs before committing to Enterprise, the sections on REST calls and WebSocket streaming will give you a concrete sense of the integration complexity and what you can build. For an alternative real-time pipeline, see the Murf voice agent API guide.
What is the Murf Falcon API Tutorial
Murf Falcon API Tutorial walks through the complete process from initial configuration to advanced usage patterns. Whether you are setting up for the first time or optimizing an existing workflow, this step-by-step walkthrough covers every decision point and common pitfall.
The Murf Falcon API is the developer-facing interface to Murf’s Falcon voice model - a neural TTS engine optimized for low-latency streaming synthesis. Where Murf Studio is a browser-based production tool for creating standalone voiceover files, the Falcon API exposes the same underlying synthesis capabilities as programmable endpoints you call from your own code.
The Murf AI WebSocket and REST interfaces cover two distinct interaction patterns. The REST endpoint accepts a text payload and returns synthesized audio as a binary response - useful for asynchronous generation, batch processing, and caching. The WebSocket endpoint streams audio chunks back to the client as they are generated, enabling the sub-100ms latency that conversational and interactive applications require.
Key capabilities of the Falcon model:
- 55ms time-to-first-audio over WebSocket connections, enabling natural-sounding conversational TTS
- 200+ voices across 35 languages with consistent quality across all synthesis paths
- Voice parameter controls including speed, pitch, volume, pause duration, and per-word emphasis
- Streaming chunked audio in PCM, MP3, or OGG format depending on your application’s needs
- High concurrency with rate limits calibrated for production workloads rather than hobbyist experimentation
- Voice Agent API access alongside Falcon for building fully interactive voice pipelines
Where the Falcon API fits in production architectures:
The most common integration patterns are conversational AI assistants that speak responses aloud, accessibility layers that narrate dynamic page content, interactive voice response systems that generate audio on demand from database content, and real-time dubbing pipelines that translate and voice video content. Any scenario where you cannot pre-generate audio - because the content is dynamic, personalized, or response-driven - is a candidate for Falcon API integration.
Prerequisites
Before you begin this murf falcon api tutorial, confirm you have the following in place.
Murf Enterprise account with API access enabled. The Falcon API is not available on free, Basic, Pro, or Business tiers. If you are on Enterprise, API access is included - navigate to your account settings to confirm the API section is visible. If you are evaluating for procurement, contact the Murf sales team to request a sandbox environment.
API key. Covered in the next section. You will need this for every request.
Node.js 18+ or Python 3.9+. Both runtimes are covered throughout this guide. Node.js examples use the built-in fetch API and the ws WebSocket library. Python examples use the requests library for REST and the websockets library for streaming.
Basic HTTP knowledge. You should understand HTTP methods (GET, POST), request headers, and JSON payloads. WebSocket familiarity is helpful for the streaming sections but the examples are self-contained.
A package manager. npm for Node.js, pip or uv for Python.
Install the required dependencies before starting:
# Node.js
npm install ws

# Python
pip install requests websockets
# or with uv
uv add requests websockets
Getting Your API Key
Every Falcon API request authenticates using a bearer token tied to your Murf Enterprise account. The token is generated in the Murf Studio developer settings and is scoped to your organization.
Step 1: Open API settings. Log into Murf Studio and navigate to your account menu in the top right. Select Developer or API Settings from the dropdown - the exact label varies slightly by account tier but the section is always under account management.
Step 2: Generate a new API key. Click Create API Key or Generate Token. Give the key a descriptive name that identifies the application or environment it belongs to - for example, “production-tts-app” or “dev-integration-test”. Using separate keys per environment makes revocation clean if you ever need to rotate credentials.
Step 3: Copy the key immediately. Murf displays the full API key only once at generation time. Copy it to a secure location - a password manager, a secrets management service like AWS Secrets Manager or HashiCorp Vault, or your CI/CD environment variables. If you navigate away without copying it, you will need to revoke the key and generate a new one.
Step 4: Store the key as an environment variable. Never hardcode API keys in source files. Use environment variables in all environments. For team setups, store the key in a managed secrets vault rather than dotfiles - the AWS Secrets Manager guide covers a typical workflow:
# .env file (add to .gitignore)
MURF_API_KEY=your_api_key_here

# Or export directly in your shell
export MURF_API_KEY=your_api_key_here
Step 5: Verify access. Before building anything, confirm the key works with a simple request. The API base URL for Falcon is:
https://api.murf.ai/v1A GET request to the /voices endpoint returns the list of voices available on your account and confirms authentication is working.
curl -H "Authorization: Bearer $MURF_API_KEY" \
  https://api.murf.ai/v1/voices
A 200 response with a JSON array of voices means your key is valid and the API is reachable. A 401 means the key is incorrect or expired - double-check the value you copied.
Your First API Call
With authentication confirmed, the next step is generating your first audio file using the REST endpoint. This is the synchronous path - you send a request and receive back a complete audio file once synthesis is finished.
REST endpoint for speech synthesis:
POST https://api.murf.ai/v1/speech/generateThe request body is a JSON object with at minimum a text field and a voiceId field. Additional fields control audio format, voice parameters, and output quality.
Python example - basic REST call:
import os
import requests

API_KEY = os.environ["MURF_API_KEY"]
BASE_URL = "https://api.murf.ai/v1"

def generate_speech(text: str, voice_id: str, output_path: str) -> None:
    """Generate speech audio and save to file."""
    headers = {
        "Authorization": f"Bearer {API_KEY}",
        "Content-Type": "application/json",
    }
    payload = {
        "text": text,
        "voiceId": voice_id,
        "format": "MP3",
        "sampleRate": 44100,
    }

    response = requests.post(
        f"{BASE_URL}/speech/generate",
        headers=headers,
        json=payload,
        timeout=30,
    )
    response.raise_for_status()

    with open(output_path, "wb") as f:
        f.write(response.content)
    print(f"Audio saved to {output_path}")

# Run it
generate_speech(
    text="Welcome to the Murf Falcon API. Real-time synthesis starts here.",
    voice_id="en-US-natalie",
    output_path="output.mp3",
)
Node.js example - basic REST call:
import fs from "fs";

const API_KEY = process.env.MURF_API_KEY;
const BASE_URL = "https://api.murf.ai/v1";

async function generateSpeech(text, voiceId, outputPath) {
  const response = await fetch(`${BASE_URL}/speech/generate`, {
    method: "POST",
    headers: {
      Authorization: `Bearer ${API_KEY}`,
      "Content-Type": "application/json",
    },
    body: JSON.stringify({
      text,
      voiceId,
      format: "MP3",
      sampleRate: 44100,
    }),
  });

  if (!response.ok) {
    const error = await response.json();
    throw new Error(`API error ${response.status}: ${error.message}`);
  }

  const buffer = Buffer.from(await response.arrayBuffer());
  fs.writeFileSync(outputPath, buffer);
  console.log(`Audio saved to ${outputPath}`);
}

// Run it
generateSpeech(
  "Welcome to the Murf Falcon API. Real-time synthesis starts here.",
  "en-US-natalie",
  "output.mp3"
);
Run either example and you should have a working output.mp3 file within a few seconds. Open it to verify the voice, quality, and pacing before moving on to streaming.
Understanding the response. For synchronous generation, the API returns the audio as binary content directly in the response body. The Content-Type header will be audio/mpeg for MP3, audio/wav for WAV, or audio/ogg for OGG. For longer texts, the response may take several seconds - the REST endpoint is not designed for latency-sensitive interactions.
Real-Time Streaming with WebSockets
The WebSocket endpoint is where the Falcon API’s 55ms latency advantage comes into play. Instead of waiting for full synthesis, the API streams audio chunks back to your client as each segment is generated. The WebSocket protocol reference covers the underlying mechanics if you are new to bidirectional streaming. For a conversational assistant responding to a user query, this means the first words of the response begin playing almost immediately.
WebSocket endpoint:
wss://api.murf.ai/v1/speech/streamAuthentication over WebSocket uses a query parameter rather than a header:
wss://api.murf.ai/v1/speech/stream?apiKey=YOUR_API_KEYPython streaming example:
import os
import asyncio
import websockets
import json

API_KEY = os.environ["MURF_API_KEY"]
WS_URL = f"wss://api.murf.ai/v1/speech/stream?apiKey={API_KEY}"

async def stream_speech(text: str, voice_id: str, output_path: str) -> None:
    """Stream audio chunks from Falcon API and write to file."""
    request_payload = json.dumps({
        "text": text,
        "voiceId": voice_id,
        "format": "MP3",
        "sampleRate": 44100,
    })

    chunks = []
    async with websockets.connect(WS_URL) as ws:
        await ws.send(request_payload)

        async for message in ws:
            if isinstance(message, bytes):
                # Binary audio chunk - collect it
                chunks.append(message)
            else:
                # JSON control message - check for completion or error
                event = json.loads(message)
                if event.get("type") == "synthesis_complete":
                    print(f"Synthesis complete. Received {len(chunks)} chunks.")
                    break
                elif event.get("type") == "error":
                    raise RuntimeError(f"Stream error: {event.get('message')}")

    # Write all collected chunks to file
    with open(output_path, "wb") as f:
        for chunk in chunks:
            f.write(chunk)
    print(f"Streamed audio saved to {output_path}")

asyncio.run(stream_speech(
    text="Streaming synthesis with Falcon delivers audio in real time.",
    voice_id="en-US-natalie",
    output_path="streamed_output.mp3",
))
Node.js streaming example:
import WebSocket from "ws";
import fs from "fs";

const API_KEY = process.env.MURF_API_KEY;
const WS_URL = `wss://api.murf.ai/v1/speech/stream?apiKey=${API_KEY}`;

function streamSpeech(text, voiceId, outputPath) {
  return new Promise((resolve, reject) => {
    const ws = new WebSocket(WS_URL);
    const chunks = [];

    ws.on("open", () => {
      ws.send(
        JSON.stringify({
          text,
          voiceId,
          format: "MP3",
          sampleRate: 44100,
        })
      );
    });

    ws.on("message", (data) => {
      if (Buffer.isBuffer(data)) {
        // Binary chunk - accumulate audio data
        chunks.push(data);
      } else {
        const event = JSON.parse(data.toString());
        if (event.type === "synthesis_complete") {
          console.log(`Complete. Received ${chunks.length} chunks.`);
          ws.close();
        } else if (event.type === "error") {
          reject(new Error(`Stream error: ${event.message}`));
          ws.close();
        }
      }
    });

    ws.on("close", () => {
      const buffer = Buffer.concat(chunks);
      fs.writeFileSync(outputPath, buffer);
      console.log(`Streamed audio saved to ${outputPath}`);
      resolve();
    });

    ws.on("error", reject);
  });
}

streamSpeech(
  "Streaming synthesis with Falcon delivers audio in real time.",
  "en-US-natalie",
  "streamed_output.mp3"
);
Playing audio in real time. In a production application - a conversational AI or voice assistant - you would pipe each binary chunk to an audio playback buffer rather than collecting all chunks first. The first chunk typically arrives within 55ms of sending the request, so playback can begin almost immediately. The exact implementation depends on your platform (Web Audio API for browsers, pyaudio or sounddevice for Python, the speaker package for Node.js).
Building a Simple Text-to-Speech App
With both REST and WebSocket patterns working, this section combines them into a minimal but complete TTS application: a command-line tool that accepts text input and plays the synthesized speech immediately.
The application uses WebSocket streaming for low latency and pipes each chunk to the audio output as it arrives.
Python TTS app with real-time playback:
import os
import asyncio
import json
import sys
import websockets

# Install: pip install websockets pyaudio
import pyaudio

API_KEY = os.environ["MURF_API_KEY"]
WS_URL = f"wss://api.murf.ai/v1/speech/stream?apiKey={API_KEY}"

# Audio playback configuration (MP3 decoded to PCM for pyaudio)
CHUNK_SIZE = 1024
SAMPLE_RATE = 44100
CHANNELS = 1

async def speak(text: str, voice_id: str = "en-US-natalie") -> None:
    """Stream TTS audio and play back in real time."""
    pa = pyaudio.PyAudio()
    stream = pa.open(
        format=pyaudio.paInt16,
        channels=CHANNELS,
        rate=SAMPLE_RATE,
        output=True,
        frames_per_buffer=CHUNK_SIZE,
    )

    try:
        async with websockets.connect(WS_URL) as ws:
            await ws.send(json.dumps({
                "text": text,
                "voiceId": voice_id,
                "format": "PCM",        # Raw PCM bypasses decode step
                "sampleRate": SAMPLE_RATE,
            }))

            async for message in ws:
                if isinstance(message, bytes):
                    stream.write(message)
                else:
                    event = json.loads(message)
                    if event.get("type") in ("synthesis_complete", "error"):
                        break
    finally:
        stream.stop_stream()
        stream.close()
        pa.terminate()

if __name__ == "__main__":
    text = " ".join(sys.argv[1:]) or "Hello from the Murf Falcon API."
    asyncio.run(speak(text))
Run this with:
python tts_app.py "This sentence is synthesized and played back in real time."Node.js TTS app with real-time playback:
import WebSocket from "ws";
// Install: npm install ws speaker
import Speaker from "speaker";

const API_KEY = process.env.MURF_API_KEY;
const WS_URL = `wss://api.murf.ai/v1/speech/stream?apiKey=${API_KEY}`;

function speak(text, voiceId = "en-US-natalie") {
  const speaker = new Speaker({
    channels: 1,
    bitDepth: 16,
    sampleRate: 44100,
  });

  const ws = new WebSocket(WS_URL);

  ws.on("open", () => {
    ws.send(
      JSON.stringify({
        text,
        voiceId,
        format: "PCM",
        sampleRate: 44100,
      })
    );
  });

  ws.on("message", (data) => {
    if (Buffer.isBuffer(data)) {
      speaker.write(data);
    } else {
      const event = JSON.parse(data.toString());
      if (event.type === "synthesis_complete") {
        speaker.end();
        ws.close();
      } else if (event.type === "error") {
        console.error("Stream error:", event.message);
        speaker.end();
        ws.close();
      }
    }
  });

  ws.on("error", (err) => {
    console.error("WebSocket error:", err.message);
    speaker.end();
  });
}

const text = process.argv.slice(2).join(" ") || "Hello from the Murf Falcon API.";
speak(text);
Run this with:
node tts_app.js "This sentence is synthesized and played back in real time."Both implementations request PCM format from the API, which avoids a decoding step before playback and reduces latency by another few milliseconds on the client side. For applications that need to save or transmit the audio rather than play it immediately, switch "format": "PCM" back to "format": "MP3" or "format": "OGG".
Handling Errors and Rate Limits
Production integrations break when error handling is an afterthought. The Falcon API uses standard HTTP status codes for REST responses and JSON error events for WebSocket streams. Building retry logic and rate limit awareness from the start prevents the integration from failing under load. The pattern aligns with general guidance in the AWS Builders Library on retries and backoff.
HTTP status codes you will encounter:
| Code | Meaning | Action |
|---|---|---|
| 200 | Success | Process the audio response |
| 400 | Bad request - invalid parameters | Log the error body, fix the payload |
| 401 | Unauthorized - invalid or expired key | Rotate the API key |
| 429 | Rate limit exceeded | Back off and retry with exponential delay |
| 500 | Server error | Retry after a short delay, alert if persistent |
| 503 | Service unavailable | Retry with longer backoff |
Retry logic with exponential backoff (Python):
import time
import requests
from requests.exceptions import HTTPError

def generate_with_retry(
    text: str,
    voice_id: str,
    max_retries: int = 3,
    base_delay: float = 1.0,
) -> bytes:
    """Generate speech with automatic retry on transient errors."""
    headers = {
        "Authorization": f"Bearer {API_KEY}",
        "Content-Type": "application/json",
    }
    payload = {"text": text, "voiceId": voice_id, "format": "MP3"}

    for attempt in range(max_retries):
        try:
            response = requests.post(
                f"{BASE_URL}/speech/generate",
                headers=headers,
                json=payload,
                timeout=30,
            )
            response.raise_for_status()
            return response.content

        except HTTPError as e:
            status = e.response.status_code

            # Do not retry client errors (except 429)
            if status in (400, 401, 403) and status != 429:
                raise

            if attempt == max_retries - 1:
                raise

            # Exponential backoff: 1s, 2s, 4s
            delay = base_delay * (2 ** attempt)
            print(f"Attempt {attempt + 1} failed ({status}). Retrying in {delay}s.")
            time.sleep(delay)
Rate limits. Enterprise plan rate limits are negotiated as part of the contract and vary by account. The typical defaults allow several hundred concurrent WebSocket connections and thousands of REST requests per minute. If your application approaches these limits, the API returns 429 responses with a Retry-After header indicating when you may resume. Honor this header rather than retrying immediately.
WebSocket error handling. The streaming API sends JSON error events when synthesis fails mid-stream. Always check the message type before writing audio chunks:
async for message in ws:
    if isinstance(message, bytes):
        process_audio_chunk(message)
    else:
        event = json.loads(message)
        event_type = event.get("type")
        if event_type == "synthesis_complete":
            break
        elif event_type == "error":
            error_code = event.get("code")
            error_msg = event.get("message", "Unknown error")
            # Log, alert, and decide whether to retry
            raise RuntimeError(f"Synthesis error [{error_code}]: {error_msg}")
        # Ignore other control event types gracefully
Timeout handling. Set explicit timeouts on both REST requests and WebSocket connections. A REST request that takes longer than 30 seconds is likely hanging. A WebSocket connection that receives no data for more than 10 seconds after the synthesis request is likely stalled. Implement connection timeouts and heartbeat pings for long-running WebSocket sessions.
Advanced Configuration
Once the basic integration is working, the Falcon API exposes a range of voice parameters that let you tune the synthesis output precisely for your use case.
Voice selection. Retrieve the full list of voices available on your account:
response = requests.get(
    f"{BASE_URL}/voices",
    headers={"Authorization": f"Bearer {API_KEY}"},
)
voices = response.json()

# Filter to English voices with conversational style
english_conversational = [
    v for v in voices
    if v["language"] == "en-US" and "conversational" in v.get("styles", [])
]
Each voice object includes fields like voiceId, name, language, gender, age, styles, and sampleUrl. Cache this list on application startup rather than fetching it per request.
Speed and pitch. The speed parameter accepts values from 0.5 (half speed) to 2.0 (double speed). The pitch parameter adjusts tone on a scale from -50 (deeper) to 50 (higher). Both are floats:
payload = {
    "text": text,
    "voiceId": "en-US-natalie",
    "format": "MP3",
    "speed": 0.9,        # Slightly slower for clarity
    "pitch": -5,         # Slightly warmer tone
}
Pauses. Insert pauses between sentences or at specific points using the SSML break tag in your text payload. The Falcon API supports a subset of SSML 1.1 for pause and emphasis control. For deeper pacing strategies, see the Murf pacing pauses speed tips guide:
text_with_pauses = (
    "Welcome to this tutorial. "
    '<break time="500ms"/>'
    "Today we will cover three topics. "
    '<break time="300ms"/>'
    "Authentication, streaming, and error handling."
)
Per-word emphasis. Use the <emphasis> SSML tag to stress specific words:
text_with_emphasis = (
    "This feature delivers <emphasis level='strong'>real-time</emphasis> "
    "synthesis with <emphasis level='moderate'>55 millisecond</emphasis> latency."
)
Volume control. The volume parameter accepts values from 0 (muted) to 200 (double volume), with 100 as the default. Useful when your application mixes the TTS output with background audio:
payload = {
    "text": text,
    "voiceId": "en-US-natalie",
    "format": "MP3",
    "volume": 110,       # Slightly louder than default
}
Language and locale. Murf’s MultiNative technology allows a voice to synthesize text in multiple languages. Specify the target language using the language parameter when the text differs from the voice’s primary language:
payload = {
    "text": "Bonjour et bienvenue sur notre plateforme.",
    "voiceId": "en-US-natalie",    # English voice
    "language": "fr-FR",           # Target language: French
    "format": "MP3",
}
Combining parameters. A complete production payload might look like this:
payload = {
    "text": 'Welcome back. <break time="400ms"/> Your report is ready.',
    "voiceId": "en-US-cooper",
    "format": "PCM",
    "sampleRate": 44100,
    "speed": 0.95,
    "pitch": 0,
    "volume": 100,
    "language": "en-US",
}
Next Steps
With authentication, REST calls, WebSocket streaming, error handling, and parameter control in place, you have everything needed to ship a production TTS integration. Here is where to take the integration from here.
Scale to production. Review your application’s concurrency requirements against your Enterprise plan’s rate limits. If you are building a service that handles multiple simultaneous users, implement a connection pool for WebSocket clients and a queue for REST requests to prevent rate limit spikes during traffic bursts.
Integrate the Voice Agent API. Alongside Falcon for synthesis, Murf’s Enterprise plan includes a Voice Agent API for building fully interactive voice pipelines - turn-by-turn conversation, barge-in detection, and dynamic script generation. If your application needs to listen as well as speak, the Voice Agent API is the natural extension of this integration.
Add voice caching. For content that repeats across requests - navigation items, standard prompts, common responses - cache the synthesized audio rather than generating it on every call. A simple key-value store keyed by the combination of text hash, voice ID, and parameters eliminates redundant API calls and reduces latency for cached content to near zero.
Monitor usage. Instrument your integration with metrics tracking: request count, latency per request, error rate by status code, and audio bytes generated. These metrics reveal whether your rate limit headroom is healthy, which error types are most common, and how synthesis latency varies across voice and text combinations.
Explore the full Murf platform. If you are new to the broader Murf product - the Studio interface, voice library, and collaboration tools - the Murf Studio Workspace Walkthrough covers the complete interface. For multilingual TTS requirements beyond parameter-level language switching, the Murf MultiNative Multilingual Guide covers the full multilingual capabilities in depth. Pricing and tier comparison details live on the Murf pricing page, and the full Murf review on this site covers ratings and competitor comparisons. For broader context on AI voice tools, see the best AI voice generators.
Frequently Asked Questions
What plan do I need to access the Murf Falcon API?
The Falcon API is available exclusively on the Enterprise plan. Free, Basic, Pro, and Business tiers give you access to Murf Studio for creating voiceovers manually, but they do not include programmatic API access. If you are evaluating the API for a development project, contact the Murf sales team to discuss sandbox access or a trial arrangement. Enterprise pricing is custom and based on usage volume.
What is the difference between the Falcon API and the standard Murf API?
Murf offers two API products on the Enterprise tier: the standard speech synthesis API (REST-only, higher latency, suited for batch generation) and the Falcon API (REST + WebSocket streaming, 55ms time-to-first-audio, suited for real-time applications). This tutorial covers the Falcon API. If your use case is batch processing large volumes of audio files - course narration, document-to-audio conversion, ad creative generation - the standard API may be a better fit due to simpler implementation and lower per-request overhead. Check the Murf features page for a current comparison of both API products.
How do I find the correct voice ID for the voice I want?
Call the GET /voices endpoint with your API key and parse the response to find the voiceId field for the voice you want. Voice IDs follow the pattern language-code plus name, for example en-US-natalie or en-GB-oliver. The voices endpoint returns all voices available on your account along with language, gender, age, style tags, and a sample audio URL. Filter this list to voices that match your use case and cache the result at application startup - the voice catalog changes infrequently.
Can I use the Falcon API to clone a custom voice and serve it at low latency?
Yes, if you have a voice clone configured on your Murf account (available on Pro and above, with Enterprise required for API access), the cloned voice is accessible through the Falcon API using the voice clone’s assigned ID. Retrieve the voice clone ID from the voices endpoint - cloned voices appear alongside stock voices in the response, distinguished by a type: "cloned" field. Latency for cloned voice synthesis is comparable to stock voice synthesis at the same text length.
What audio formats does the Falcon API support?
The Falcon API supports MP3, WAV, OGG, and PCM output formats. PCM (raw pulse-code modulation) is the lowest-latency option for real-time playback because it skips the encoding step on the server side and the decoding step on the client side - the audio data feeds directly into an audio output buffer. MP3 is the best choice for storage, transmission, and compatibility. WAV is preferred for downstream audio processing where you need lossless quality. OGG is a good middle ground for browser-based applications. Specify the format in the format field of your request payload.
How do I stay within rate limits when handling concurrent users?
Implement a token bucket or leaky bucket rate limiter in your application layer that enforces request pacing before requests reach the API. For WebSocket connections, use a connection pool with a configurable maximum concurrent connections limit. For REST requests, use a queue with configurable concurrency. When the API returns a 429 status with a Retry-After header, pause all requests for the specified duration rather than retrying immediately. If you regularly approach your plan’s limits, contact your Murf Enterprise account manager to discuss increasing your allocation.
Want to learn more about Murf AI?
Related Reading
Related Guides
- Getting Started with Murf AI
- Murf Studio Interface Walkthrough
- How to Clone Your Voice with Murf AI
- Murf Text-to-Speech Tutorial
- Choosing the Right AI Voice in Murf
- Murf AI Emotion Controls
- Murf AI Pronunciation and Emphasis
- Mastering Pacing in Murf AI
- Murf MultiNative: Multilingual Voiceovers
- Murf AI Dubbing Walkthrough
- AI Voiceover for YouTube Videos: Murf Workflow
- Murf AI eLearning Narration: Educator’s Guide
- Murf AI Canva Integration
External Resources
- Murf API Documentation - Official reference for every endpoint, parameter, and SDK method
- Murf AI Pricing Plans - Compare Free, Creator, Pro, Business, and Enterprise tiers
- Murf AI Text-to-Speech Overview - Voice library, languages, and platform capabilities
Related Guides
- AI Voiceover Corporate Training With WellSaid Labs
- AI Voiceover for YouTube Videos: Murf Workflow Guide 2026
- AI Voiceover Tips: Making Synthetic Voices Sound Human
- ElevenLabs Getting Started: Complete Beginners Guide
- ElevenLabs Voice Cloning Tutorial: Complete 2026 Guide
- Luma Dream Machine Video Tutorial 2026: Text-to-Video & Ray3
- Murf AI Canva Integration: Add Voiceovers to Designs
- Murf AI Custom Pronunciation: Say It My Way Guide (2026)
- Murf AI Dubbing: Complete Walkthrough | Complete Guide 2026
- Murf AI eLearning Narration: Educator's Guide | Review 2026